Introduction
Cloudpress support exporting images from Google Docs and Notion to your CMS. Cloudpress will automatically upload the image to your CMS’s asset library, and reference the uploaded image in the exported content. This document discusses how Cloudpress exports images and how it determines things like the image file name, alt text, etc. We’ll also look at how you can override the default behaviour with a feature of Cloudpress called processing directives. Finally, we’ll look at how you can enable image compression.CMS image text support
Before we dive into the specifics, it is important to note that not all CMSs support image texts such as alt text, title, and caption. All the information in this document depends on the support of the various image texts as per your CMS. In other words, even if Notion allows you to add an image caption, if your CMS does not support image captions, Cloudpress cannot export an image caption. The table below summarises the support across all the CMSs.| CMS content type | alt support | title support | caption support |
|---|---|---|---|
| Contentful (Long Text) | - | ||
| Contentful (Rich Text) | - | - | - |
| Kentico | - | - | - |
| Sanity | - | - | - |
| Webflow | |||
| WordPress (Gutenberg) | |||
| WordPress (Classic) | - |
How Cloudpress works with images
Cloudpress uploads images from your document to your CMS and does its best to attemp to set the correct filename, alt text, title, and caption. The exact behaviour depends on whether you use Google Docs or Notion.Images in Google Docs
Images in Google Docs
The file name of an image exported from Google Docs will always be “unnamed”. This is how the Google API reports the file name to Cloudpress. If you want to specify a custom file name during export, see the section on overriding the default behaviour later in this document.
In Google Docs, you can specify image text by selecting the Alt text
option from the context menu when you right-click on an image 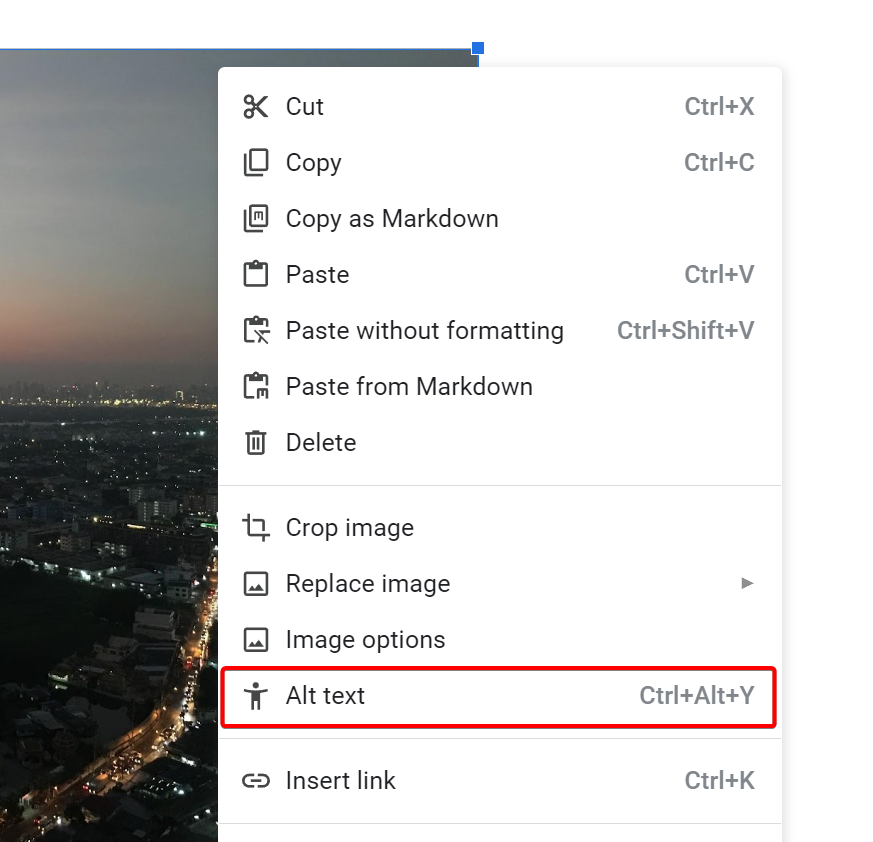 The Alt Text
section allows you to specify an image description and title
The Alt Text
section allows you to specify an image description and title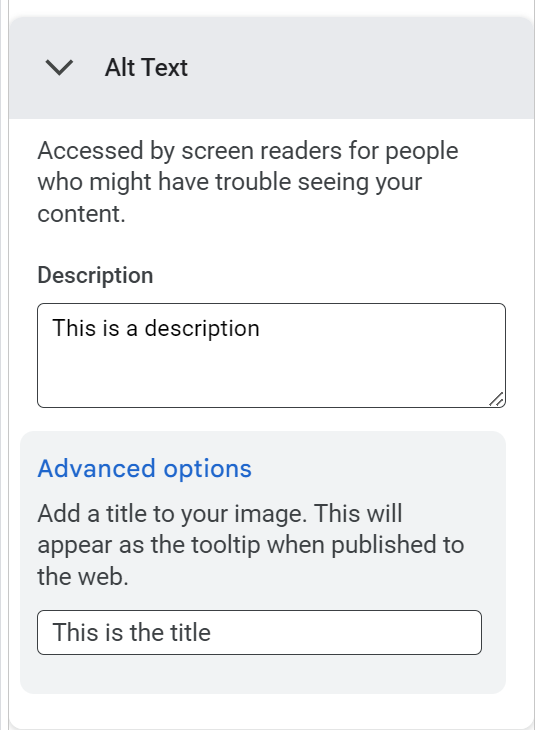
When exporting content, Cloudpress will use the image description as the
alt attribute and the image title as the title attribute.
Images in Notion
Images in Notion
Cloudpress will use the name of the file in Notion when uploading the image to your CMS. Therefore, if you want to use a specific file name for SEO purposes, it is important to give the image file on your computer the correct name before inserting it in your Notion page.
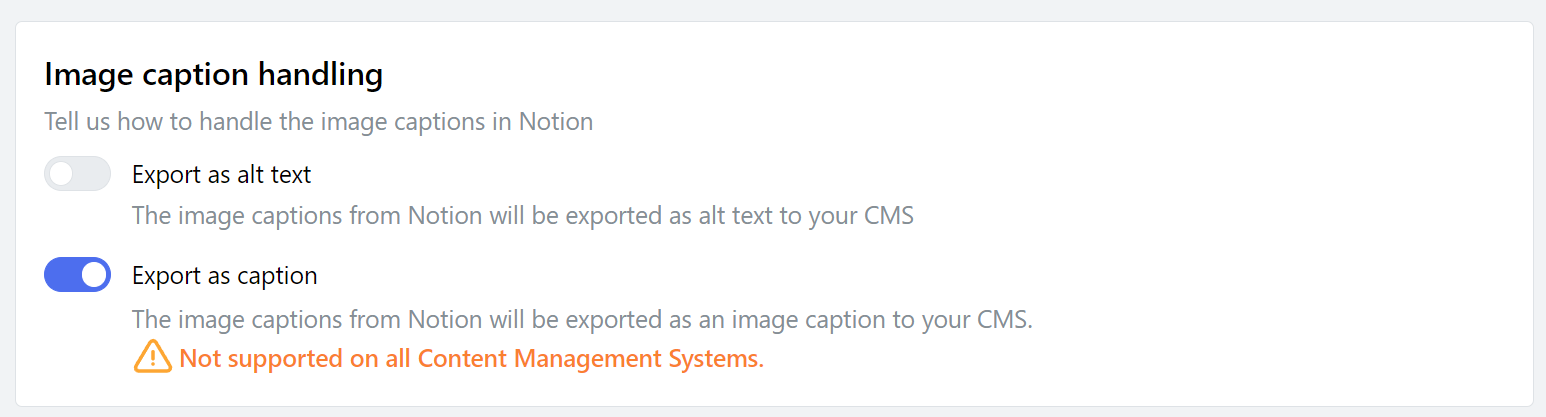
The Notion editor supports adding an image caption and at text, but the Notion API does not return the alt text. Therefore, Cloudpress can only use the caption when exporting to your CMS.
To tell Cloudpress whether it should use the caption as the image caption or alt text when exporting the image under the Image caption handling section of the Content Conversion tab of your Notion connection.
Overriding the default behaviour
You can override the default behaviour of Cloudpress and specify specific values for the image file name, alt text, title, and caption by using the@@image processing directive.
Please review the documentation of the @@image processing directive for more information and examples.
Image compression and resizing
Optimizing images is crucial for modern websites. Not only does it significantly reduce page load times, ensuring a smoother user experience, but it also improves SEO rankings and reduces bandwidth costs. With the rise in mobile browsing, where data and speed are paramount, utilizing features like image compression, conversion to the efficient WebP format, and maintaining appropriate image dimensions becomes essential. Cloudpress allows you to apply these optimizations when exporting images to your CMS automatically.Enabling image optimizations for your CMS connection
Enable image optimization can be done on a per-connection level. Go to the Connections page and select the CMS connection you want to enable image optimizations for. By default, image optimization is disabled. Enable optimization with the Enable image optimization toggle.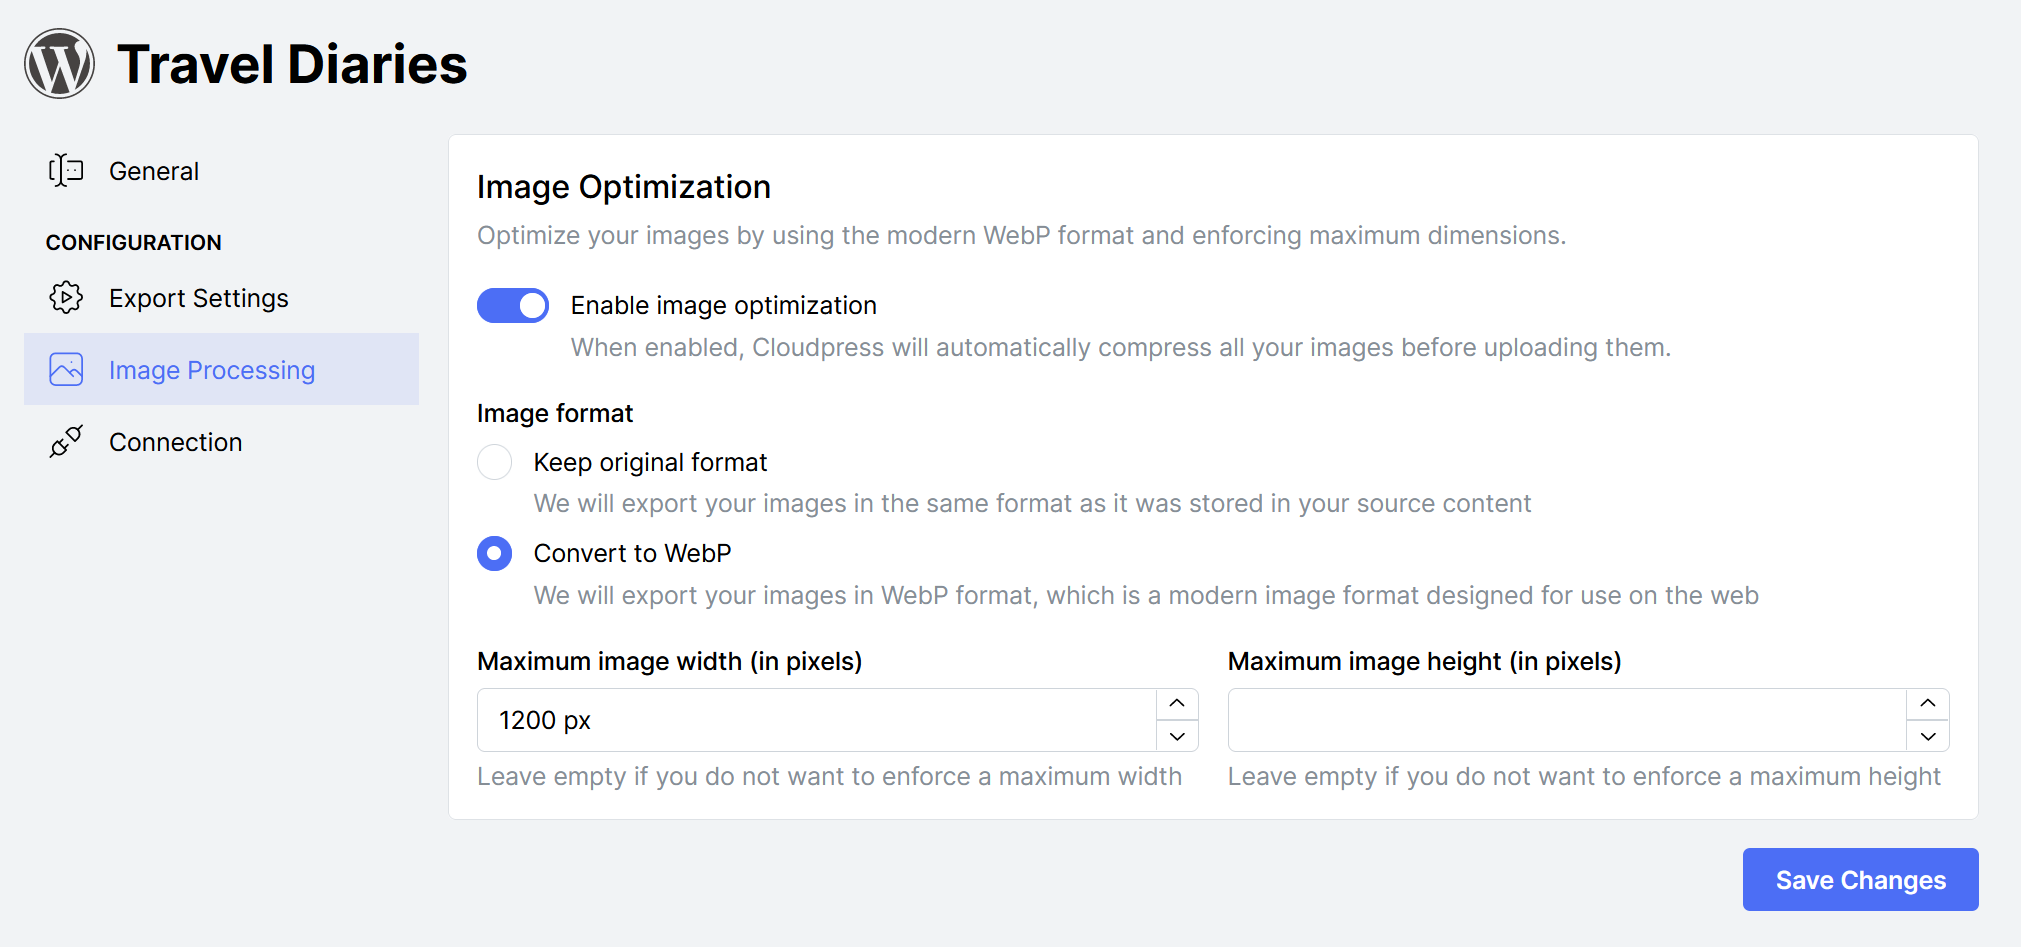 When image optimization is enabled, Cloudpress will automatically compress all your images before uploading them to your CMS. Cloudpress also allows you to configure additional settings.
The Image format setting allows you to specify the format of the images. Keep original format will keep the images in their original file format. You can convert images to WebP by selecting the Convert to WebP option.
You can also enforce maximum image dimensions by specifying a maximum width and height. When specified, any image that exceeds the maximum width or height will be scaled down to fit in the maximum dimensions specified. Cloudpress will scale the image proportionally, ensuring your image maintains the original aspect ratio.
When image optimization is enabled, Cloudpress will automatically compress all your images before uploading them to your CMS. Cloudpress also allows you to configure additional settings.
The Image format setting allows you to specify the format of the images. Keep original format will keep the images in their original file format. You can convert images to WebP by selecting the Convert to WebP option.
You can also enforce maximum image dimensions by specifying a maximum width and height. When specified, any image that exceeds the maximum width or height will be scaled down to fit in the maximum dimensions specified. Cloudpress will scale the image proportionally, ensuring your image maintains the original aspect ratio.