Introduction
Cloudpress allows you to export content from Google Docs to any of our supported Content Management Systems (CMS). Cloudpress will export your content while preserving your formatting, uploading your images, converting links social media posts to the proper embeds, and much more. This document walks you through the steps of exporting content to your CMS using our Google Docs add-on.Export your document
Before you can export a document with the add-on, you must have completed these requirements:- Installed the Add-on
- Configured the Add-on with your personal access token
- Added your CMS connection
1
Open Add-on
Open the Cloudpress Google Docs Add-on by clicking on the Cloudpress icon in
the side panel. 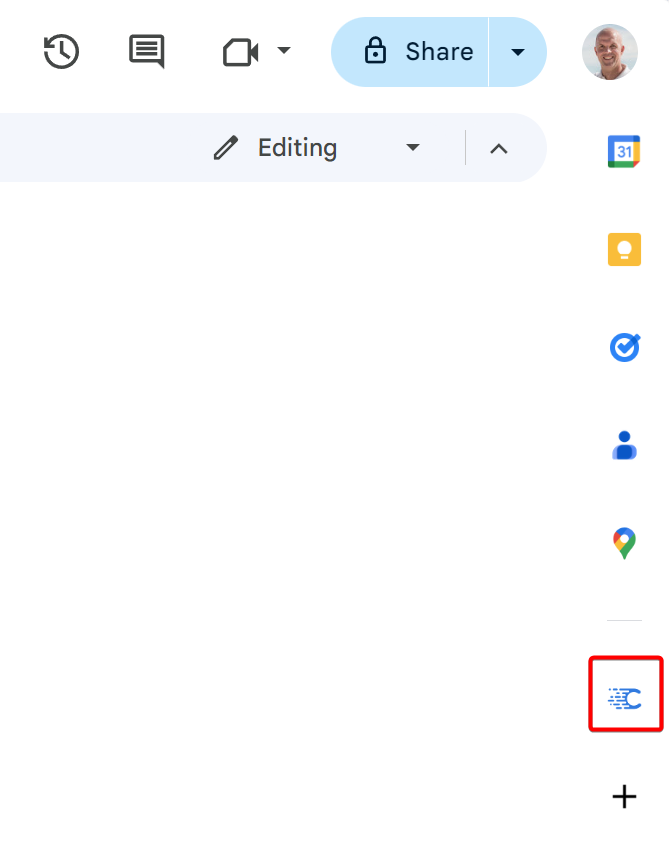
2
Export document
After opening the add-on, you will see a list of your CMS connections. To
export the open document to a connection, click the Export button next
to the connection. 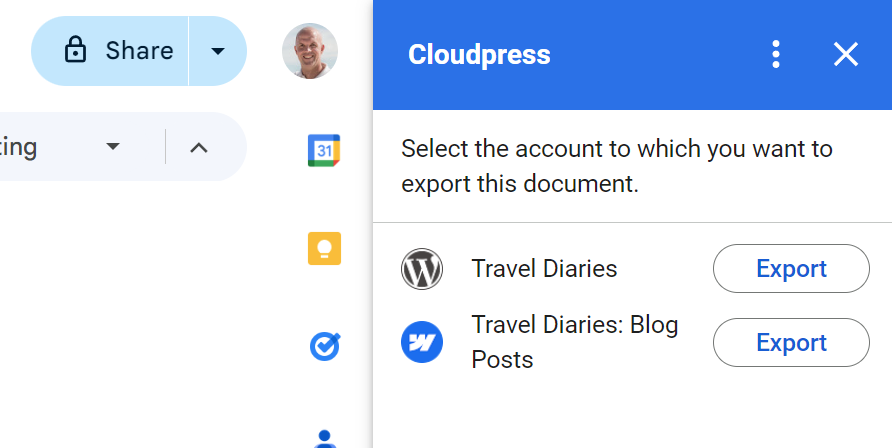
3
Monitor progress
Once the export starts, you will be navigated to a page displaying the
current progress of the export.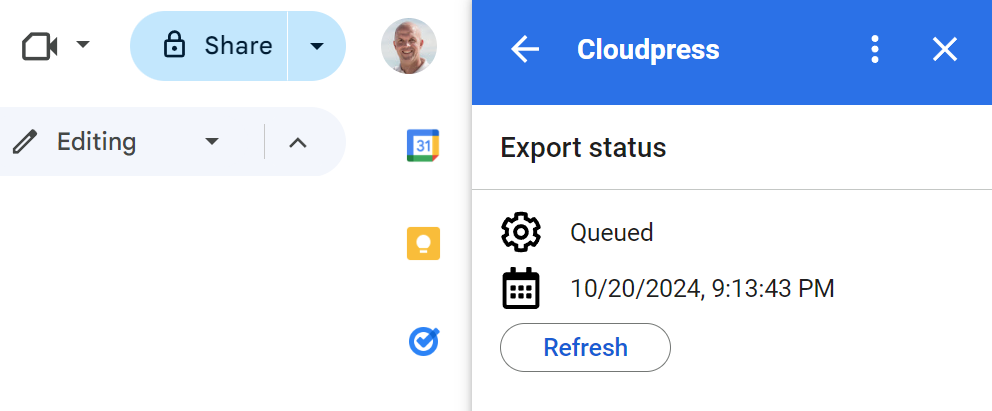 Initially, the status will be “Queued” to indicate that the document is
queued for export. You can click the Refresh button to refresh the
status.
Initially, the status will be “Queued” to indicate that the document is
queued for export. You can click the Refresh button to refresh the
status.
Initially, the status will be “Queued” to indicate that the document is
queued for export. You can click the Refresh button to refresh the
status.4
Navigate to exported content
Once the export is complete, the status will change to “Done”.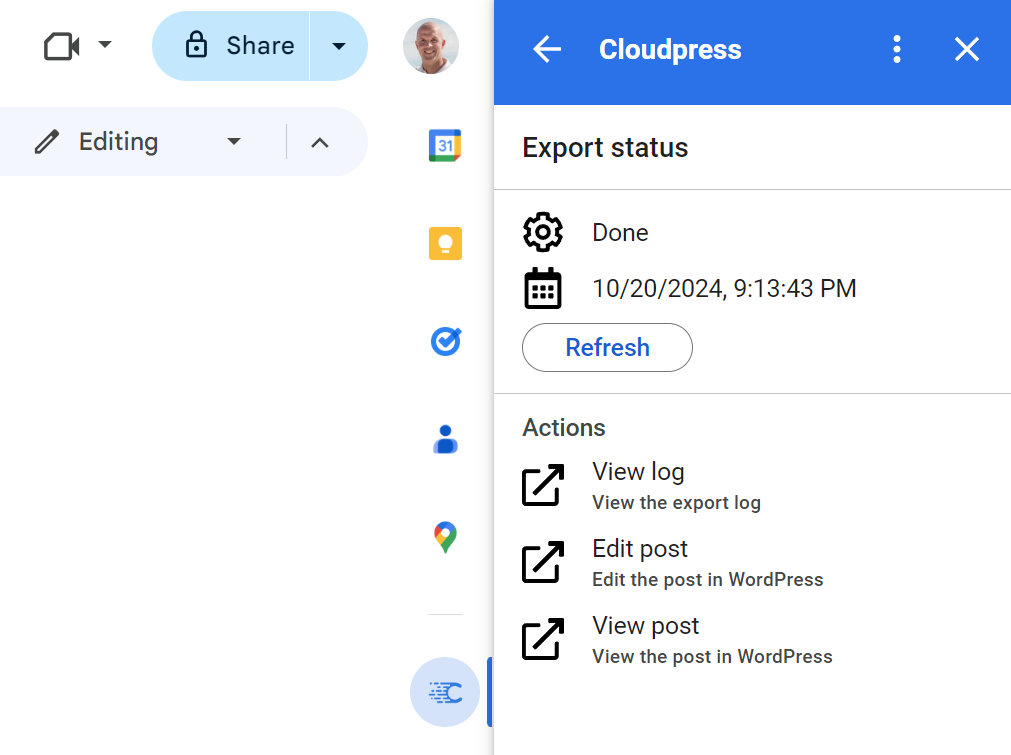 You
will see a list of links under the Actions section. You can navigate to
the export log by clicking the View log link. Depending on your CMS, you
will also see a number of other links that can navigate you to the exported
content.
You
will see a list of links under the Actions section. You can navigate to
the export log by clicking the View log link. Depending on your CMS, you
will also see a number of other links that can navigate you to the exported
content.
You
will see a list of links under the Actions section. You can navigate to
the export log by clicking the View log link. Depending on your CMS, you
will also see a number of other links that can navigate you to the exported
content.