Introduction
Cloudpress allows you to export a Notion database to any of our supported Content Management Systems (CMS). Cloudpress will export your content while preserving your formatting, uploading your images, converting links social media posts to the proper embeds, and much more. This document walks you through the basic steps of exporting a Notion database to your CMS using the Cloudpress application.Export your Notion database
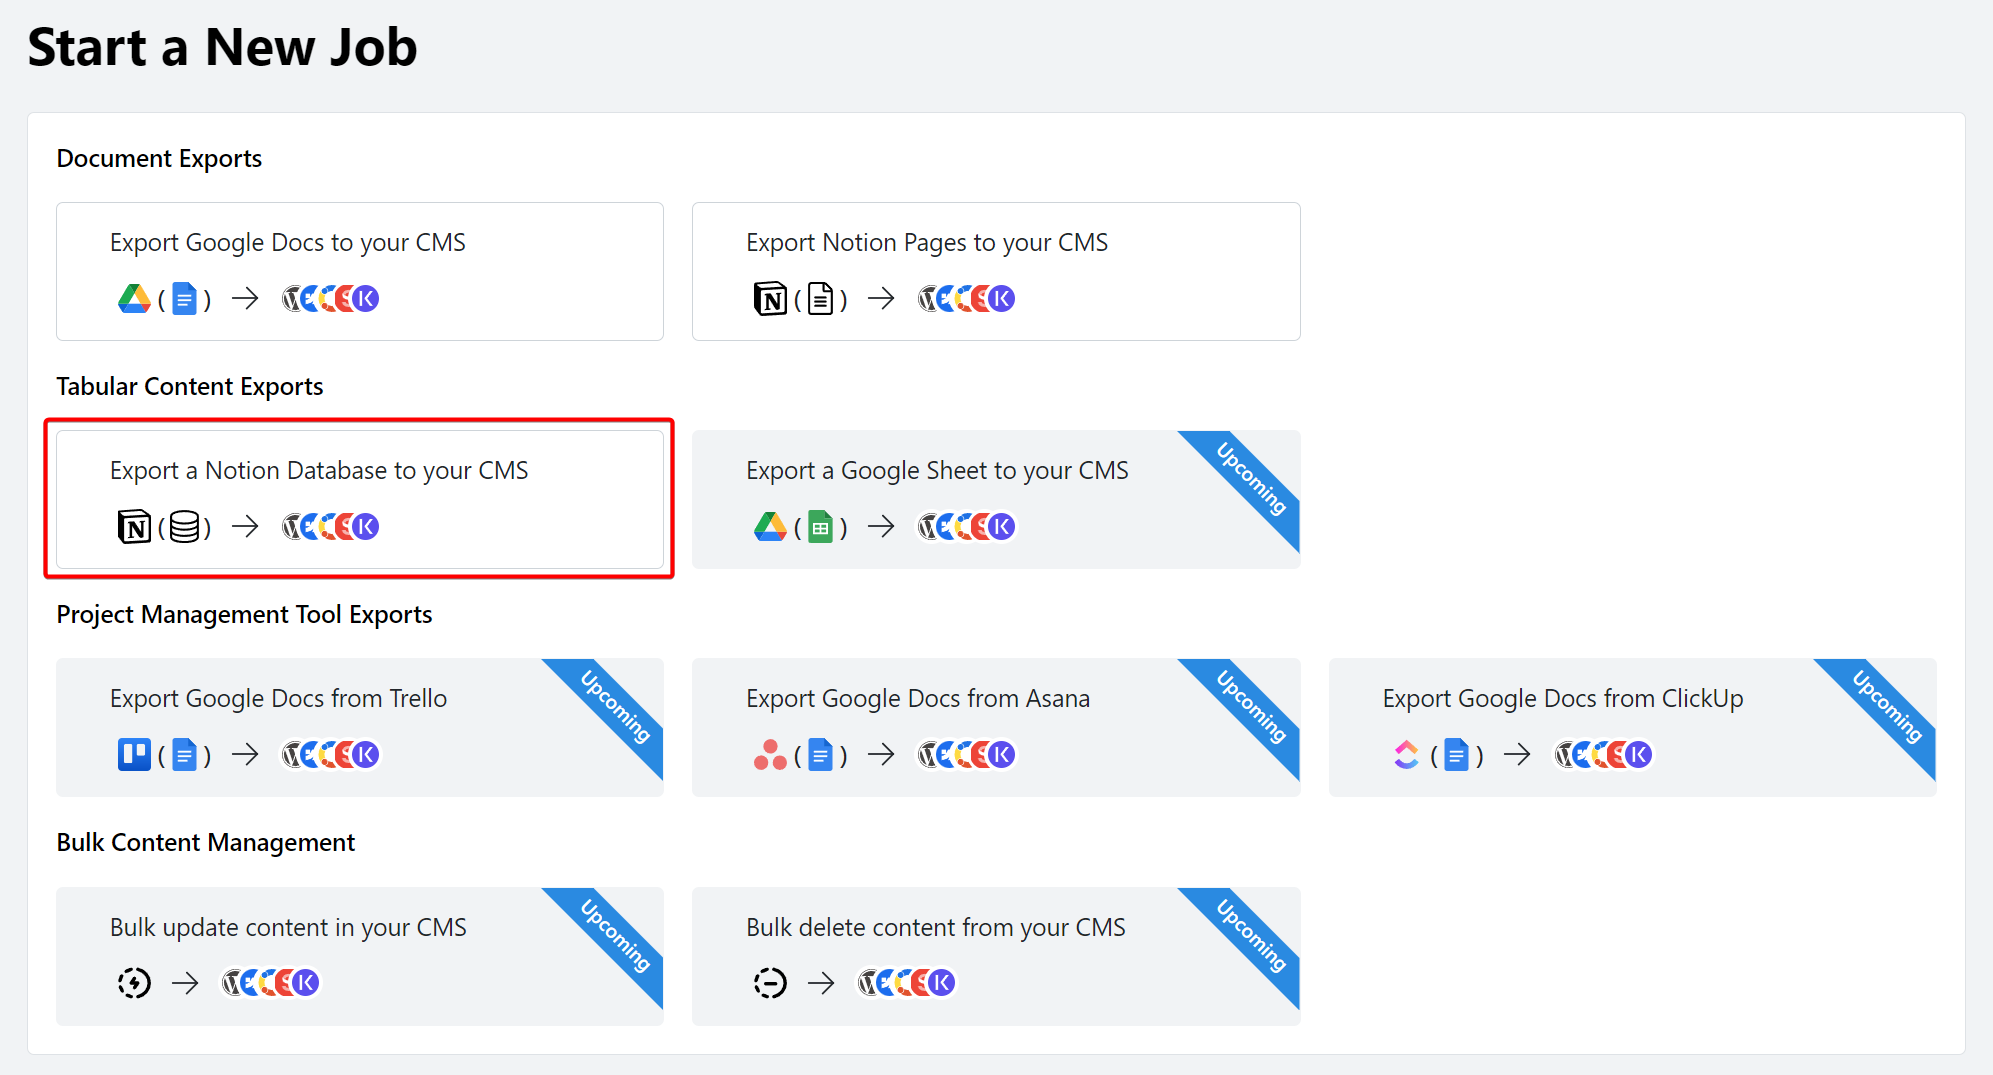
Select Job type
Select Notion connection

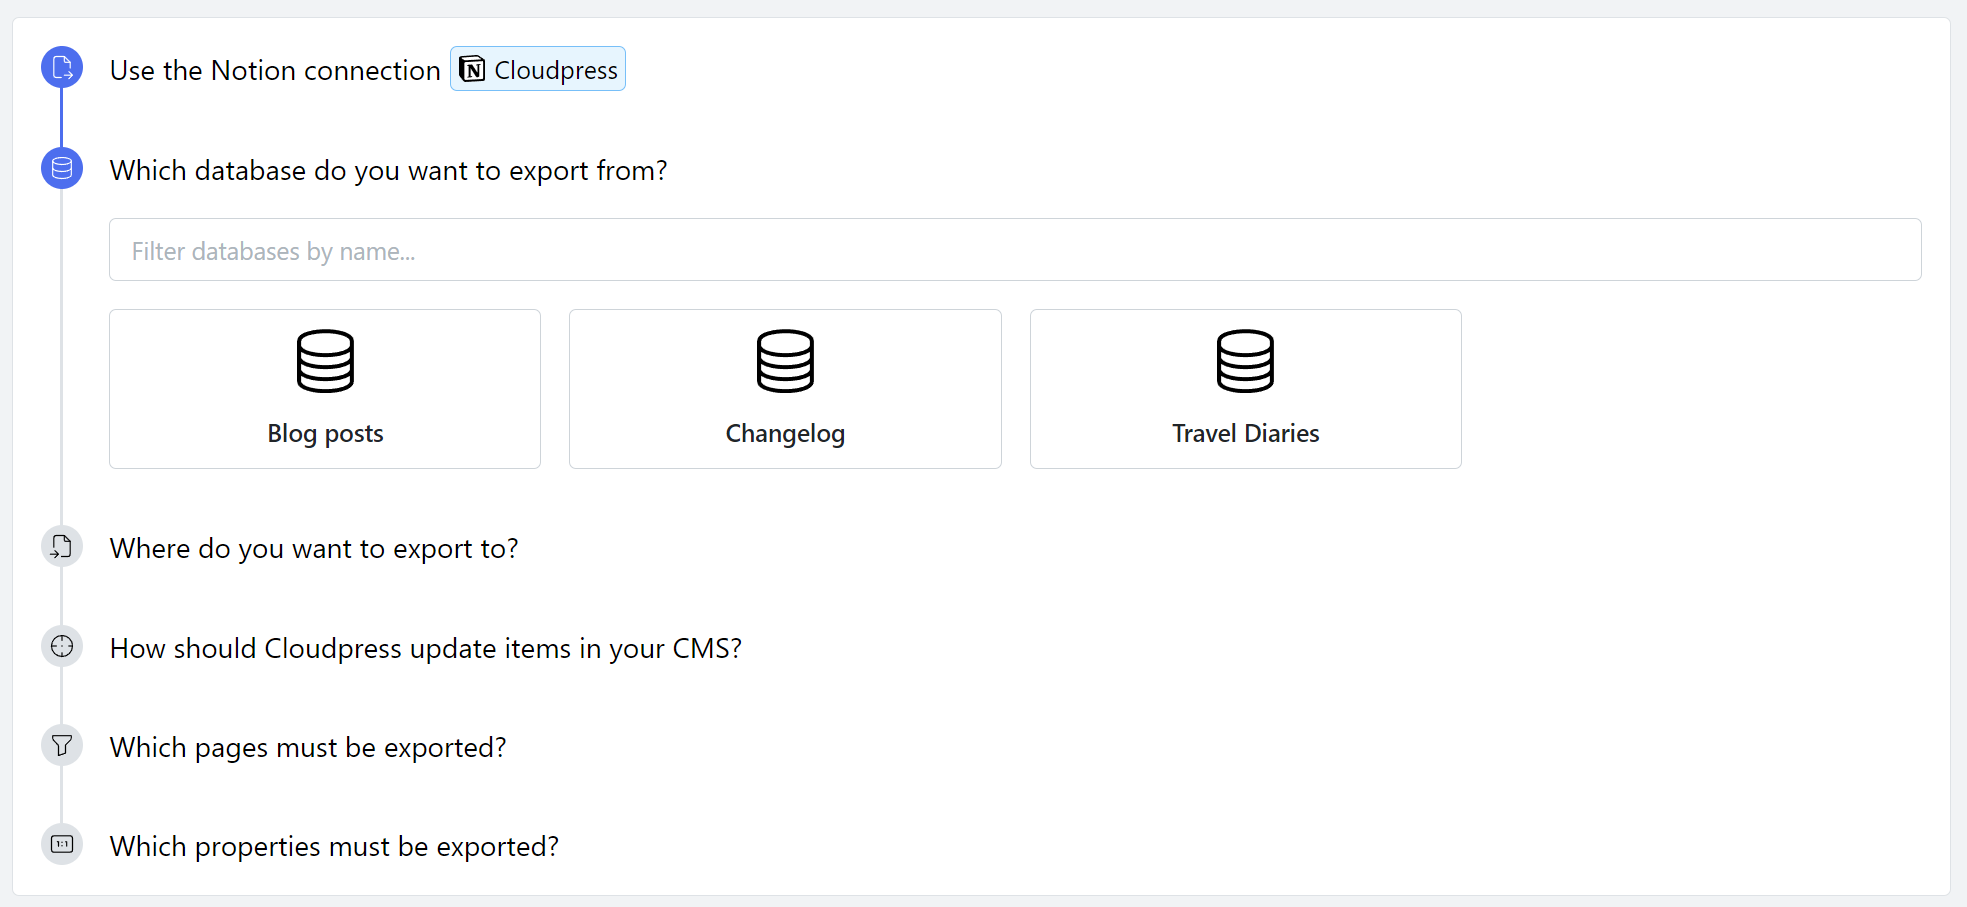
Select Notion database
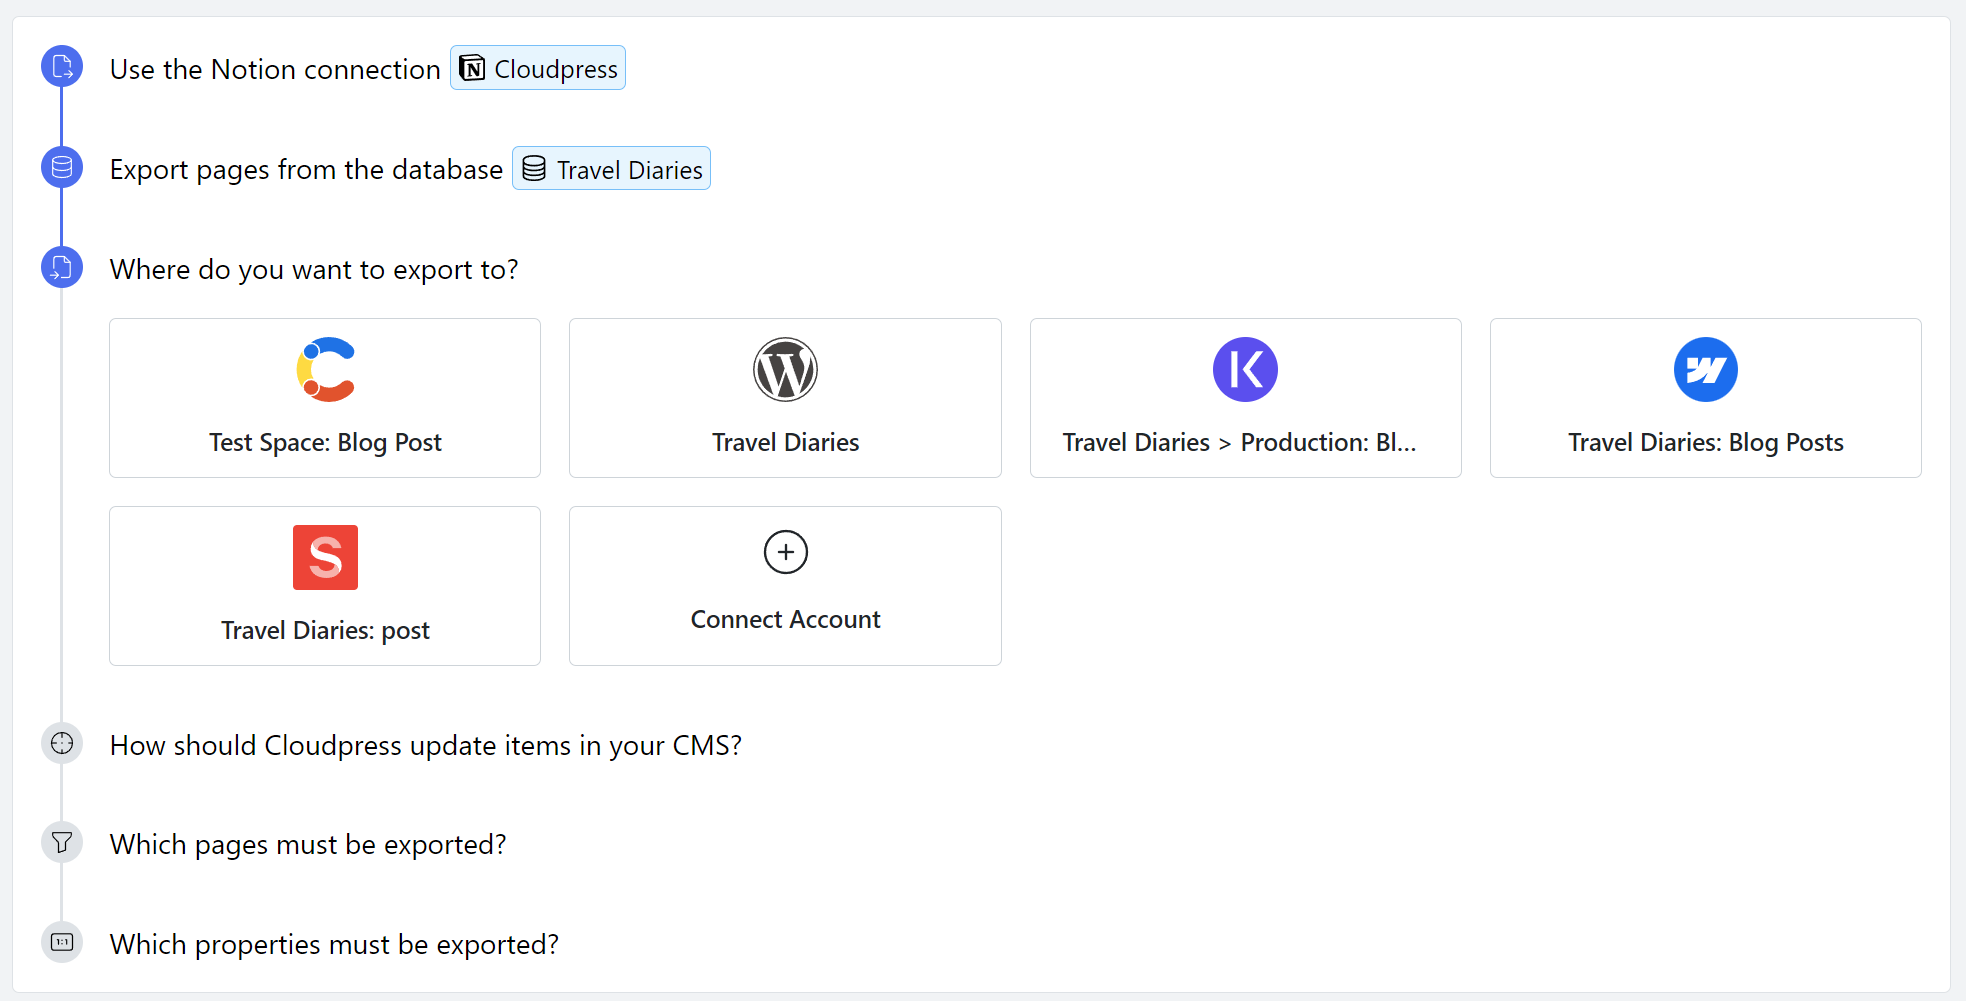
Select CMS connection
Specify how Cloudpress should update content
By default, Cloudpress will create a new item in your CMS when exporting a page from the database for the first time. On subsequent exports, Cloudpress will update the previously exported item in your CMS. In this case, select the Cloudpress will automatically update previously exported items option.
However, sometimes you may have existing content in your CMS which was created before you started using Cloudpress, and you want Cloudpress to update those existing items. In this case, you can add a property to your Notion database that contains the unique ID of those items in your CMS. In this case, select the Update items in your CMS based on the value of the Notion property below option and specify the name of the property.

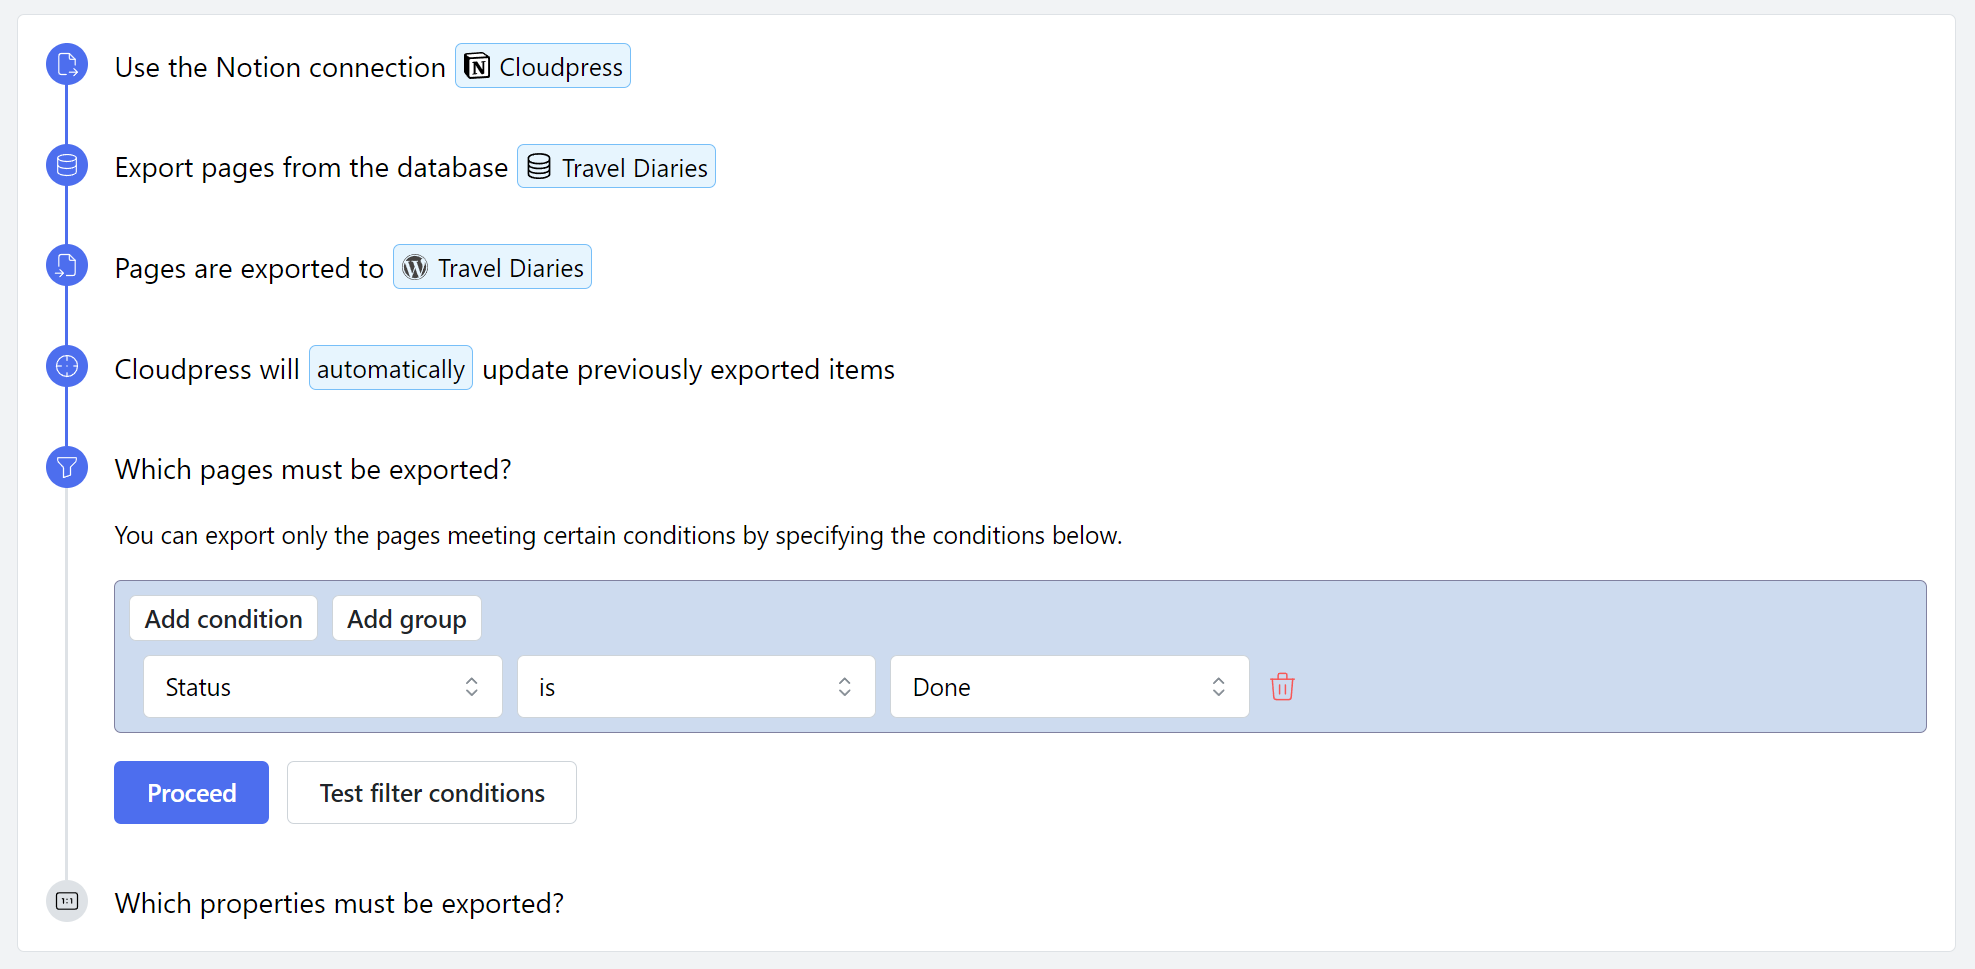
Specify filter
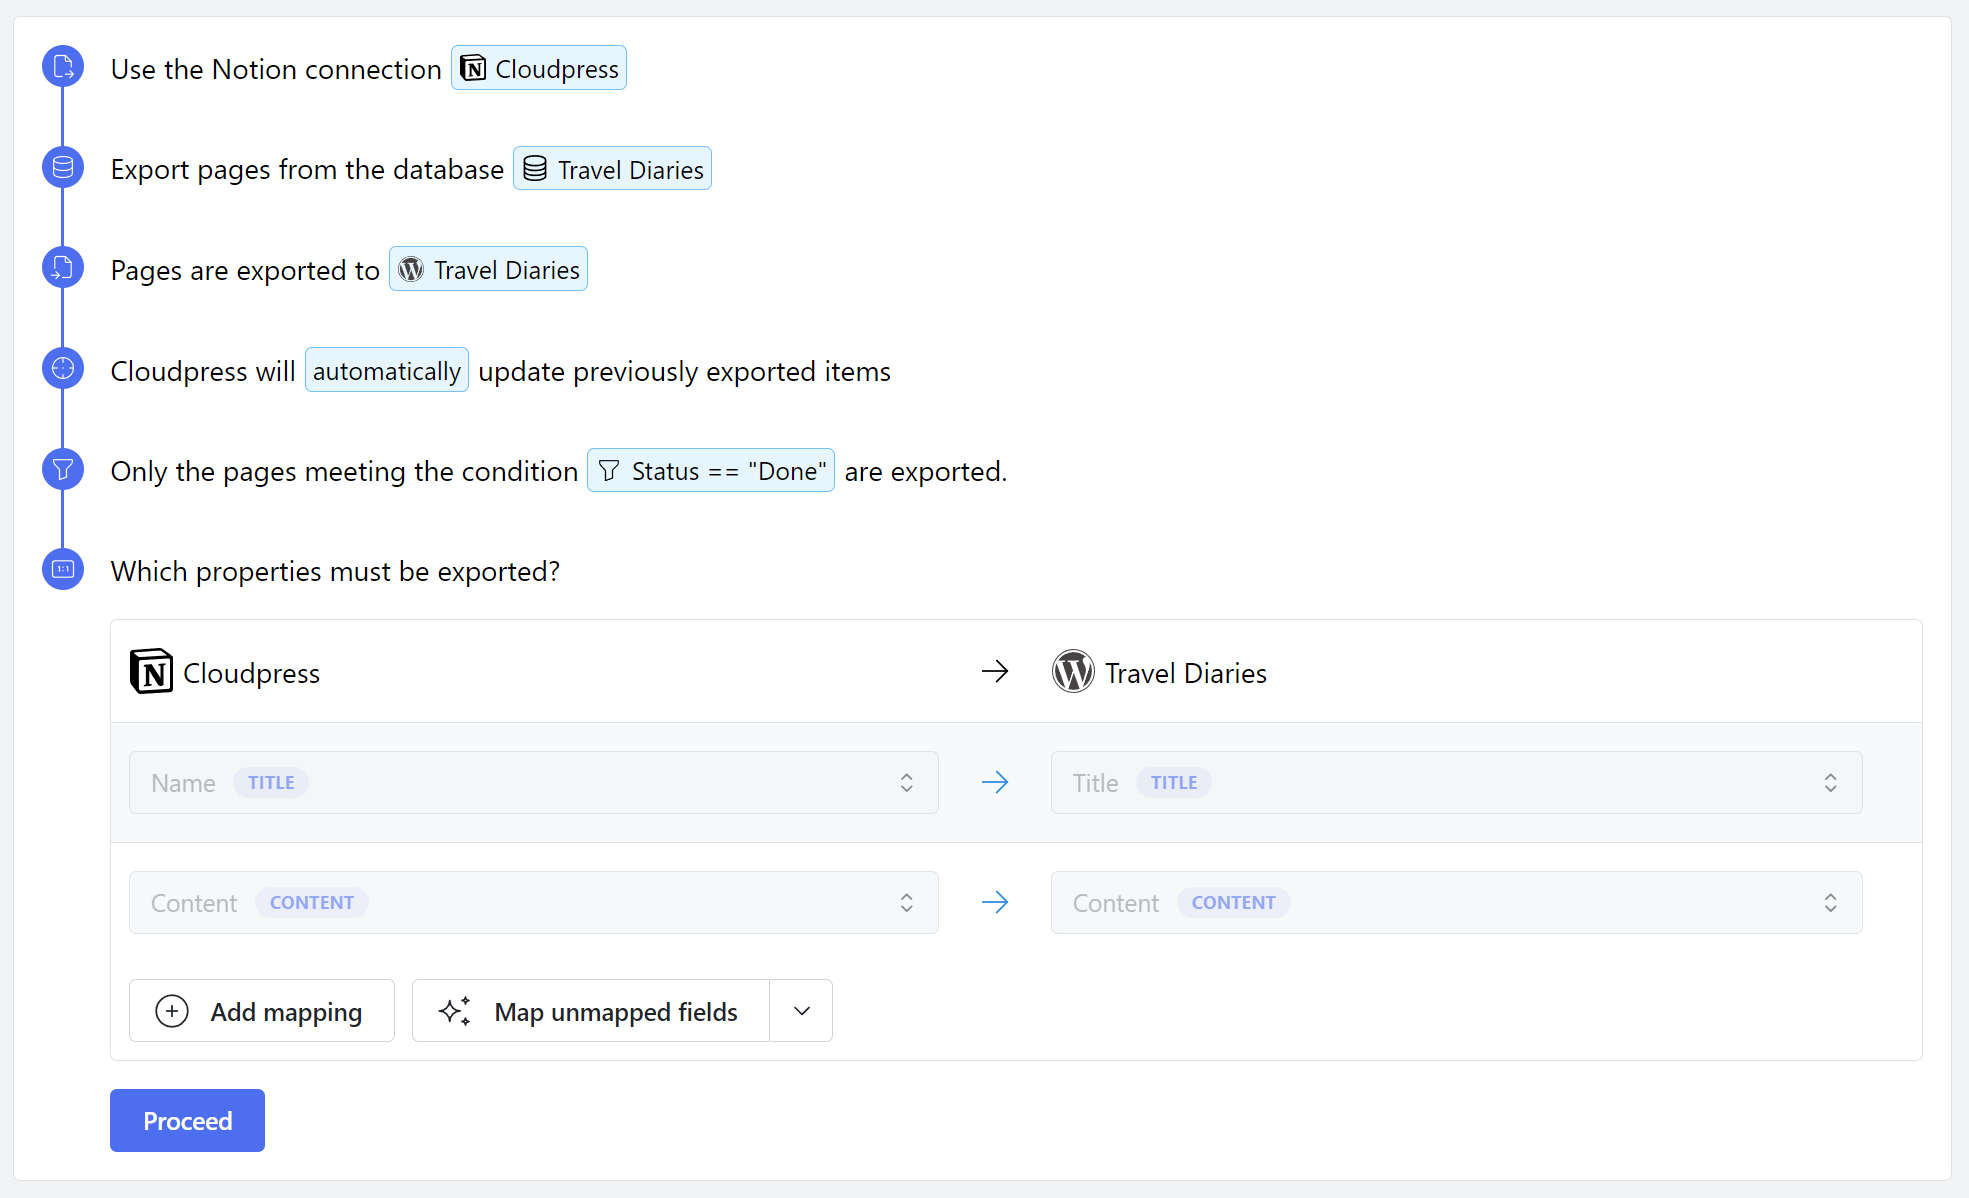
Map fields
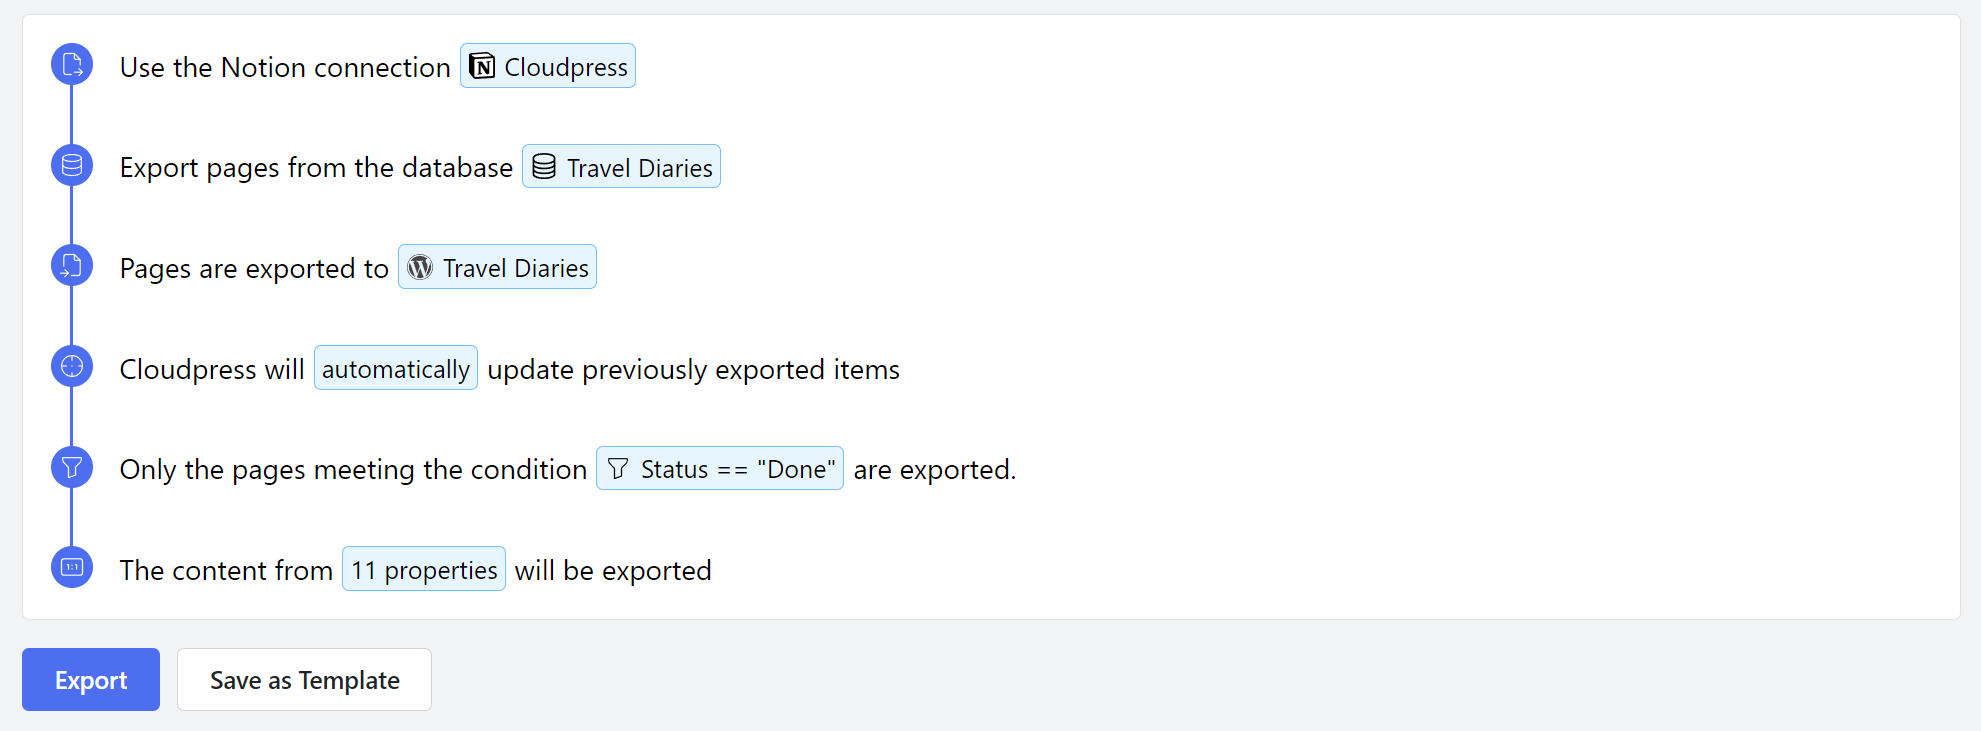
Export the database
Cloudpress will display a progress indicator while exporting the content. Depending on the size of your database, this may take a few minutes.
Once the export is complete, you can view the details of the export by clicking the View Job Detail button.

Save export definition as a Job Template
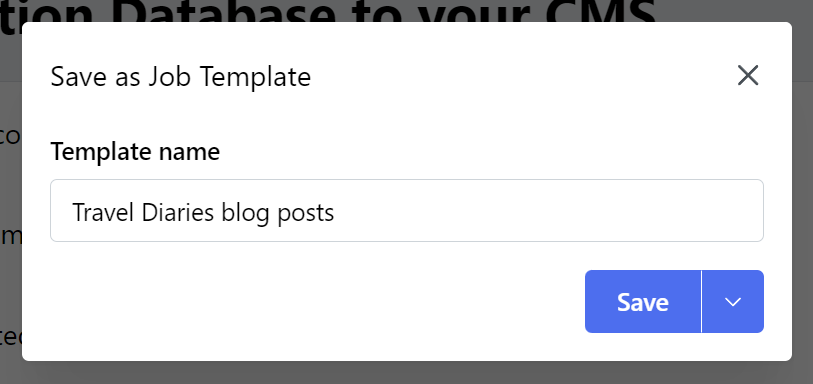
Cloudpress allows you to save the job definition as a Job Template, allowing you to perform the export in the future without having to go through the steps above every time. To do this, after completing all the steps above, click on the Save as Template button. Give the Job Template a name, and click the Save button.
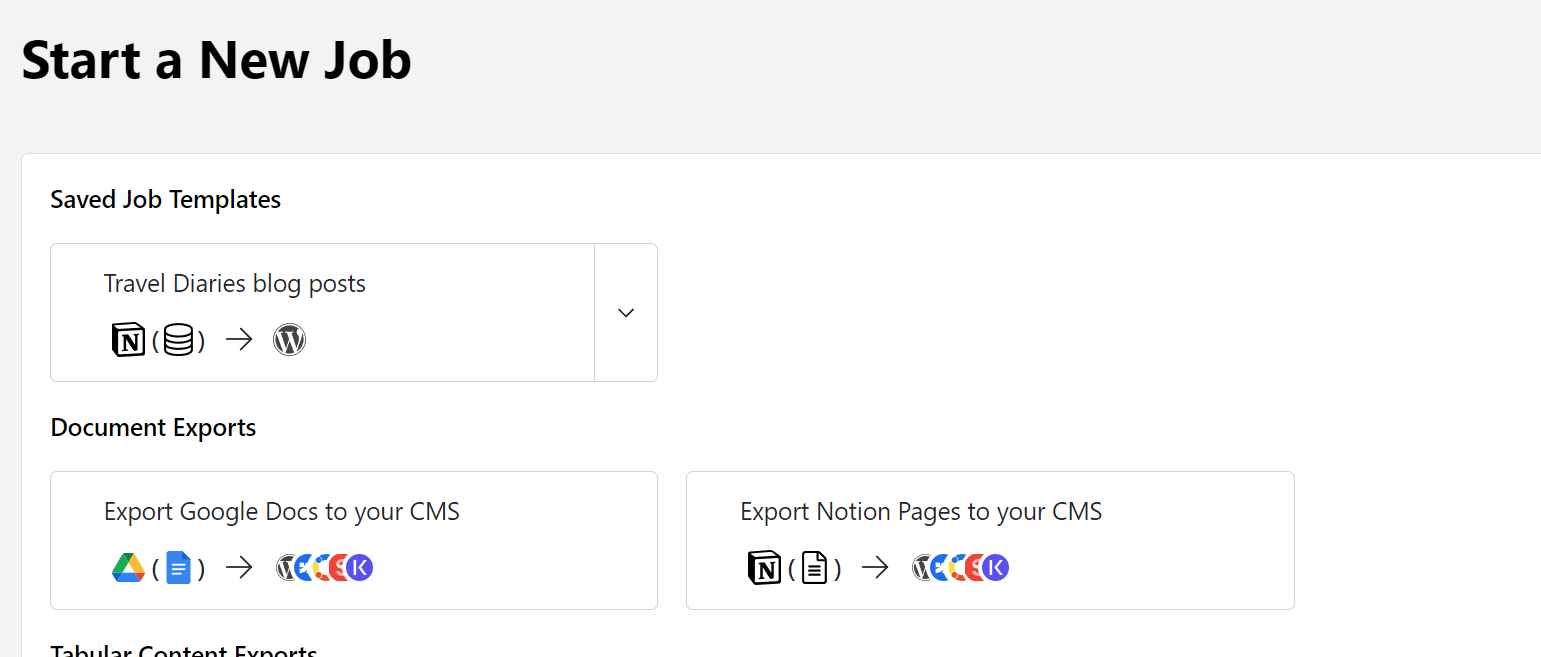
 Once the template is saved, you can find it on the New Job page.
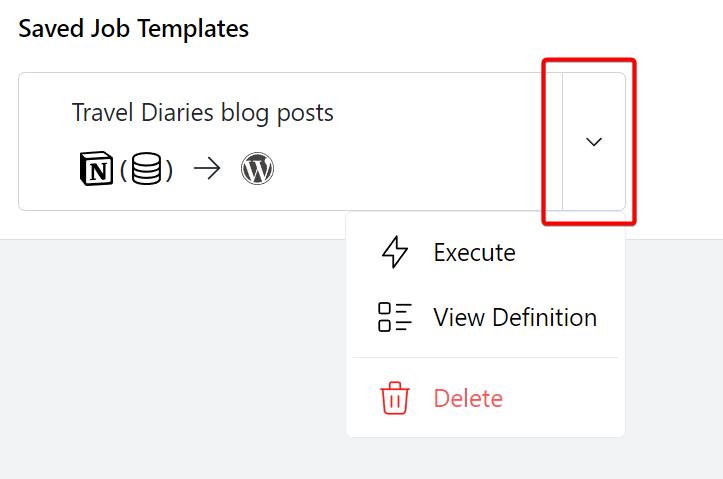
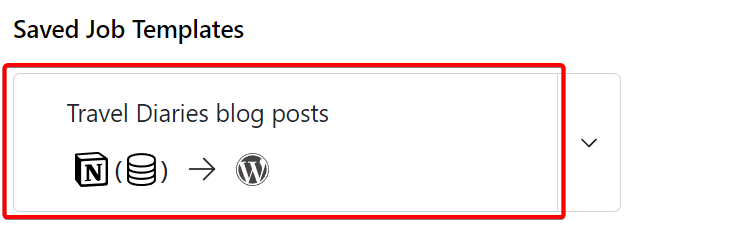
 You can execute this Job Template as any time in the future by clicking on the left-hand side of the button.
 Clicking on the dropdown button to the right gives you access to a popup menu that allows you execute the Job Template, view and update the Job Template definition, or delete the Job Template.