Connect your Sanity account
Sanity schema overview
To add your Sanity account to Cloudpress, you will need details of the schema for the Sanity document type you will be exporting content to. You will need to know the name of the schema, the name of the field that contains the title of the document, as well as the name of the field that contains the document’s content. For this guide, let’s assume that we have a schema namedpost with a title field that contains the title of the document, as well as a body field that is defined as blockContent that contains the content of the document.
Here is the configuration of the sample schema:
Generate an API Token
You will need an API token to give Cloudpress access to your Sanity account. Open the Sanity Management Console and select your project. Navigate to the API tab and scroll down to Tokens section.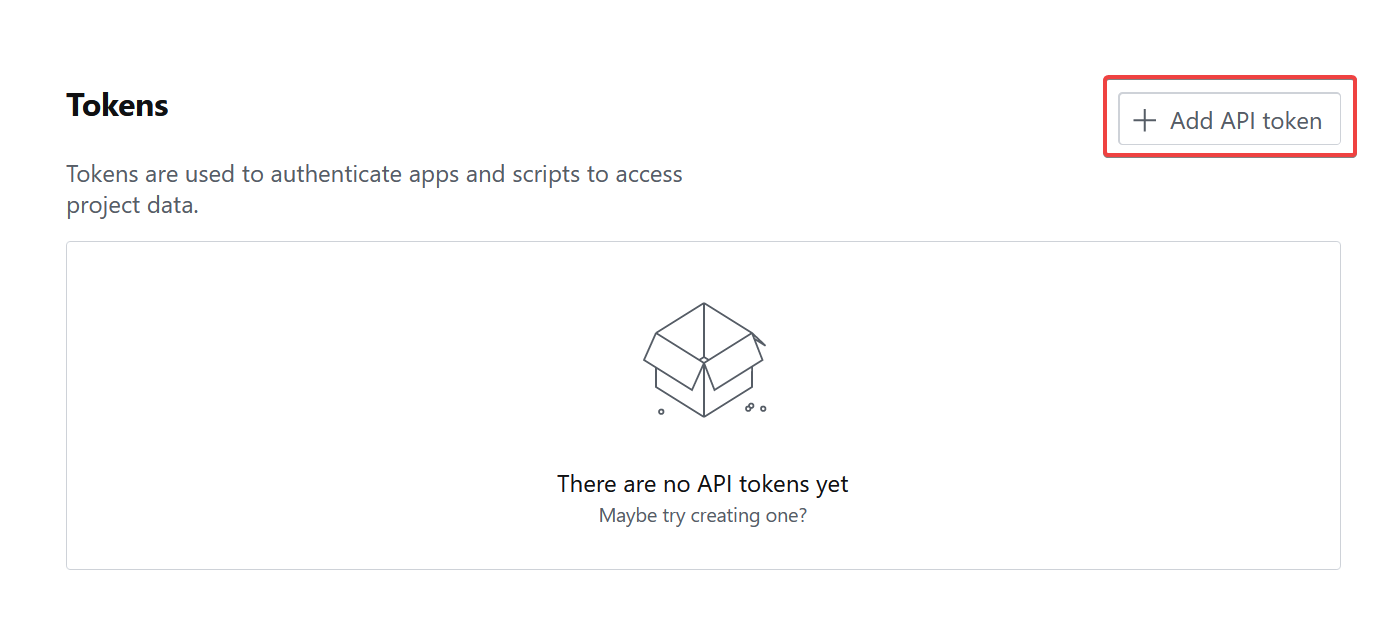 Click on the Add API Token button. Give the token a descriptive name, and select the Editor permission.
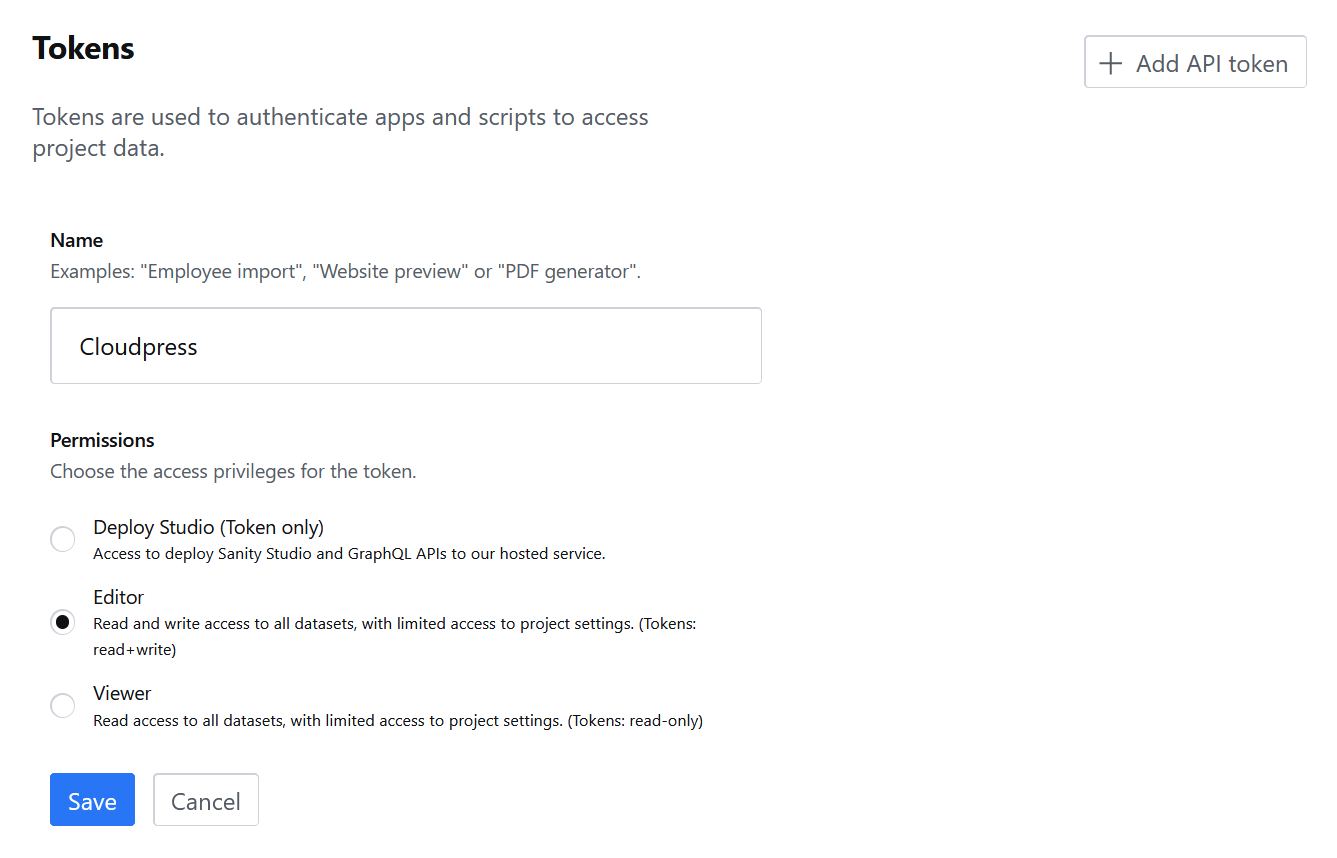 Click the Save button to generate the token. Copy the token to the clipboard, as you will need it in the following step.
Create Sanity Connection
Go to the Connections page in Cloudpress, click on the Add Connection button and then select Sanity from the list.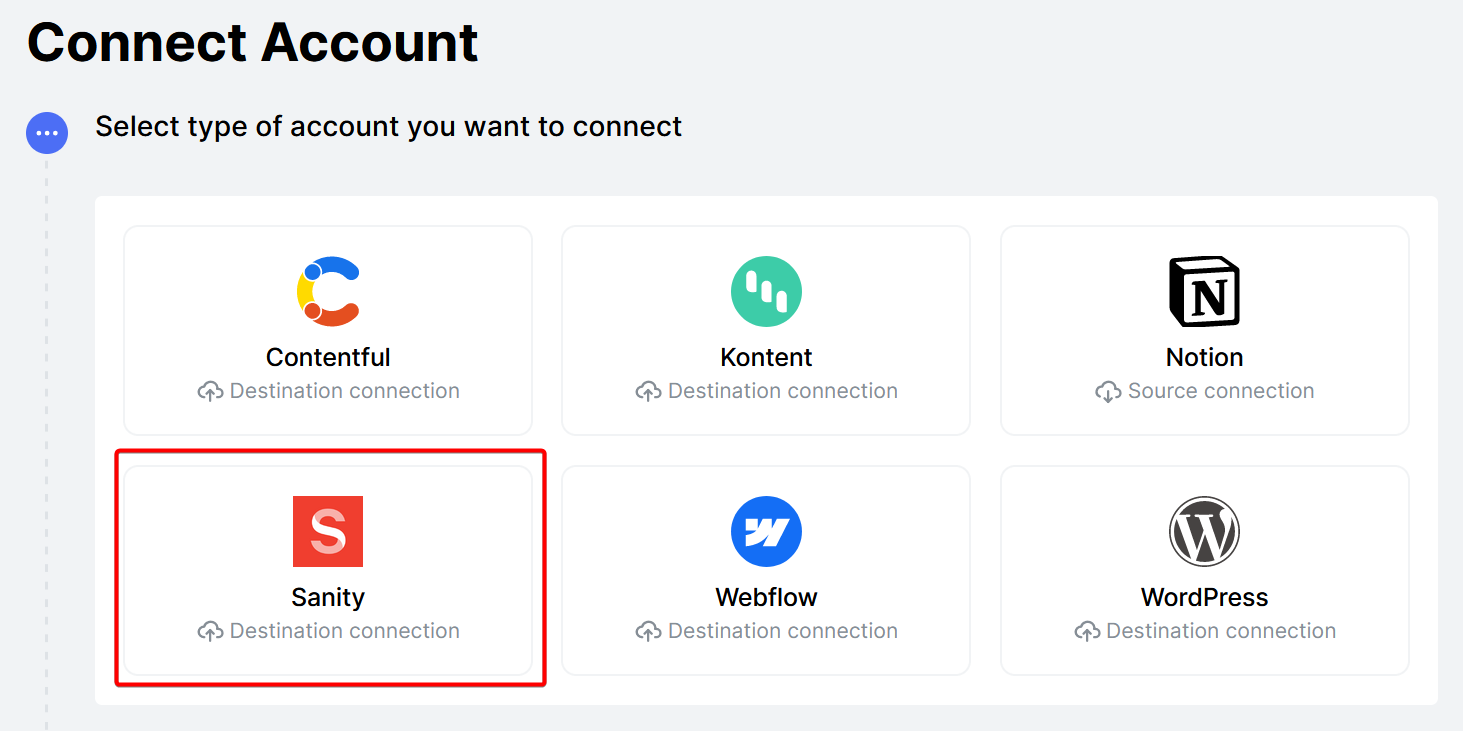 This will take you to the Connect a Sanity account step.
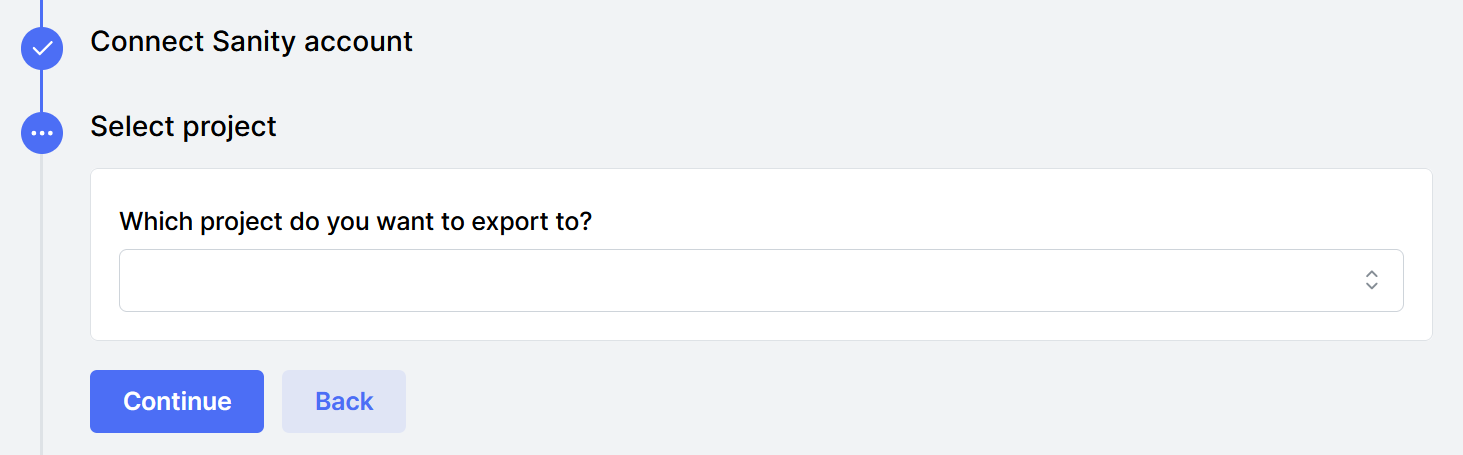
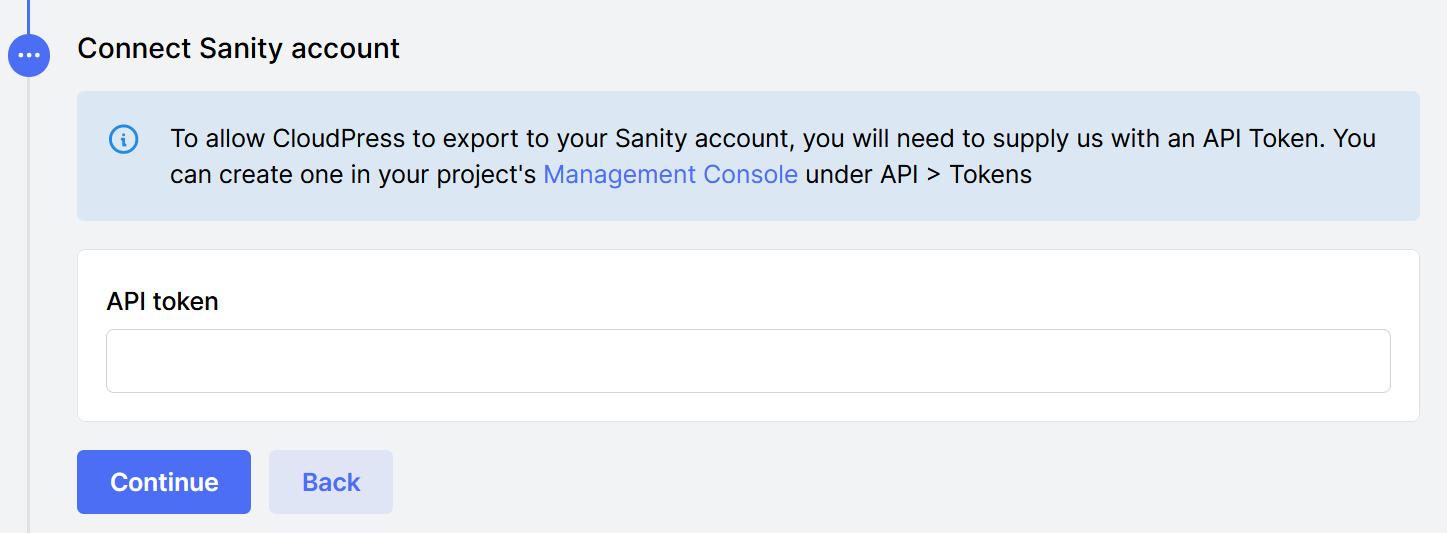 Paste the API Token you previously generated in Sanity, then click Continue. Next, you will be prompted to select the project you want to export to. Select your project from the list.
 The next step is to configure your data model. You will need to select the dataset you want to use and tell Cloudpress the name of the content type, title field, and content field you want to use.
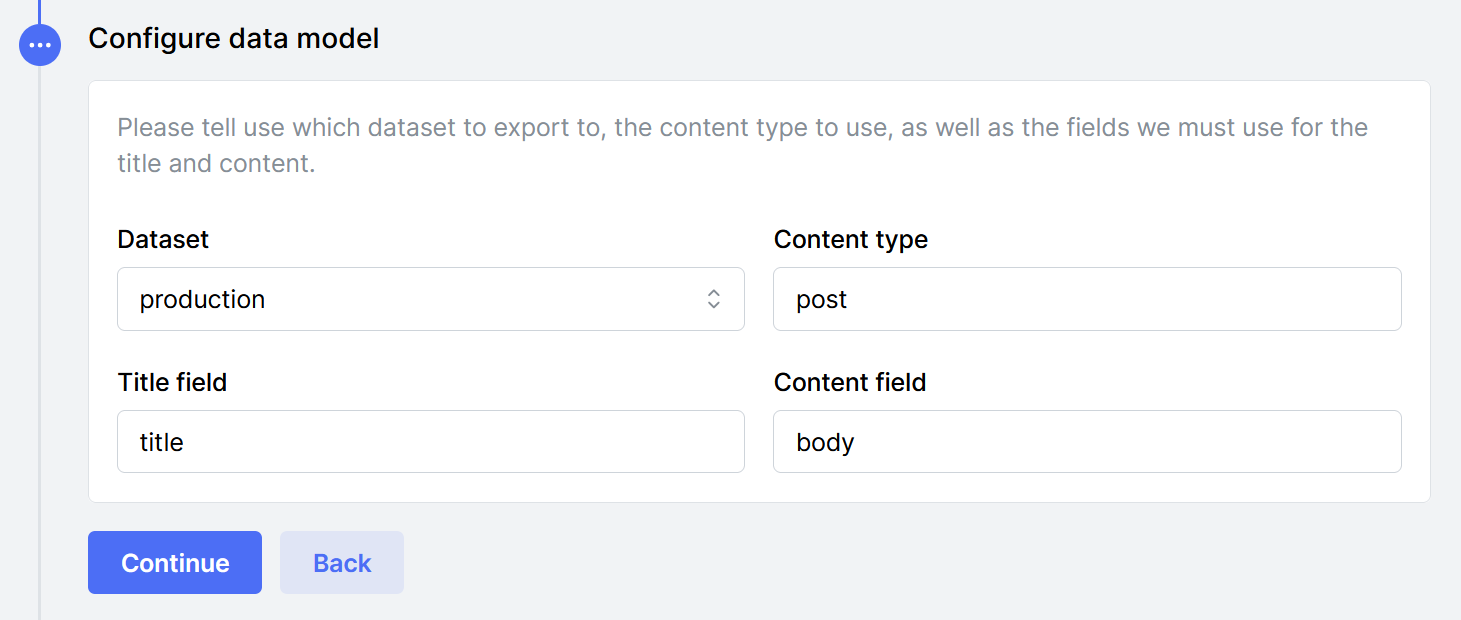 The screenshot above demonstrates the configuration for exporting to the example schema at the beginning of this document. It will export the content to the
 post type. The document title will be expored to the title field, and the content of the document will be exported to the body field.
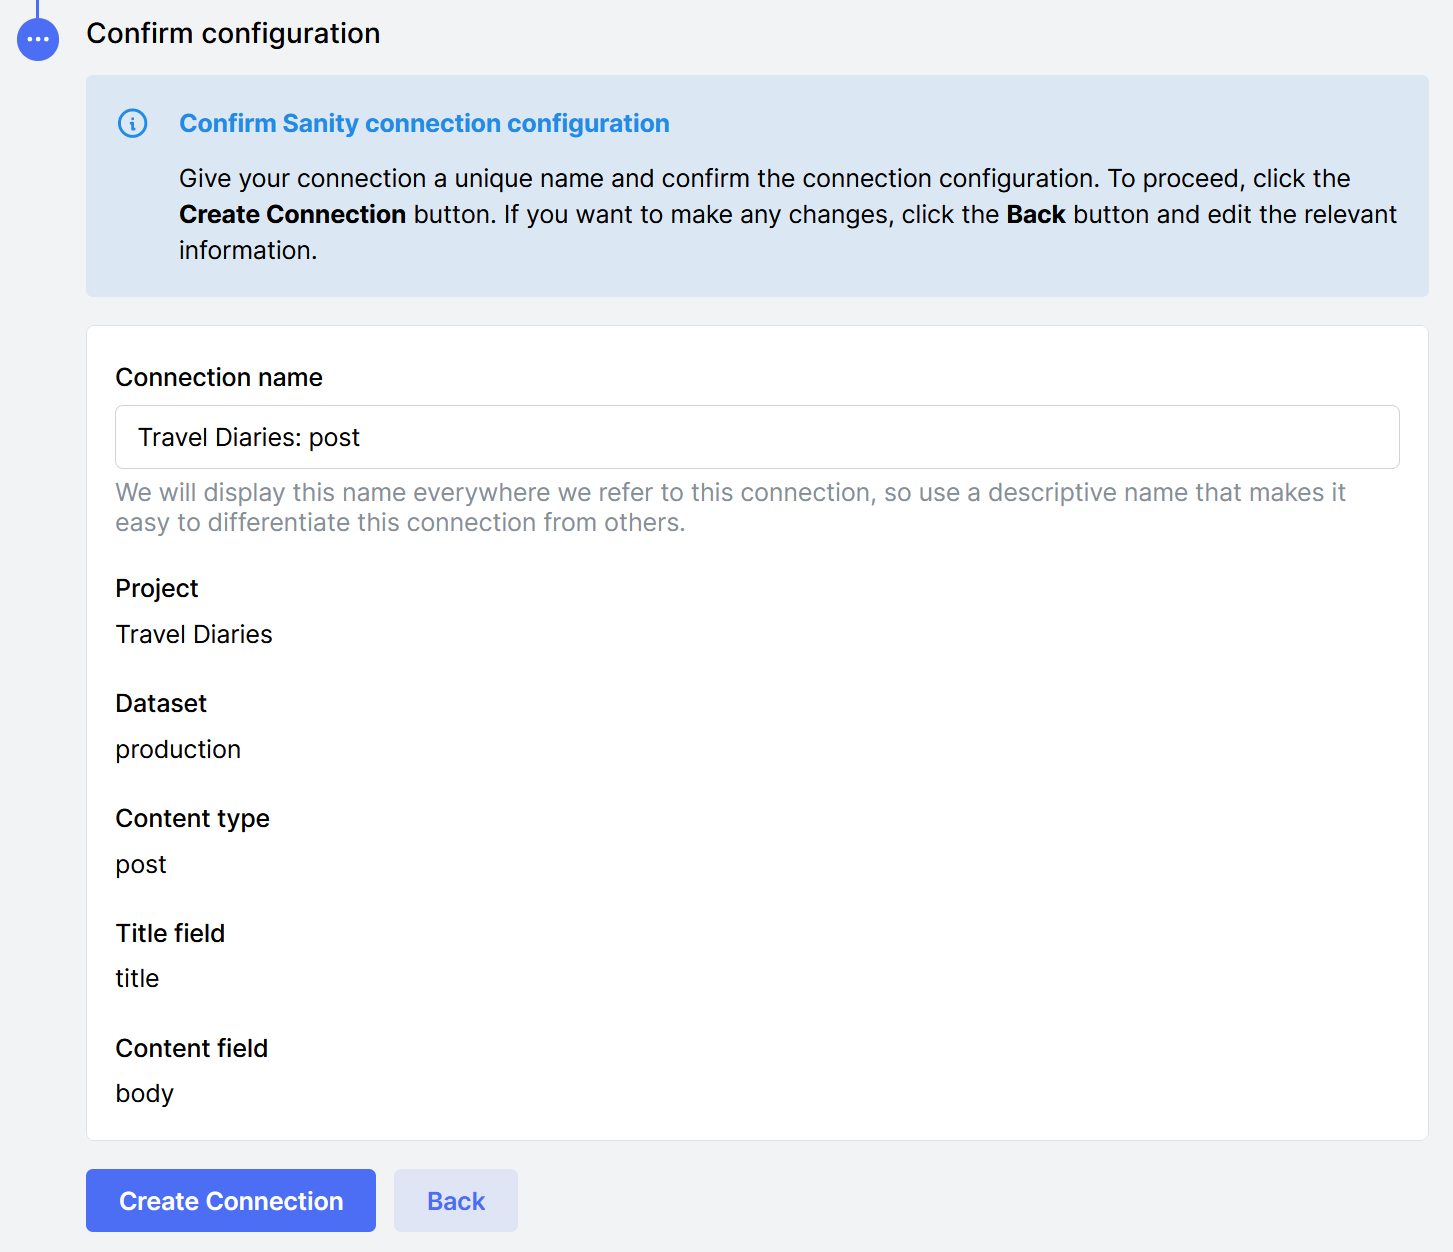
The final step is to confirm your connection configuration and give the connection a descriptive name. Click the Create Connection button to continue.
Manage Connection
You can manage a Sanity connection by navigating to the Connections page in the Cloudpress application and selecting the Connection you want to manage.Change Connection name
You can change the name of the Connection from the General tab. Give the Connection a new name, then click the Save Changes button.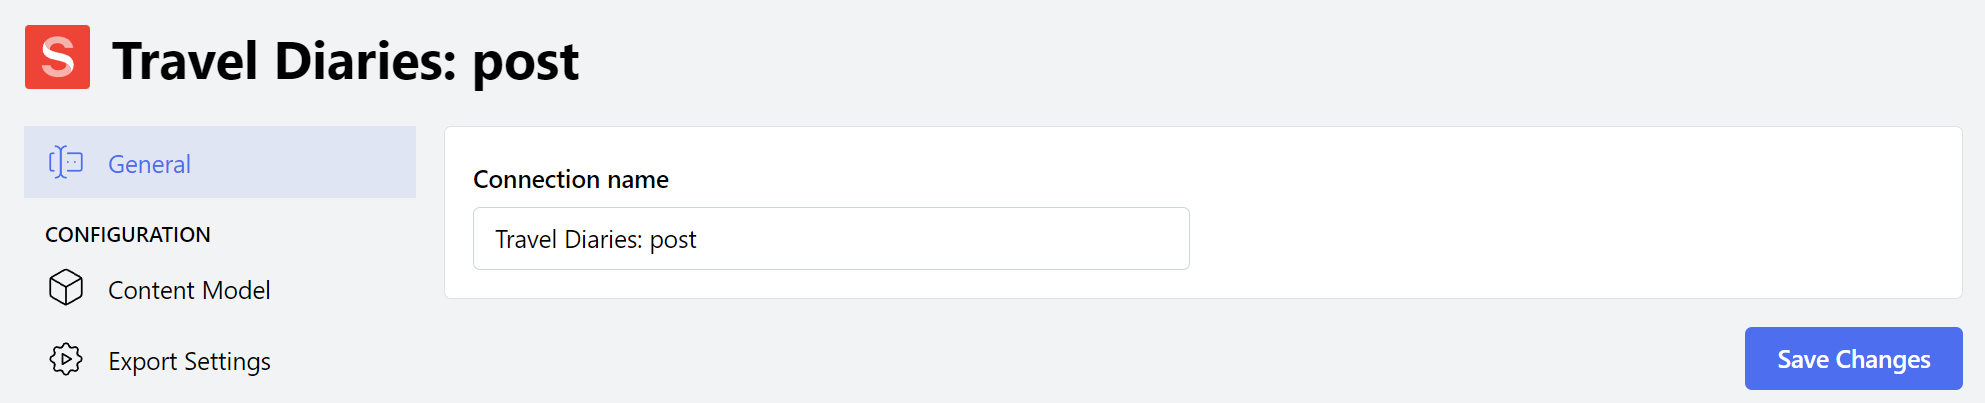
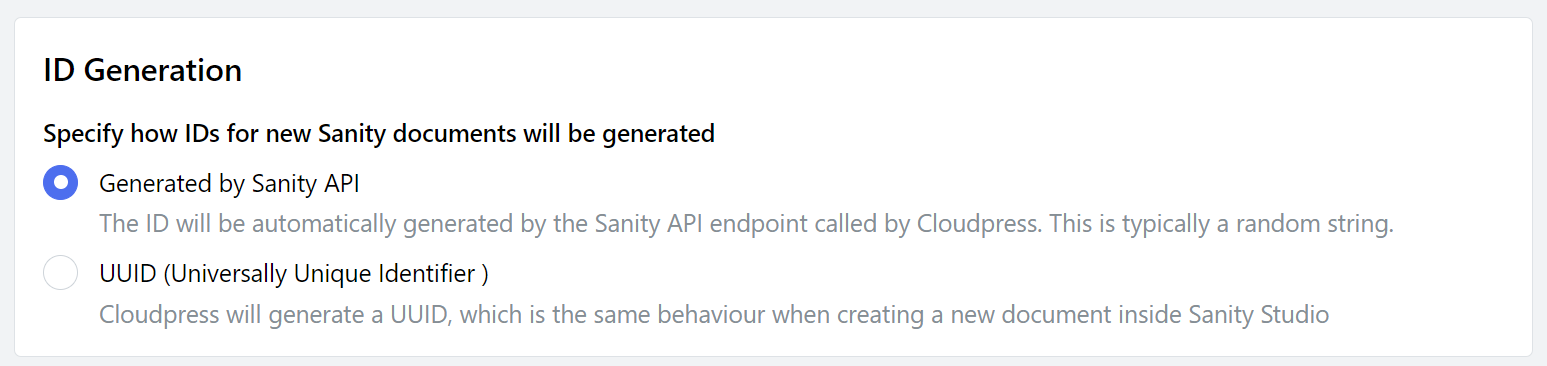
Export Settings
The Export Settings allow you to control various aspects of how content is exported to this Webflow Connection.-
ID Generation allows you to specify how IDs for new documents will be generated. You can either allow the Sanity API to generate the IDs, or you can set it to be UUIDs (which is the same behaviour when creating a new document inside Sanity Studio)
Reconnect account
At some point, it may happen that Cloudpress loses the permission to your account. For example, the API token you used to connect the account may be revoked. In such cases, you need to reconnect your Sanity account. Go to the Connection tab of your Sanity Connection, specify the new API token, and click the Update API Token button.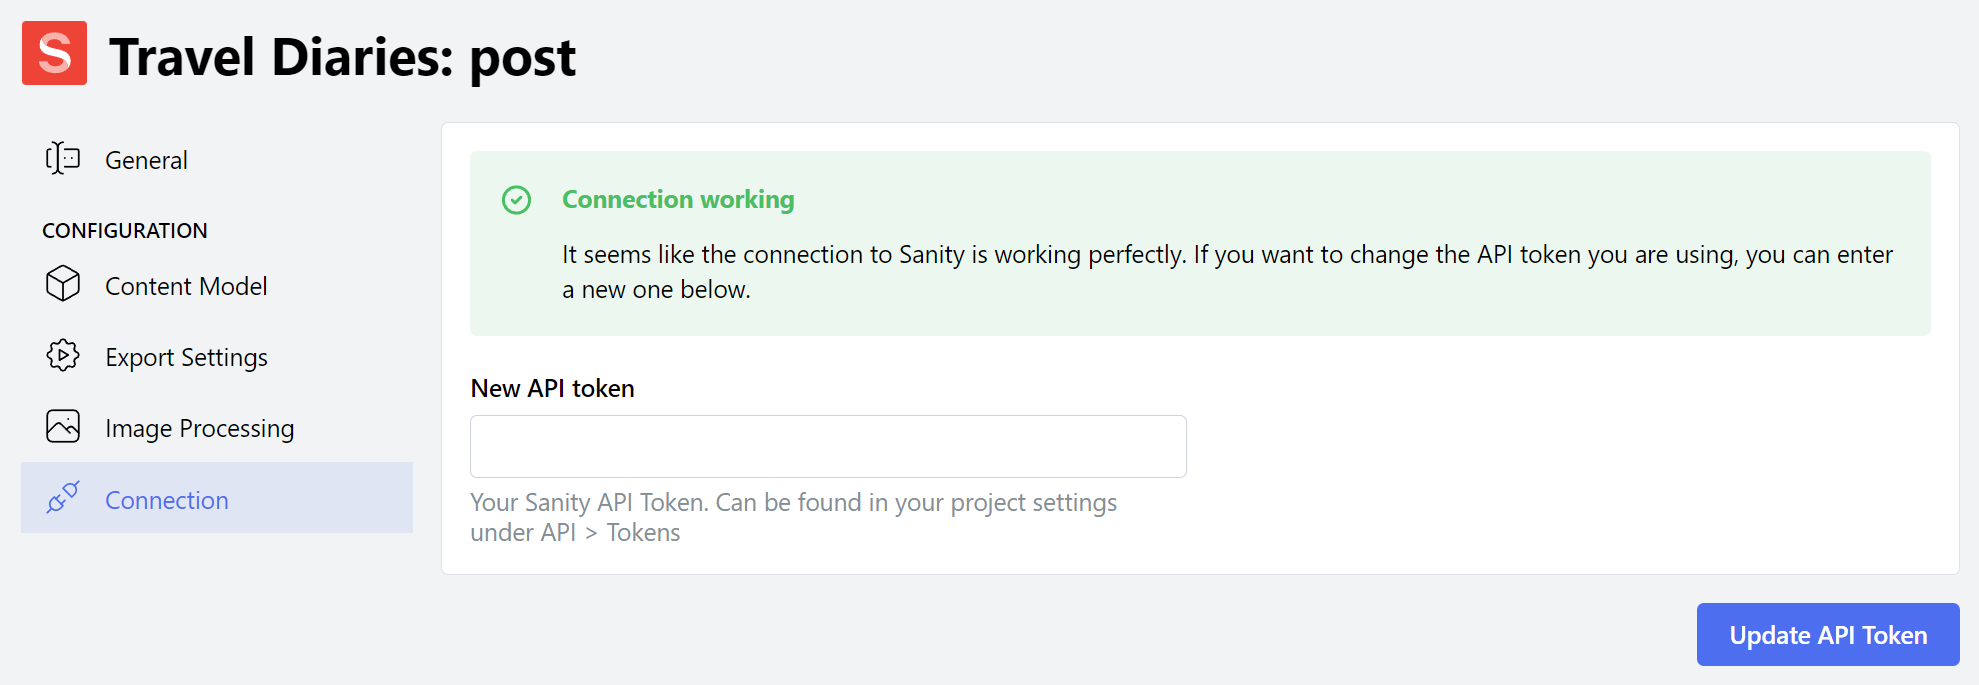
Delete Connection
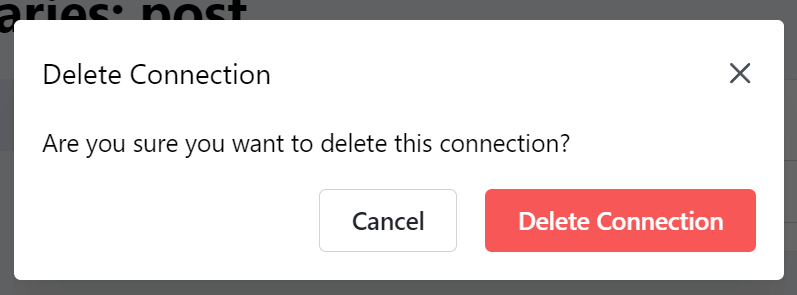
To delete your Sanity Connection, go to the General tab. Under the Danger Zone section, click the Delete button.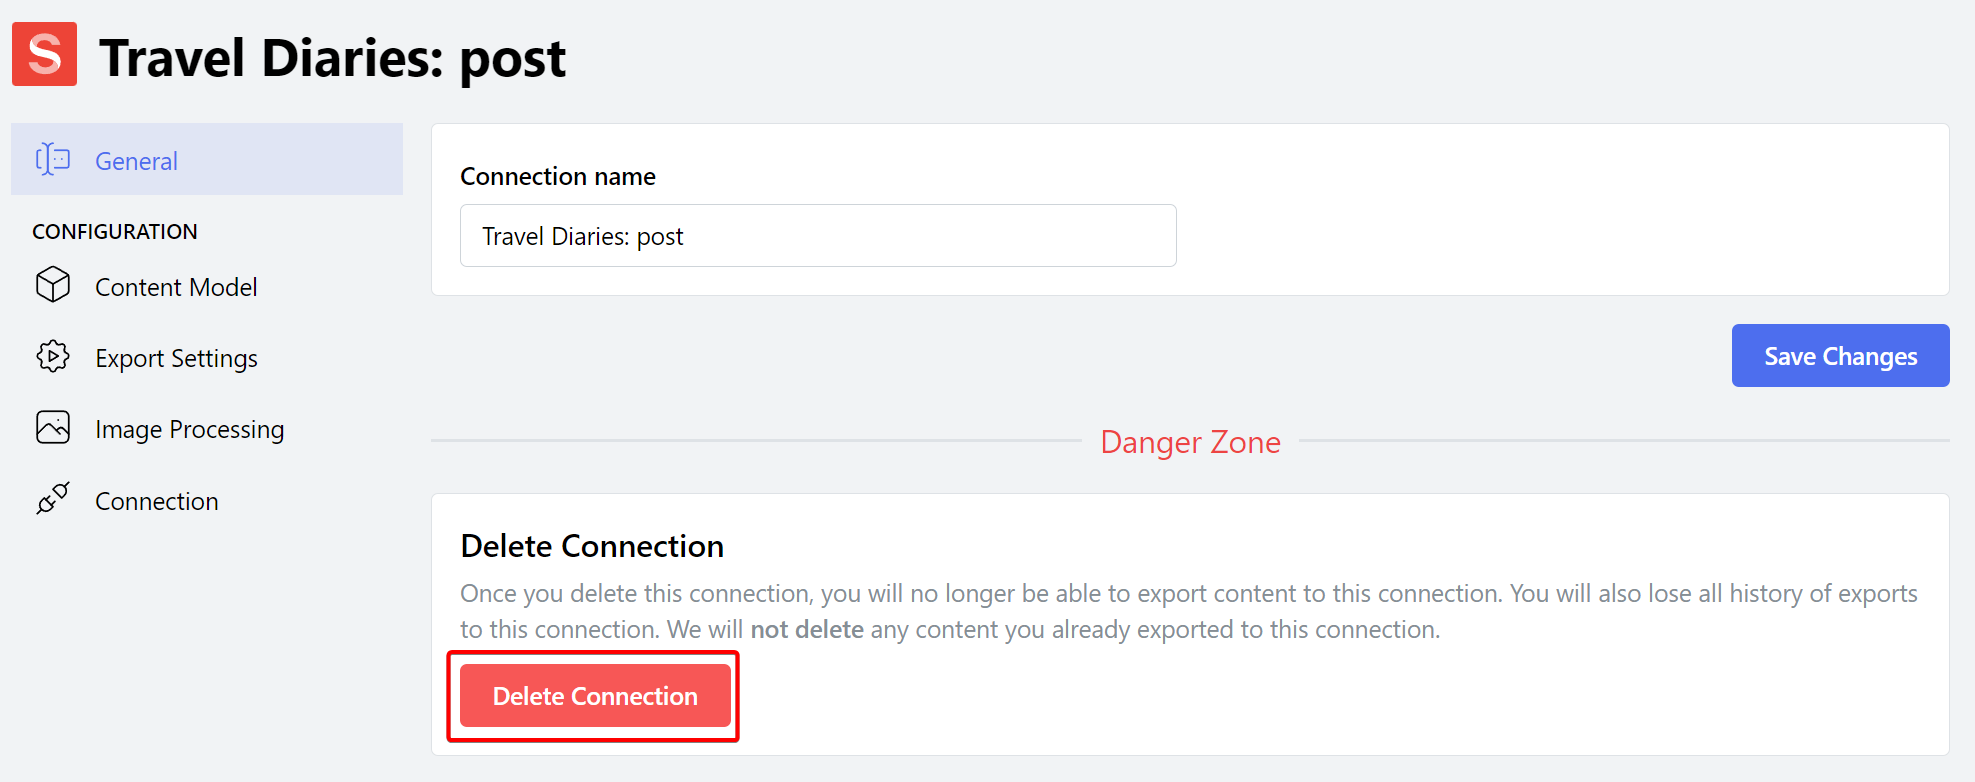 Confirm the deletion of the Connection by clicking the Delete Connection button.