Connect your Notion account
Go to the Connections page in Cloudpress, click the Add Connection button and then select Notion from the list.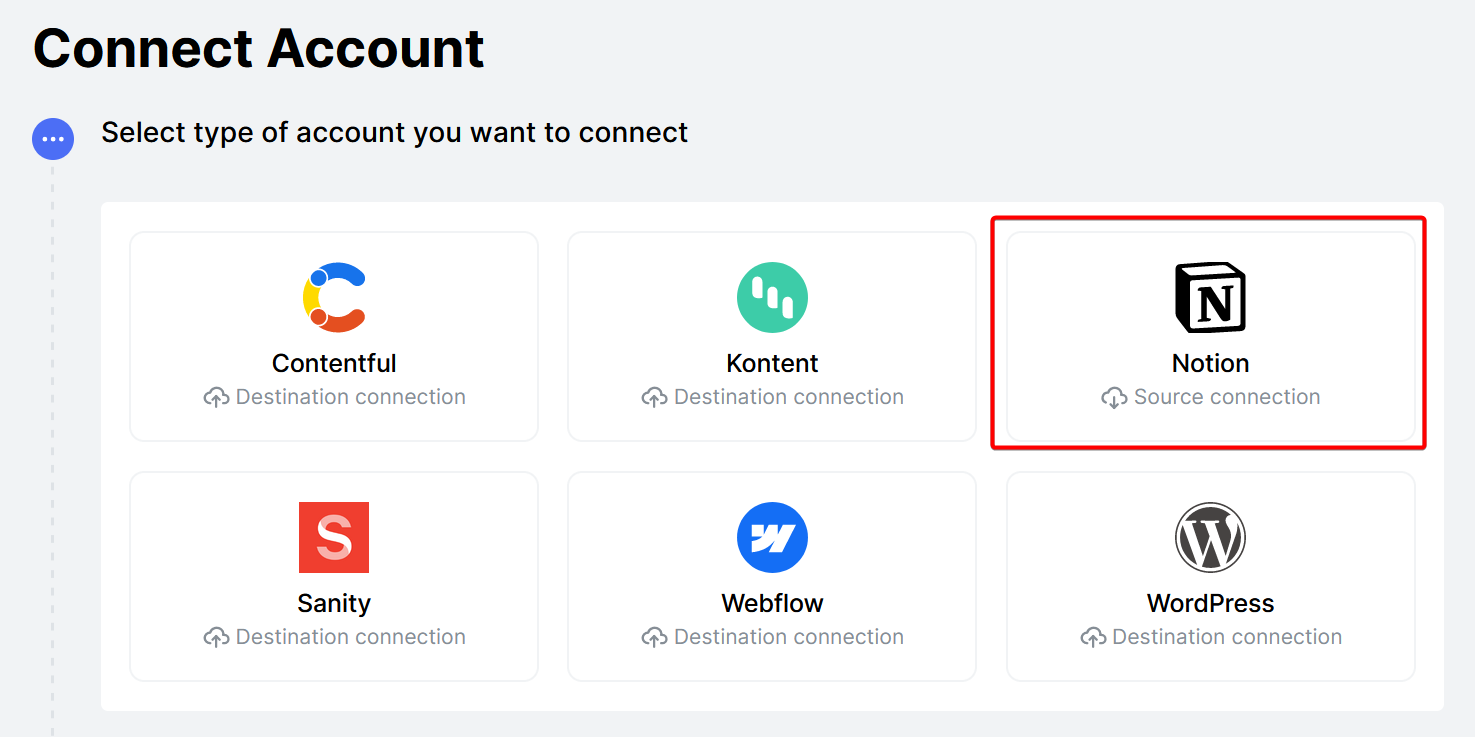
Authorize Cloudpress to access your Notion account
Next, you will need to authorize Cloudpress to have access to your Notion content. This process requires you to navigate to the Notion website, log in to your account, authorize Cloudpress to access your account, and select the pages and databases that you want to give Cloudpress access to. To start with this process. click the Authorize Cloudpress button. This will open the Notion website on a popup screen. If you are not logged in to your Notion account, you will be required to do so.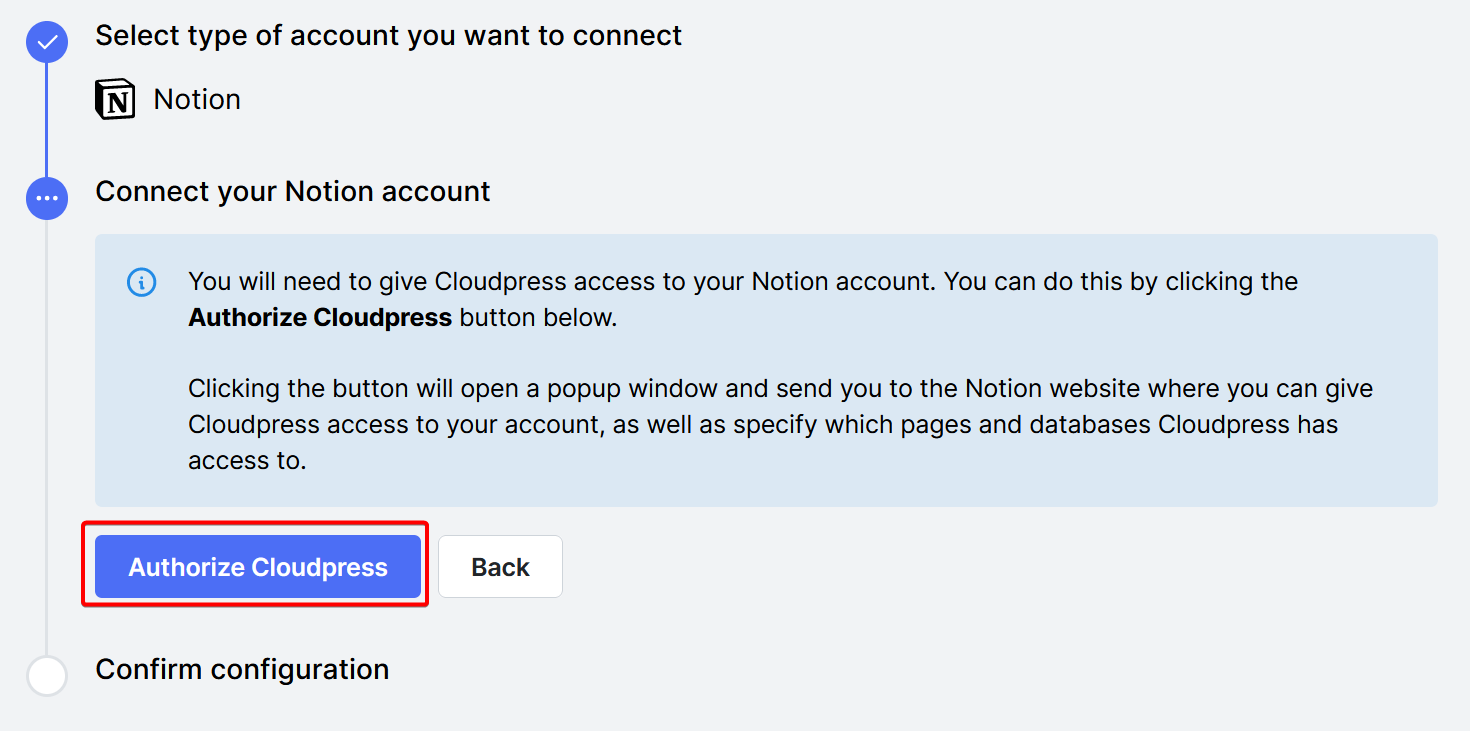 Notion will ask whether you want to give Cloudpress access to your information. If you have access to multiple Notion accounts, select the correct account from the dropdown in the top right corner, then click Select pages to proceed with the authorization process.
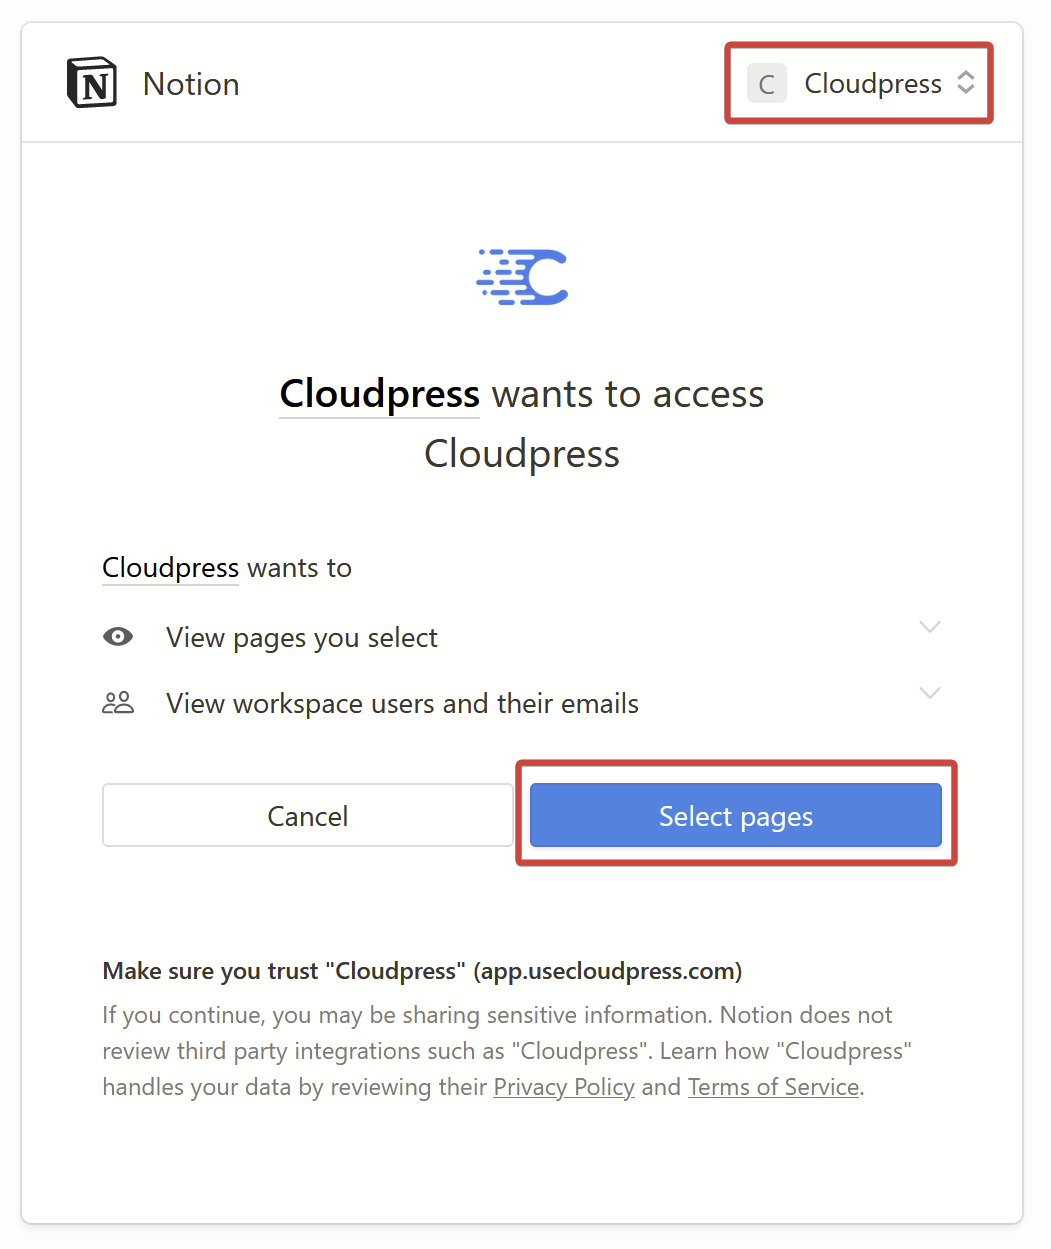
Select the pages and databases Cloudpress must have access to
Next, you must tell Notion the pages and databases you want Cloudpress to access. Cloudpress will have access to all child pages of the pages and databases that you select. Select the correct pages and databases, then click the Allow access button to proceed.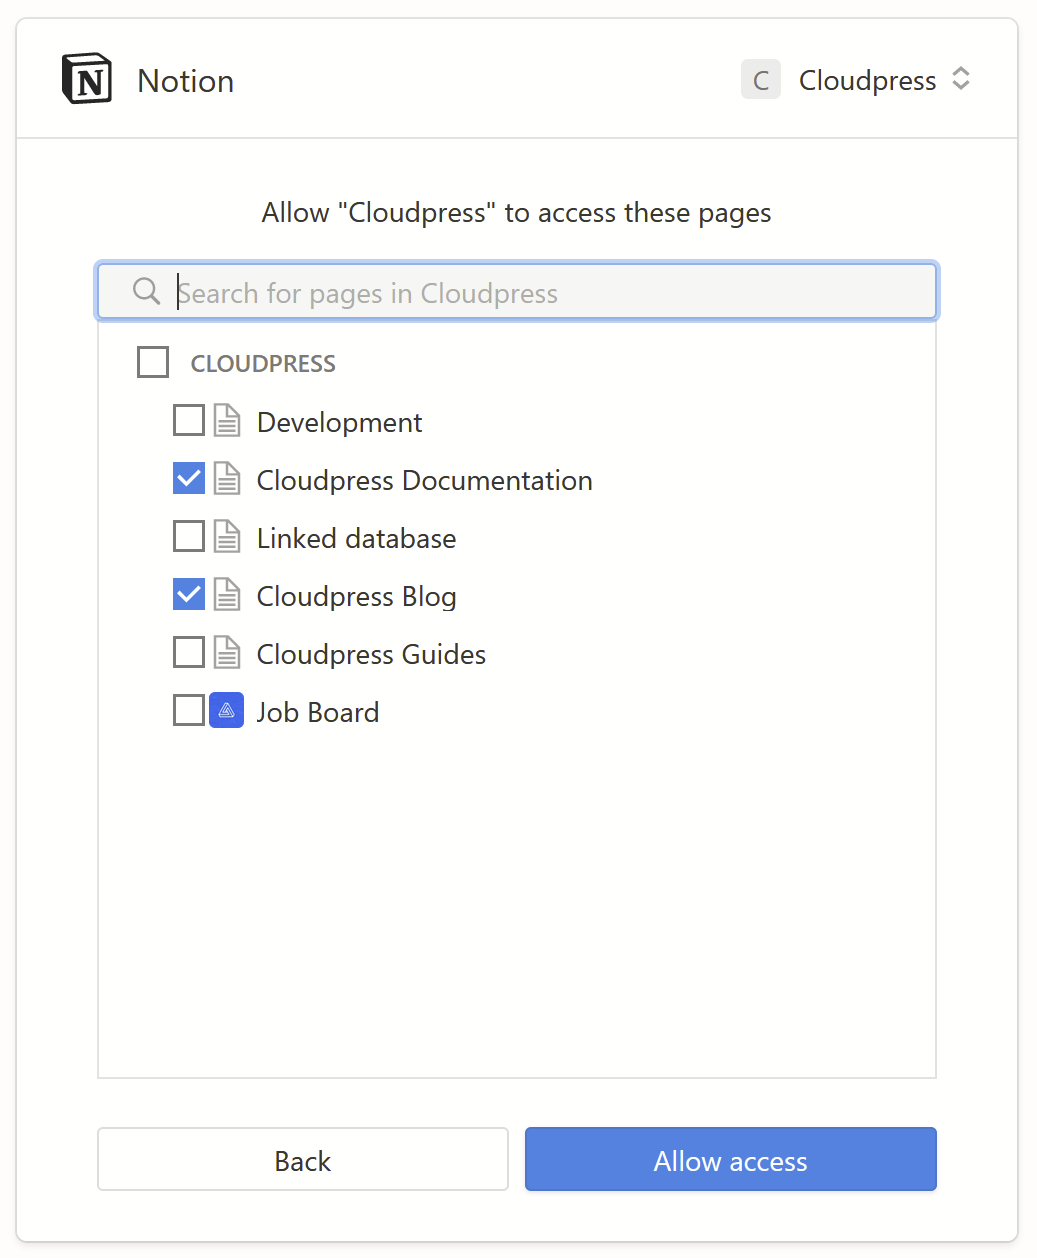
Please note that when you select databases, it is very important to give Cloudpress access to the original database and not a page that merely links to it. For example, in the screenshot below, you can see two pages that reference the same database. The Cloudpress Documentation page contains the original database, but the Linked database page only contains a link to that same database.In this example, you must give Cloudpress access to the Cloudpress Documentation page. If you only give Cloudpress access to the Linked database page, Cloudpress will not be able to access any pages from that database.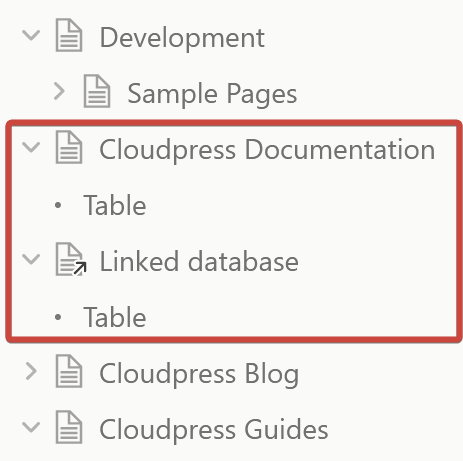
Confirm your settings
The final step is to confirm your connection settings and give the connection a name. Click the Create Connection button to create the connection.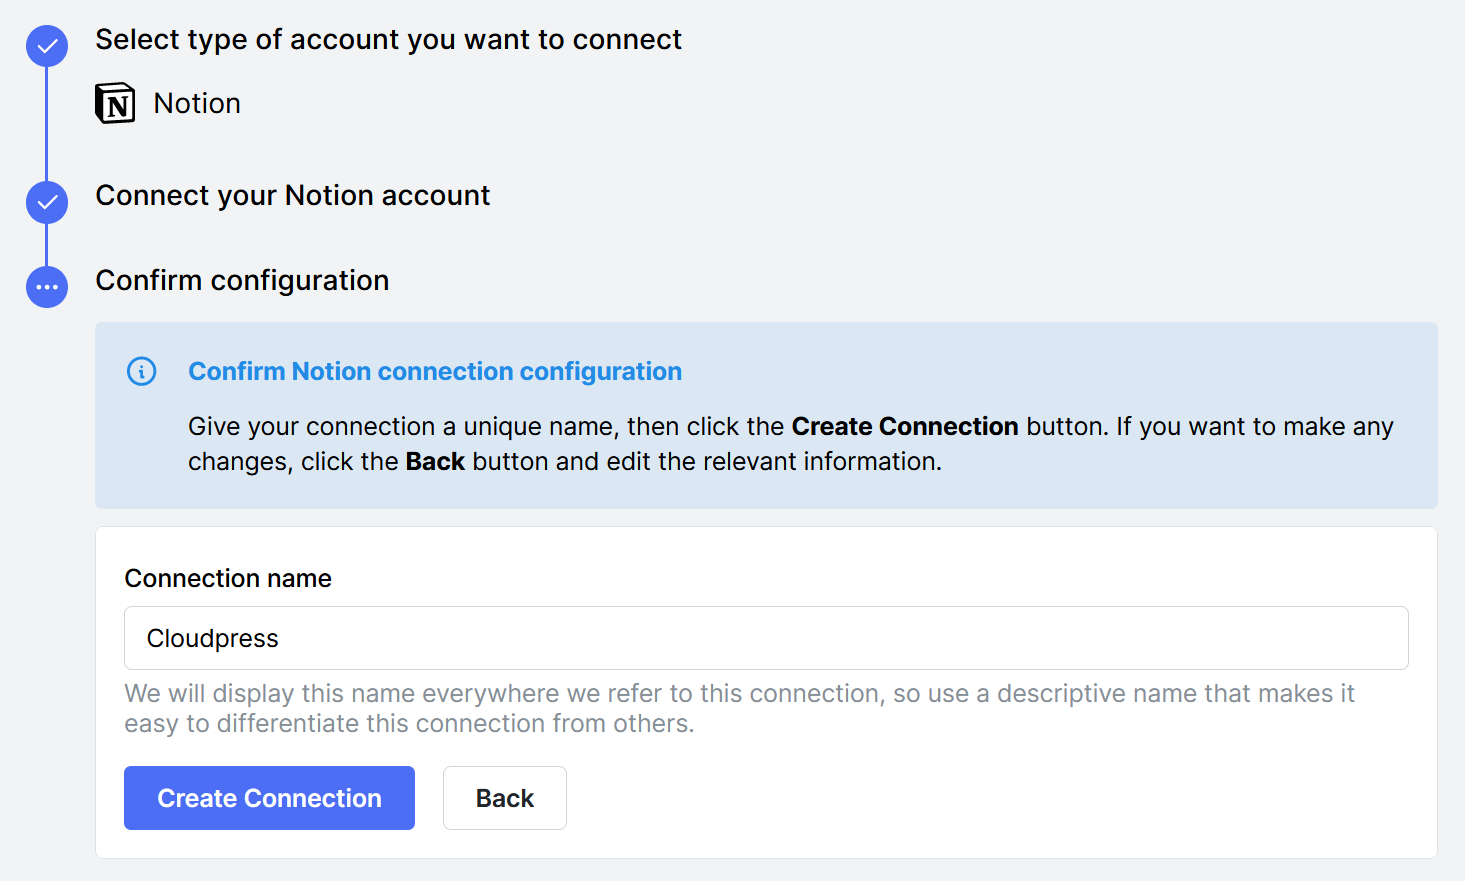
Manage your Notion Connection
You can manage a Notion connection by navigating to the Connections page in the Cloudpress application and selecting the Connection you want to manage.Change Connection name
You can change the name of the Connection from the General tab. Give the Connection a new name, then click the Save Changes button.
Configure Content Conversion
The Content Conversion tab allows you to configure how documents that are exported from this Notion Connection must be converted.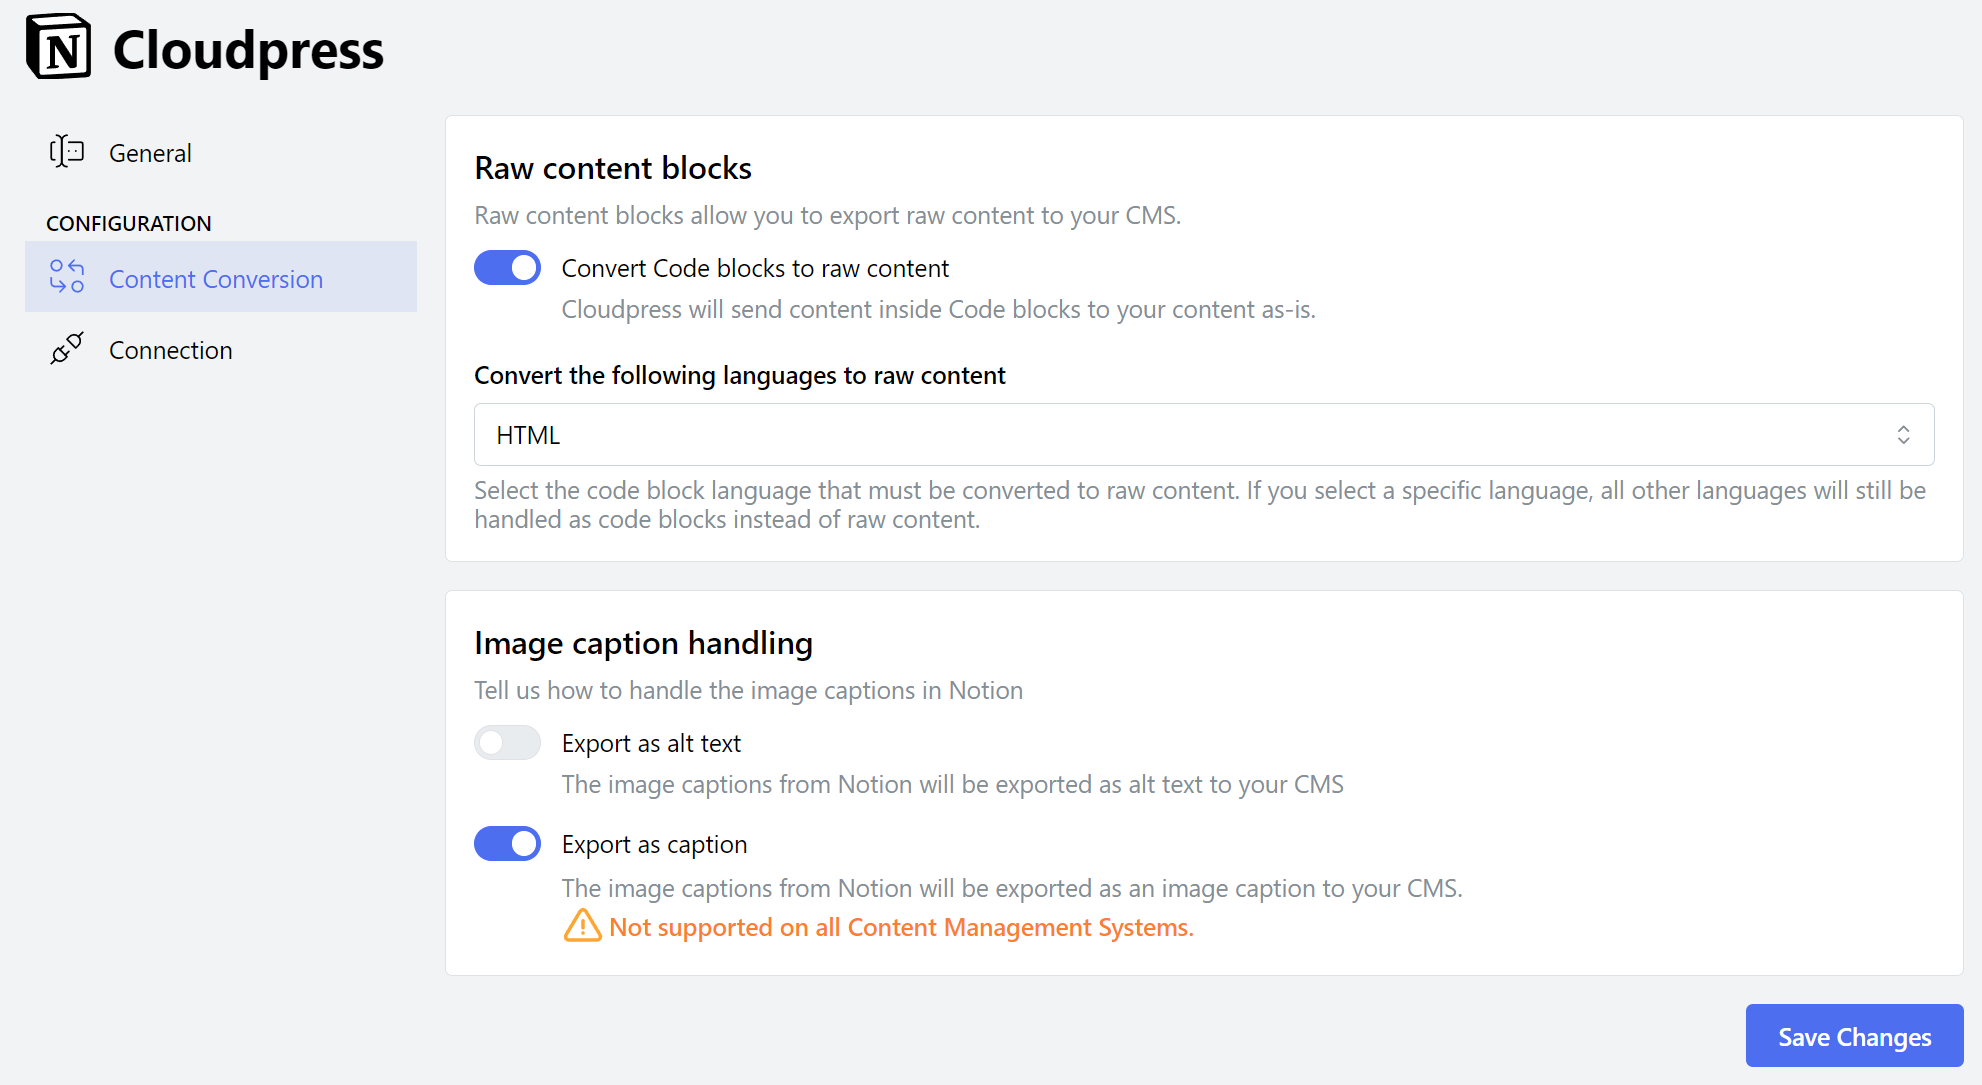 The Raw content blocks section allows you to specify whether Cloudpress should export content inside code blocks as raw content. You can indicate whether Cloudpress should treat all code blocks as raw content, or only the ones with the language specified in the “Convert the following languages to raw content” list.
The Image caption handling section allows you to specify how Cloudpress should handle the caption of images in Notion. When Export as alt text is enabled, Cloudpress will export the caption as the alt text of the image. When Export as caption is enabled, Cloudpress will export the caption as the caption of the image.
The Raw content blocks section allows you to specify whether Cloudpress should export content inside code blocks as raw content. You can indicate whether Cloudpress should treat all code blocks as raw content, or only the ones with the language specified in the “Convert the following languages to raw content” list.
The Image caption handling section allows you to specify how Cloudpress should handle the caption of images in Notion. When Export as alt text is enabled, Cloudpress will export the caption as the alt text of the image. When Export as caption is enabled, Cloudpress will export the caption as the caption of the image.
Not all Content Management Systems support alt text and image captions.
Reconnect account and update permissions
At some point, it may happen that Cloudpress loses the permission to your account. For example if you explictly revoke the permissions inside Notion. Alternatively, you may want to give Cloudpress permission to access additional (or fewer) pages in your Notion account. Go to the Connection tab of your Google Drive Connection, and click the Reauthorize Cloudpress button.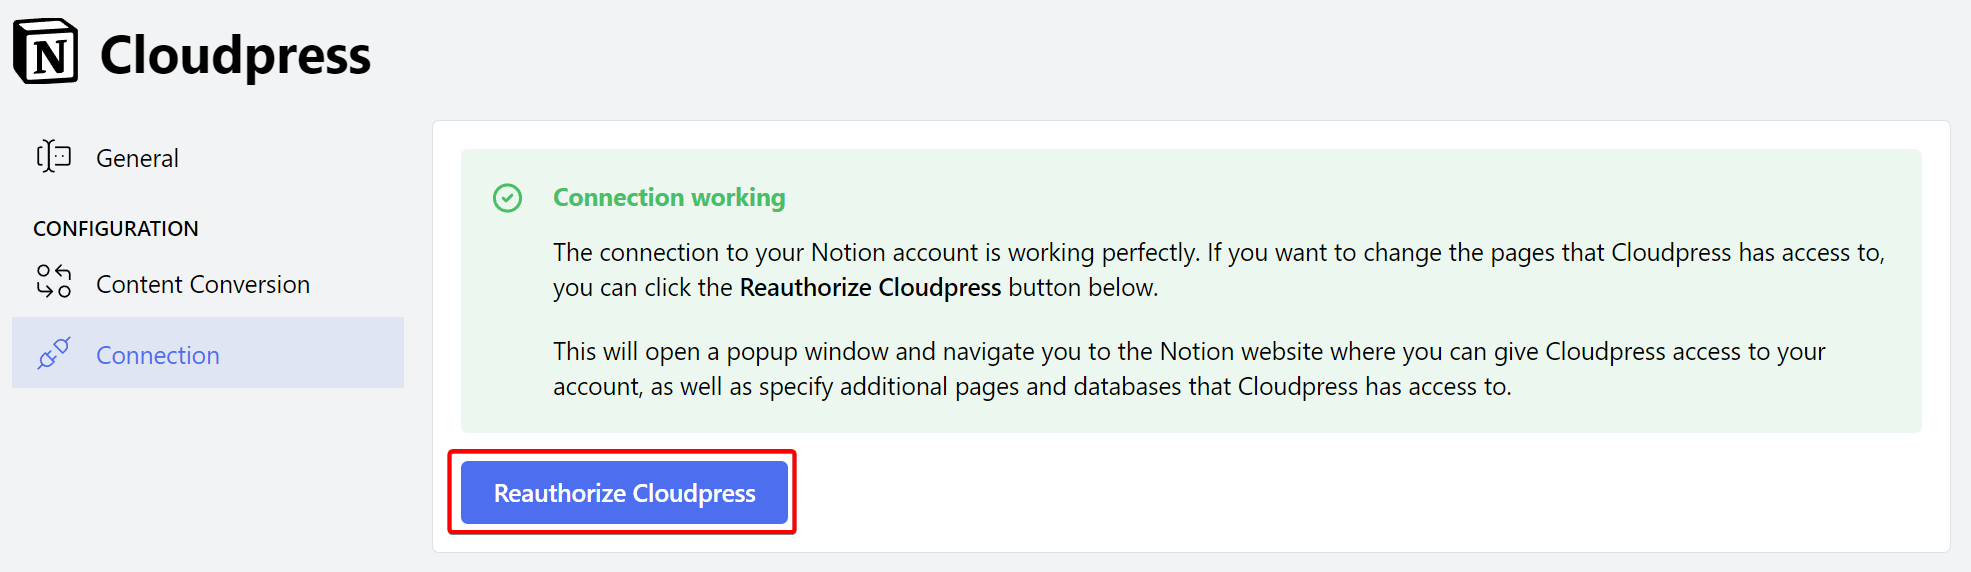
Delete Connection
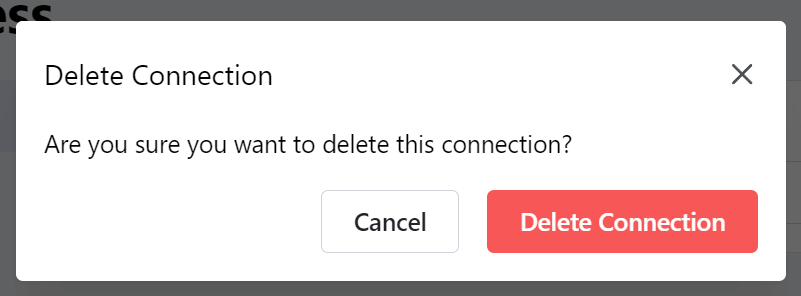
To delete your Notion Connection, go to the General tab. Under the Danger Zone section, click the Delete button.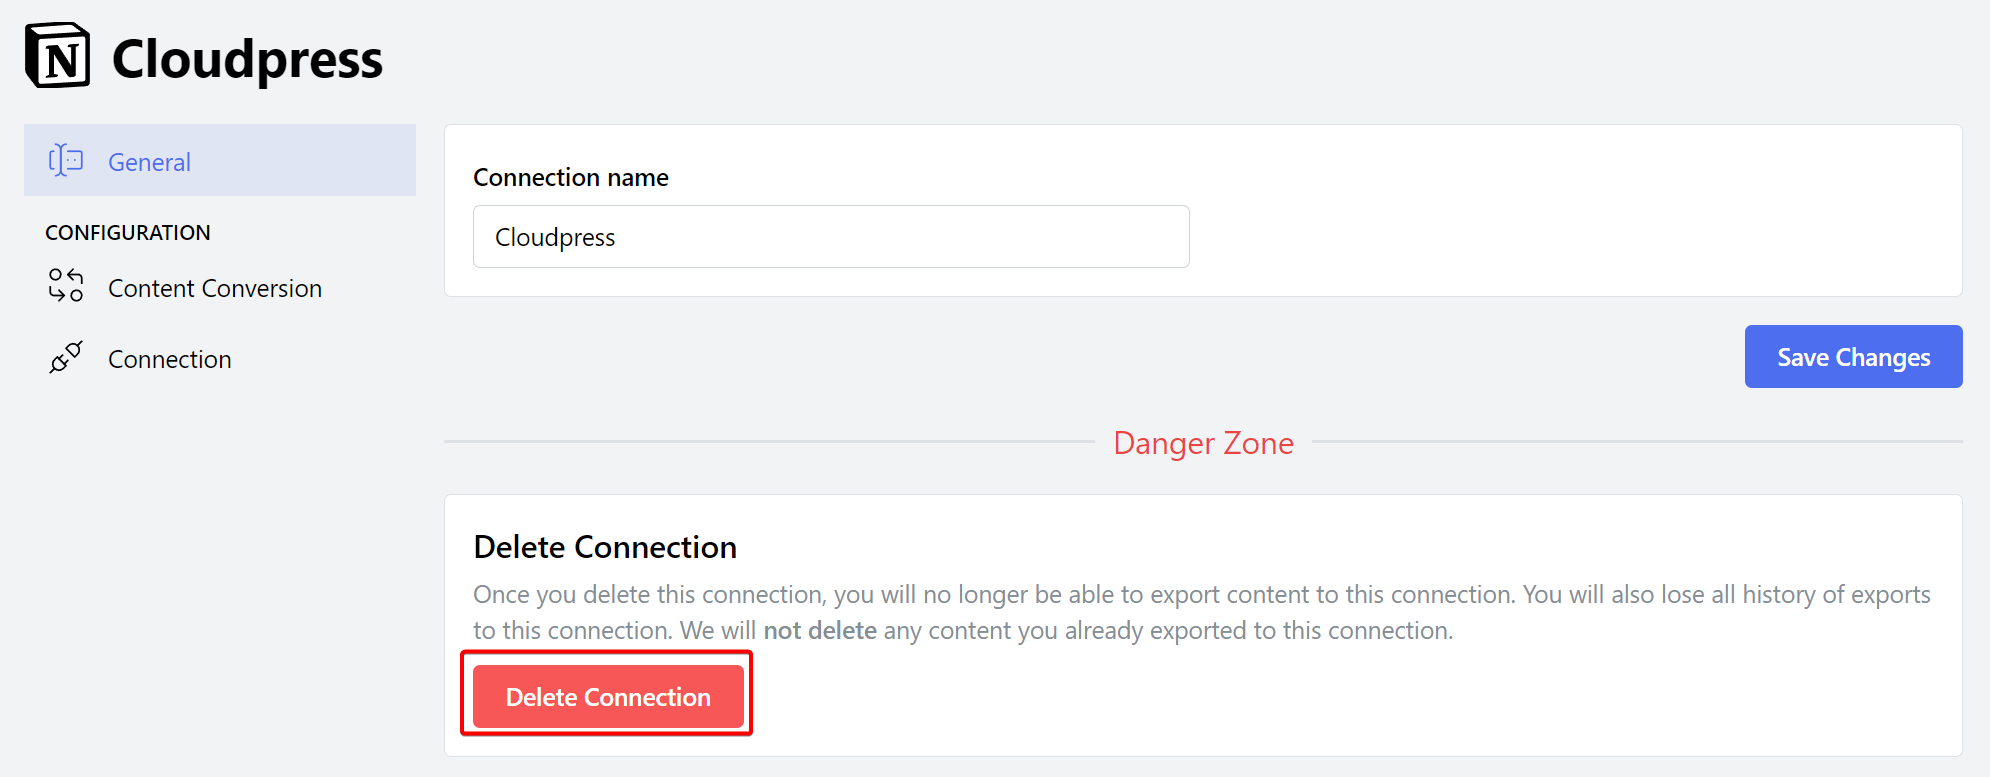 Confirm the deletion of the Connection by clicking the Delete Connection button.