Connect your Contentful Account
Create a content type
Before you connect your Contentful account, you must create a Content Type for the content you wish to export if you have not already done so.
The Content Type must contain at least the following fields:
- One short text field configured as the Entry title. When exporting content, Cloudpress sets the value of this field to the title of the document.
- One rich text or long text. Cloudpress will export the document content to either a rich text or a long text field. For rich text fields, the content will be converted to the correct rich text format. For long text fields, the content will be converted to markdown.
You can see an example documentation content type defined in Contentful in the screenshot below. In this case, the field named Title will be used as the title of the document, and the Content field will be used for the document’s content.
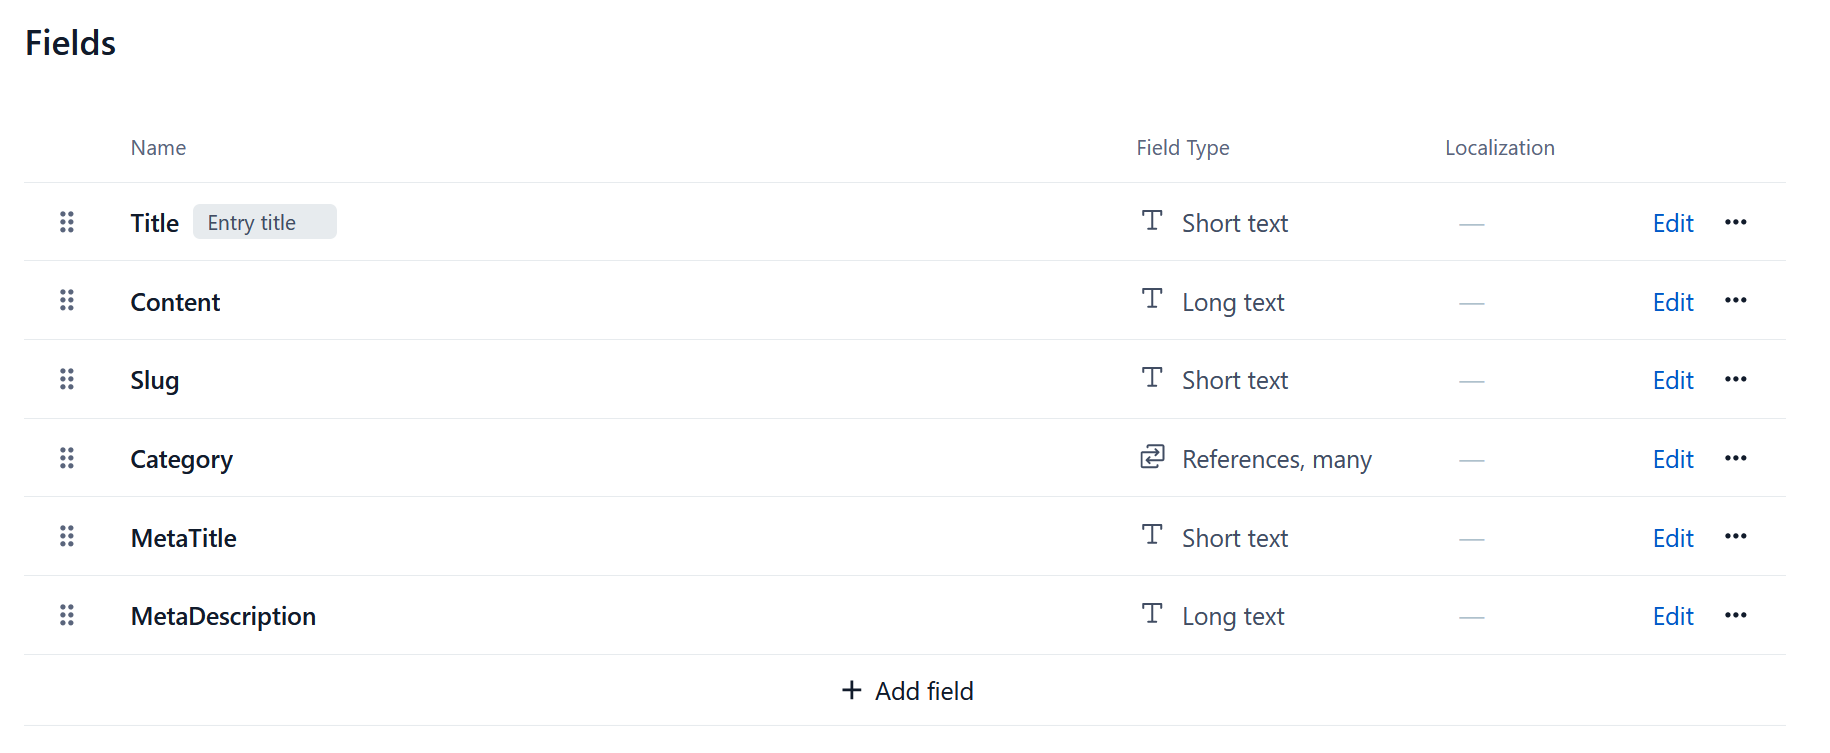 For more information, refer to the Contentful data model documentation.
Create Contentful Connection
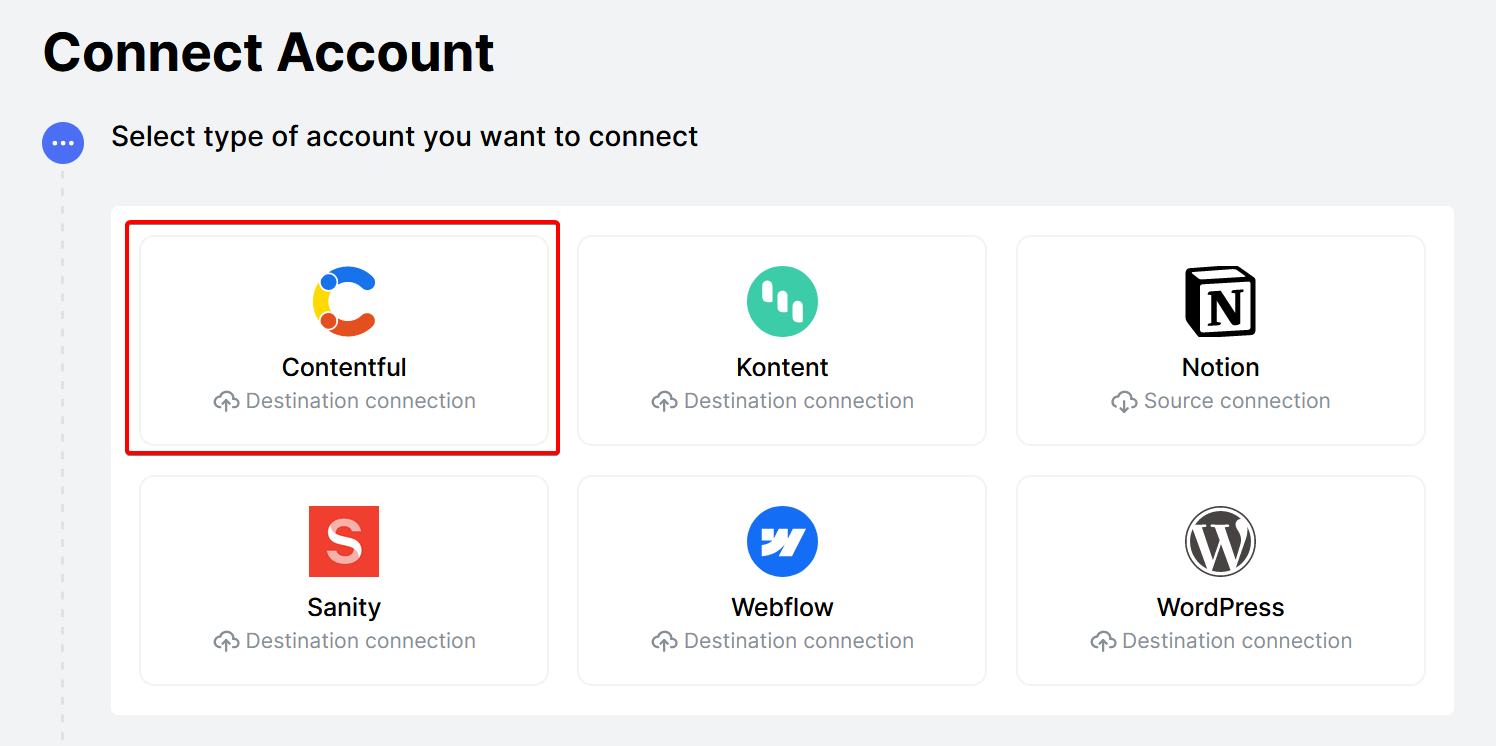
You can connect your Contentful account by going to the Connections page in the Cloudpress application. Click on the Add Connection button, then click on Contentful.
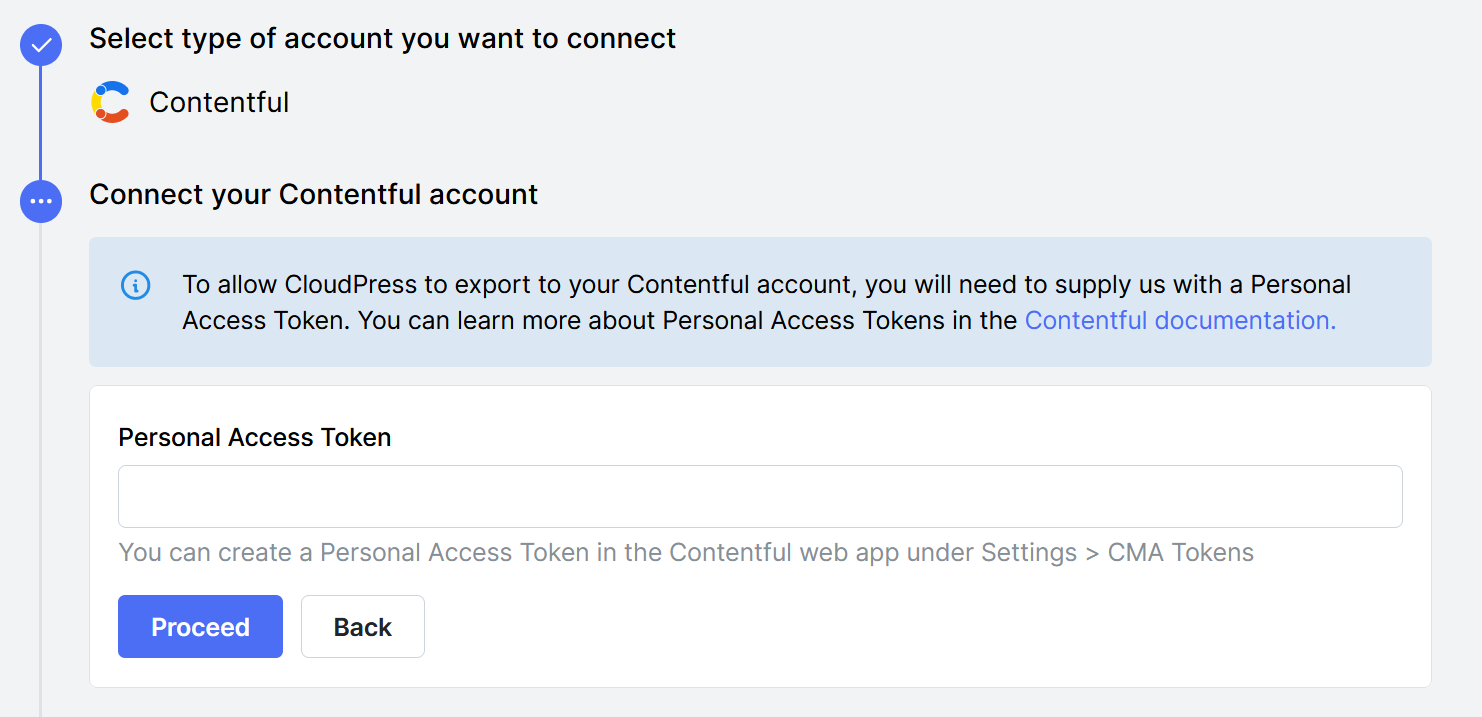
 Next, Cloudpress will prompt you for a personal access token. You can generate a personal access token in the Contentful Dashboard by going to
 Settings > CMA Tokens.
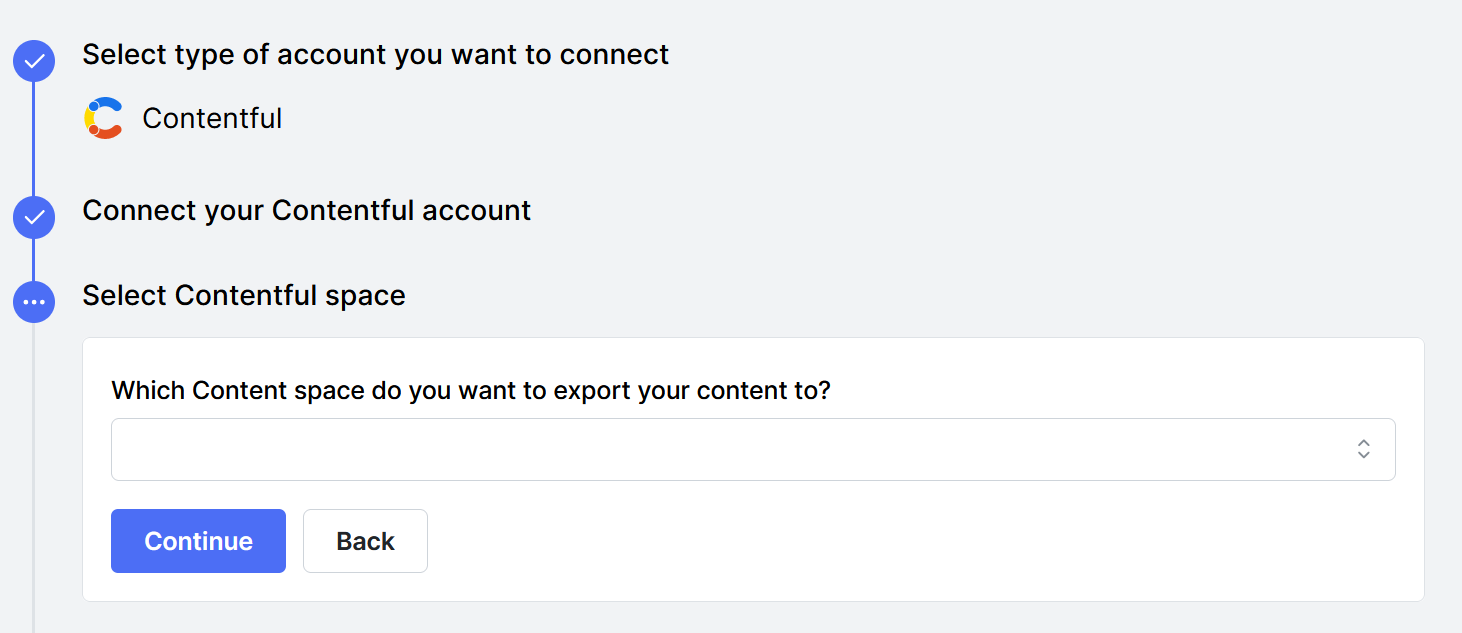
 Next, you need to select the Contentful Space you want to export your content to. You will see a list of all the spaces that are available to the user who the Contentful Personal Access Token belongs to.
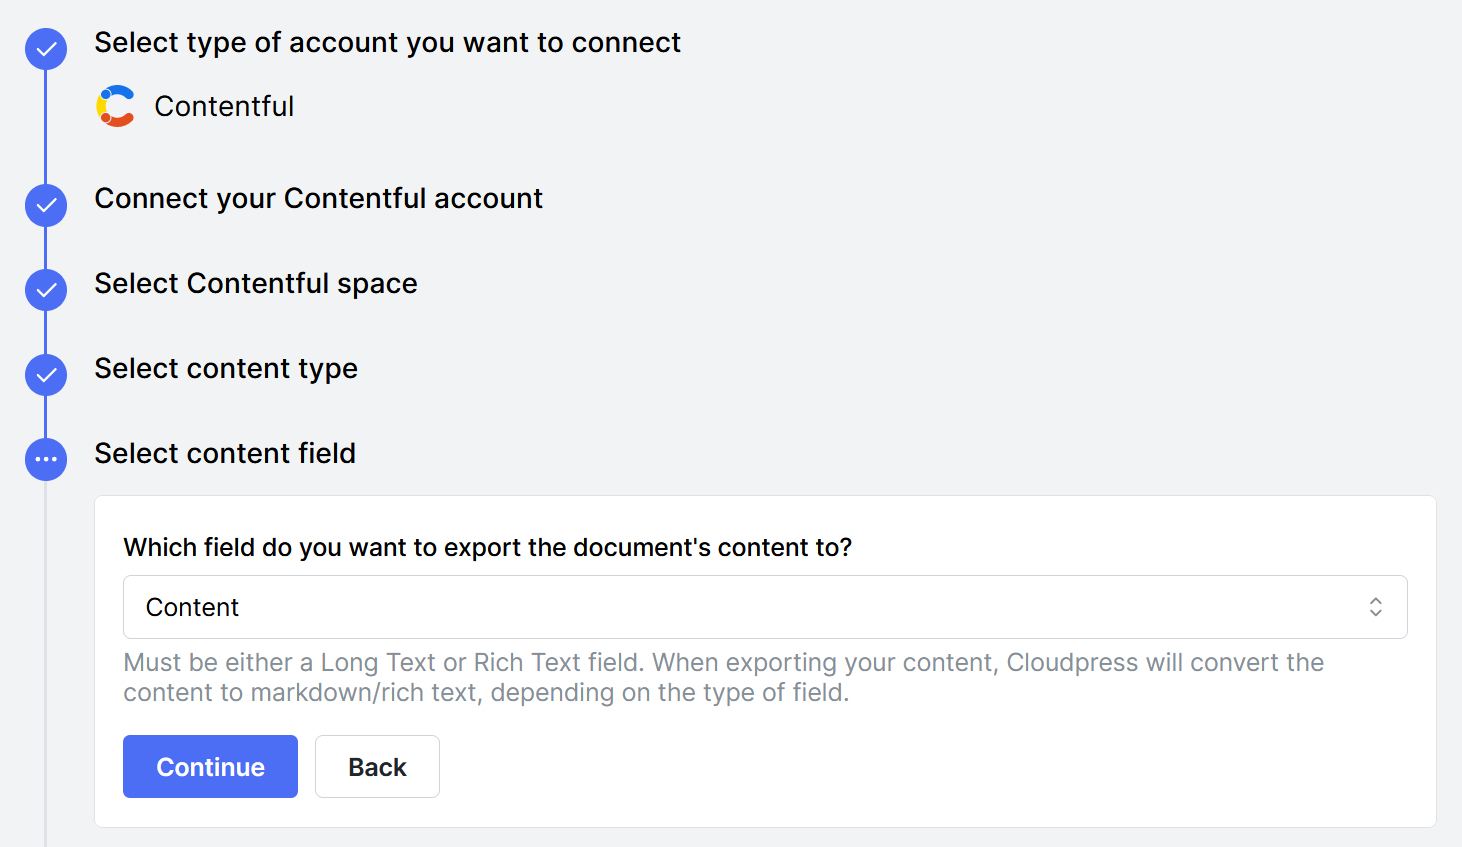
 After selecting the space, you can proceed to select the content type you want to export the content to. You will also need to select the locale of the content.

A Contentful connection can only export to a single content type and locale
combination. If you want to export to additional locales, you must add a
separate connection for each locale.
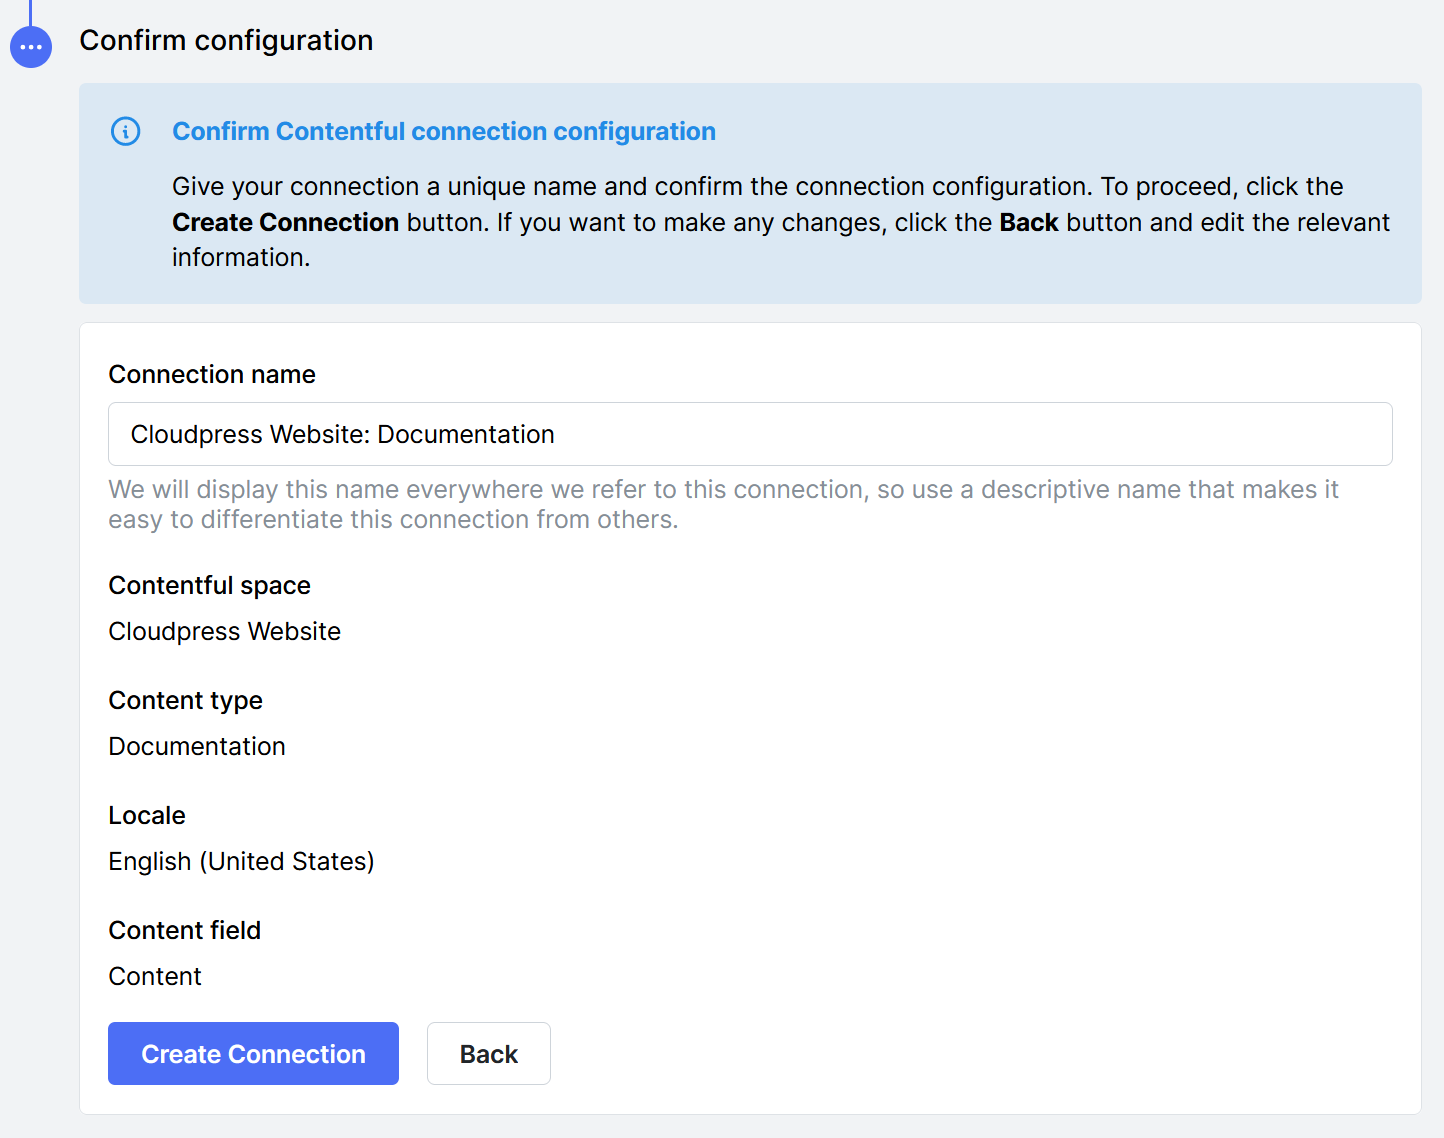
 The final step is to confirm the settings for your new connection and give the connection a name. If you are happy with all the details you can click the Create Connection button to create the connection.
Manage your Contentful Connection
You can manage a Contentful connection by navigating to the Connections page in the Cloudpress application and selecting the Connection you want to manage.
Change Connection name
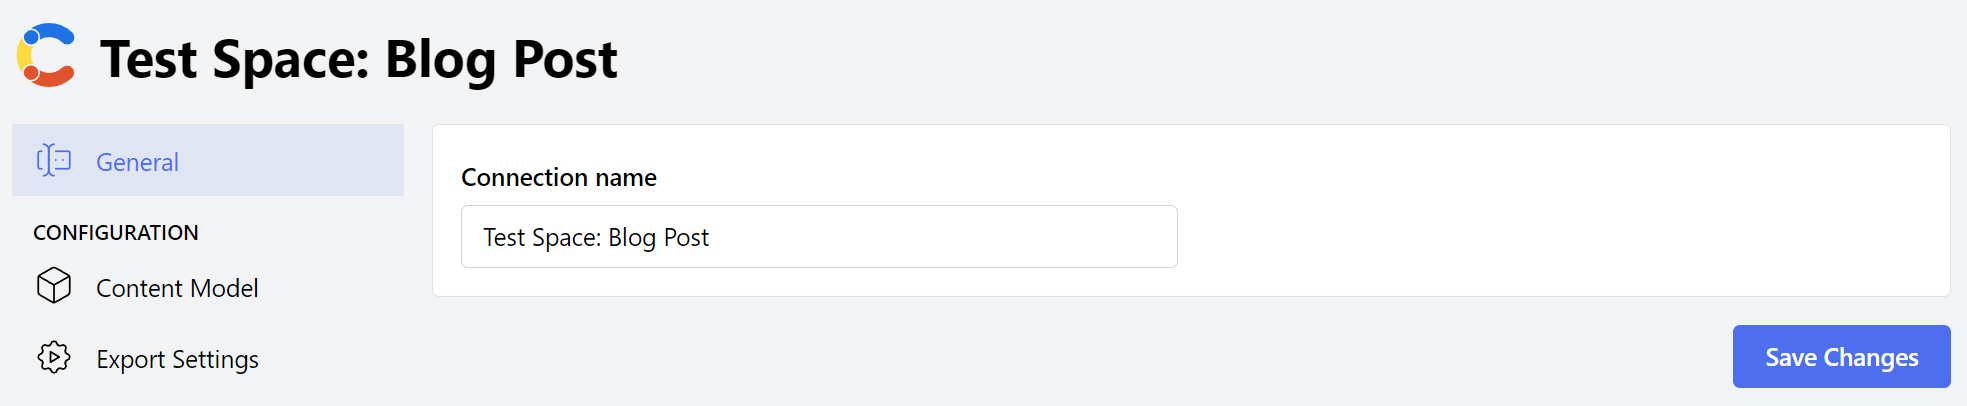
You can change the name of the Connection from the General tab. Give the Connection a new name, then click the Save Changes button.
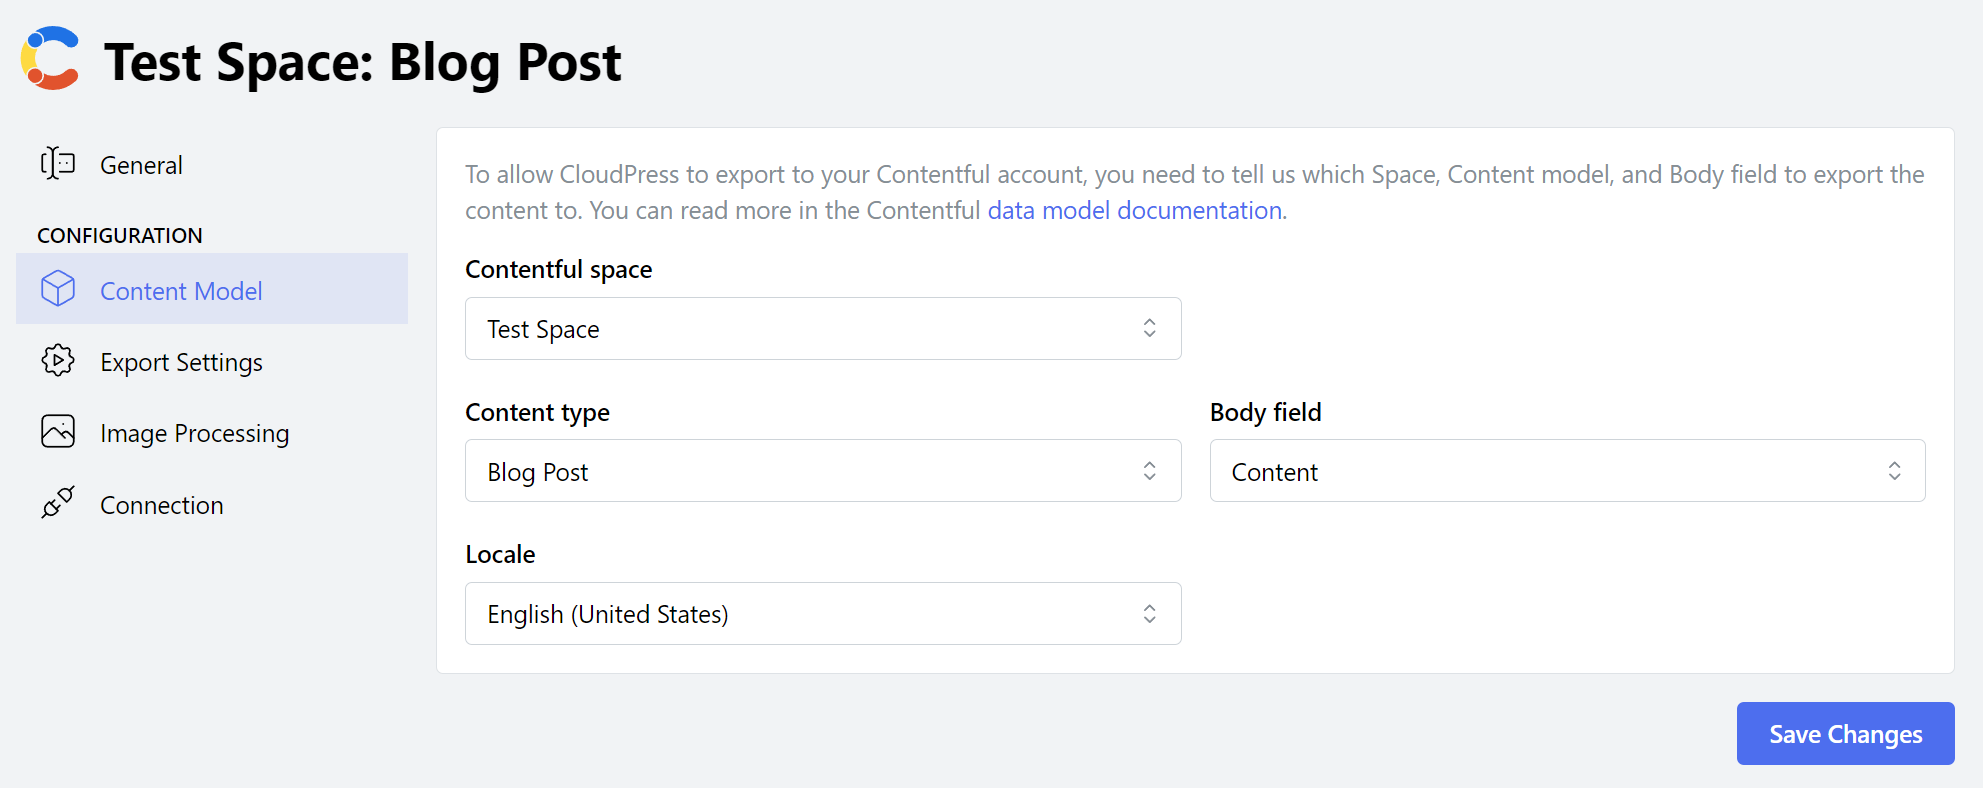
Change Content model
If your underlying Content Model changes, you can update Cloudpress by navigating to the Content Model tab and making the necessary changes.
Changes to the Content Model must only be done in exceptional circumstances as
it can have unintended effects.
Export Settings
The Export Settings tab allows you to control various aspects of how content is exported.
The Content publication status section allows you to specify whether new content must be published or exported as drafts.
For existing content (i.e. content that Cloudpress previously exported), you can also specify whether the current status must be preserved. In this case, when updating the content, Cloudpress will leave the content item in it’s current publication state.

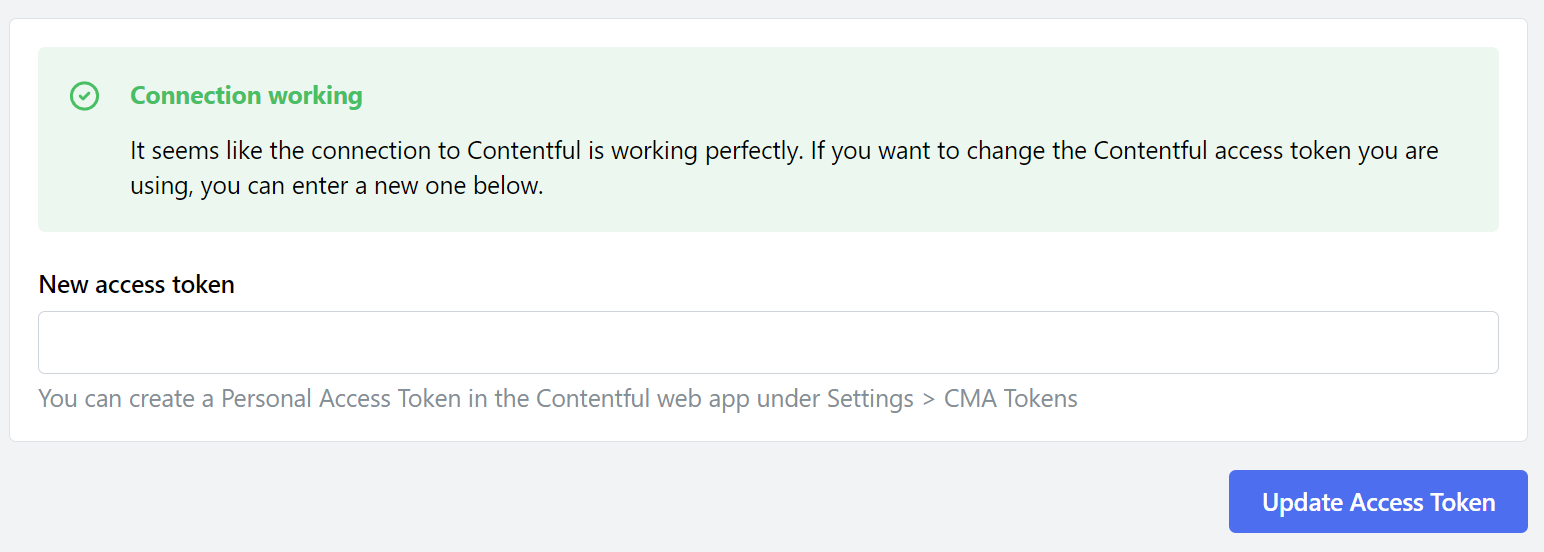
Reconnect account
At some point, it may happen that Cloudpress loses the permission to your account. For example, the access token you used may be revoked or expire. In such cases, you need to reconnect your WordPress account.
Go to the Connection tab of your Contentful Connection, update the access token, and click the Update Access Token button.
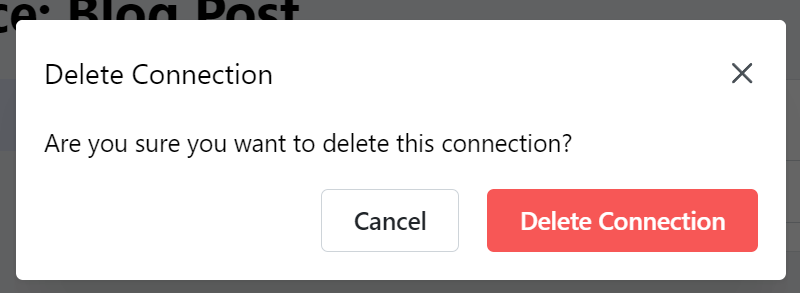
Delete Connection
To delete your Contentful Connection, go to the General tab. Under the Danger Zone section, click the Delete button.
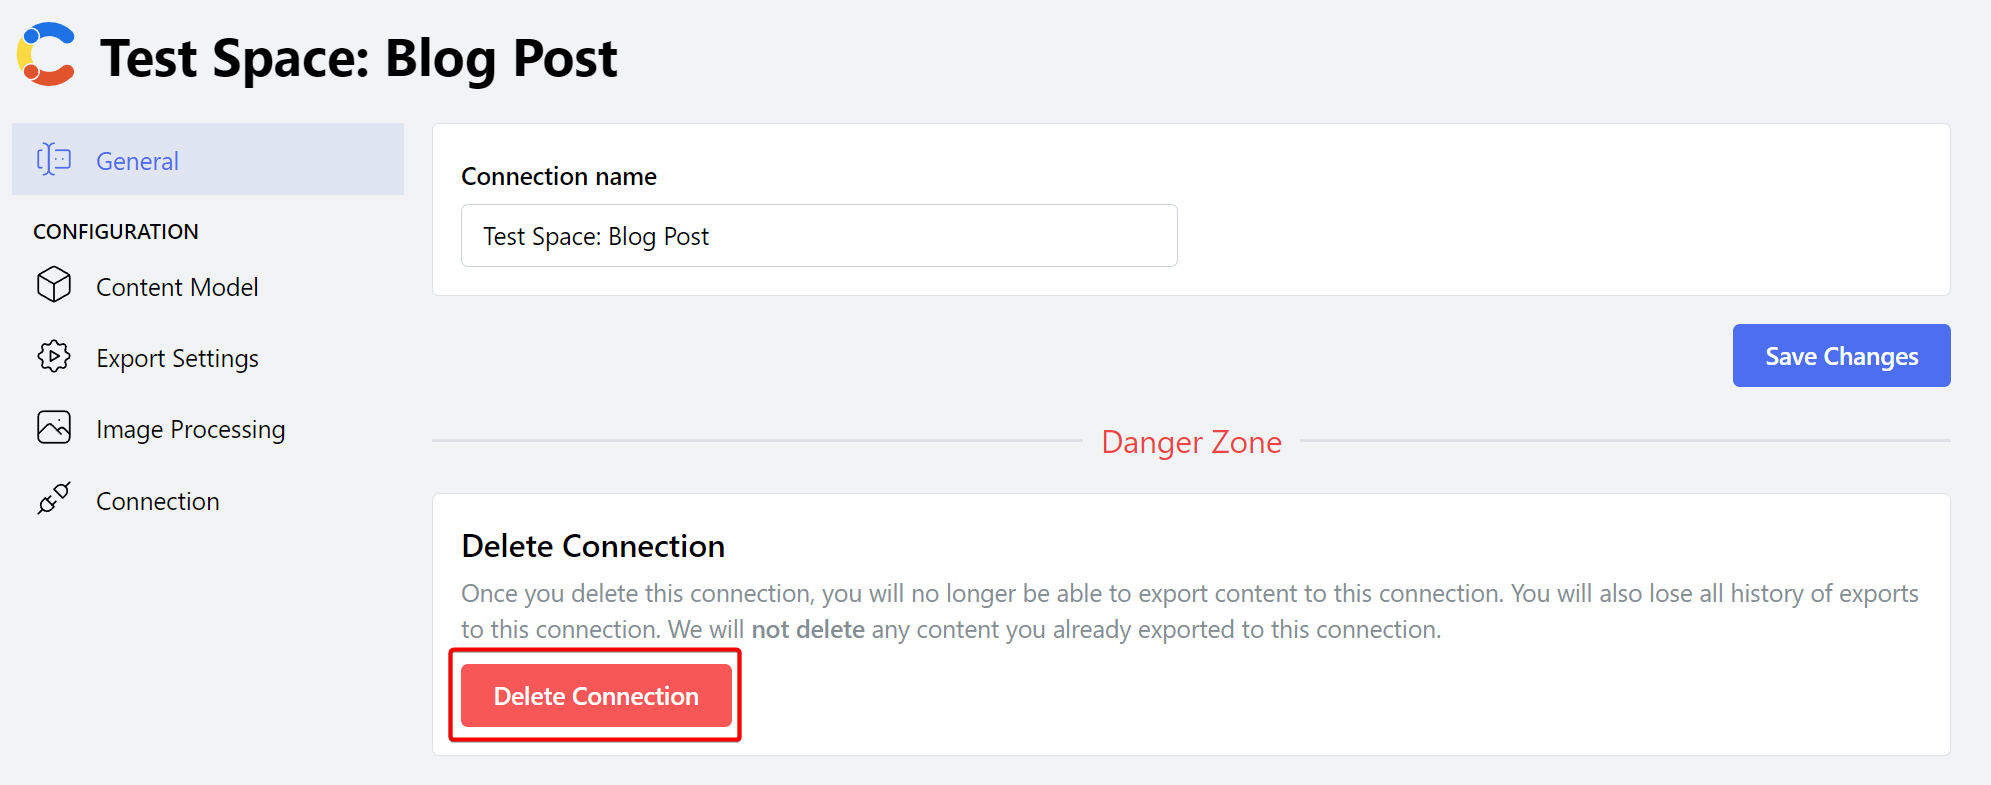 Confirm the deletion of the Connection by clicking the Delete Connection button.