Connect your WordPress account
To connect your WordPress account to Cloudpress, you will need to supply Cloudpress with the URL (or address) of your WordPress website, as well as a username and application password Cloudpress can use to connect to your WordPress website. This document will walk you through the following steps:- Create a user in WordPress
- Create an Application Password
- Create a WordPress Connection in Cloudpress
Create a user in WordPress
You can use your existing WordPress user account to connect Cloudpress, or create a dedicated user account for Cloudpress. The WordPress user account you use when connecting Cloudpress to your WordPress website must have the ability to create posts in your WordPress account and, therefore, either have the Author, Editor, or Administrator role.Create an application password
Cloudpress makes use of an Application Password to connect to WordPress accounts. Application Passwords allow you to create application-specific passwords for users and use that for authenticating the user rather than the user’s actual password. Application Passwords are only available in WordPress version 5.6 and newer. If you use an older version of WordPress, you must install the Application Passwords plugin. To create an application password, open the profile page of the user account you want to use with Cloudpress in the WordPress administration area. Scroll down to the Application Passwords section. Enter a name for the application password, for example, Cloudpress, then click on the Add New Application Password button. A notification will be displayed with the application password. Save this password since it is required in the following step when you connect your WordPress account to Cloudpress.

Create a WordPress Connection
Once you have created a user in WordPress and generated an application password for the user, you can connect your WordPress account by going to the Connections page in the Cloudpress Dashboard. Click on the Add Connection button and then select WordPress from the list. Cloudpress will prompt you for the details of the new connection:

- The Website URL is the URL (or address) for your WordPress website. For example, if your WordPress website is located at https://www.traveldiaries.com, then this is the address that you will fill in this field.
- The Username is the username for the user which you created in the WordPress administration area in the previous step.
- The Application password is the application password created in the previous step.
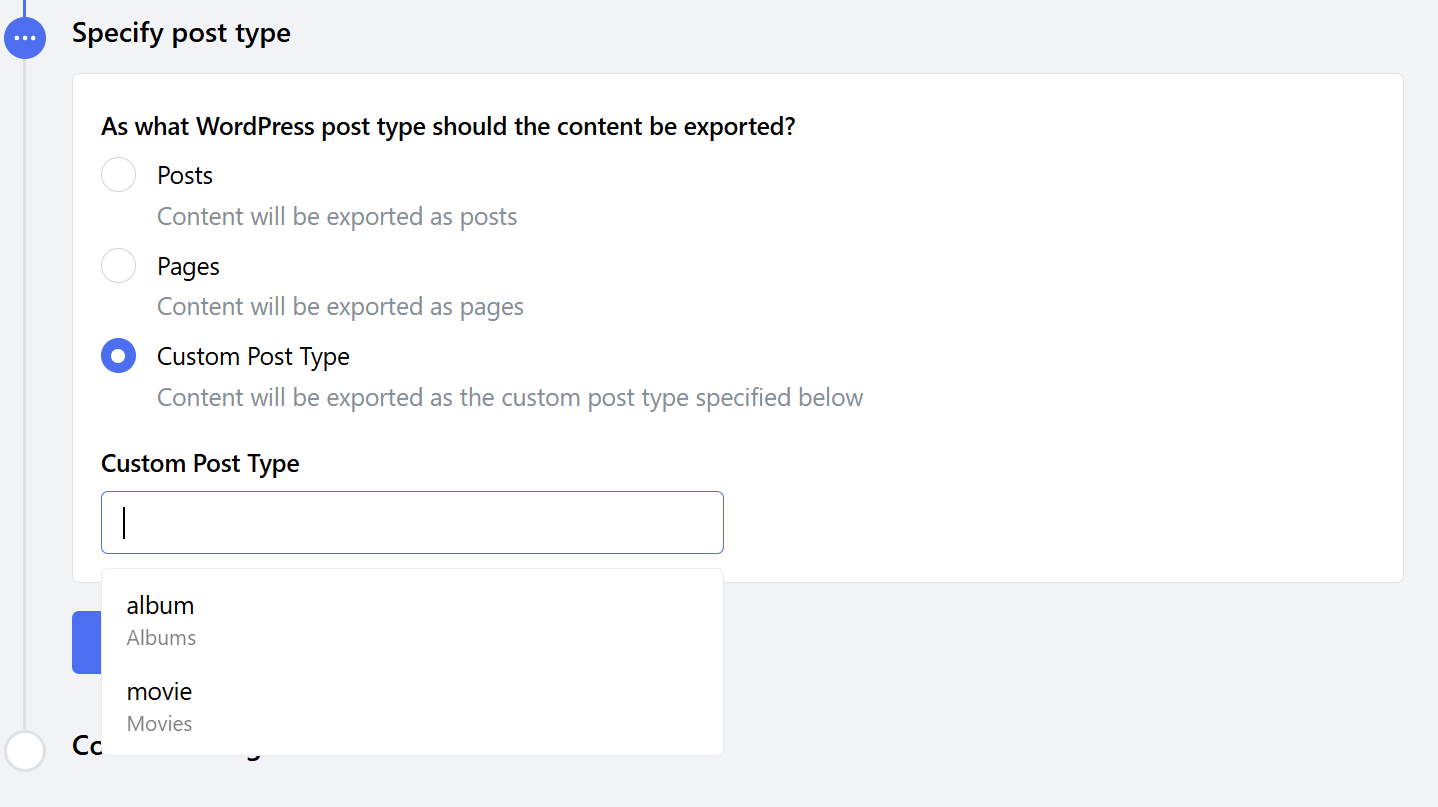
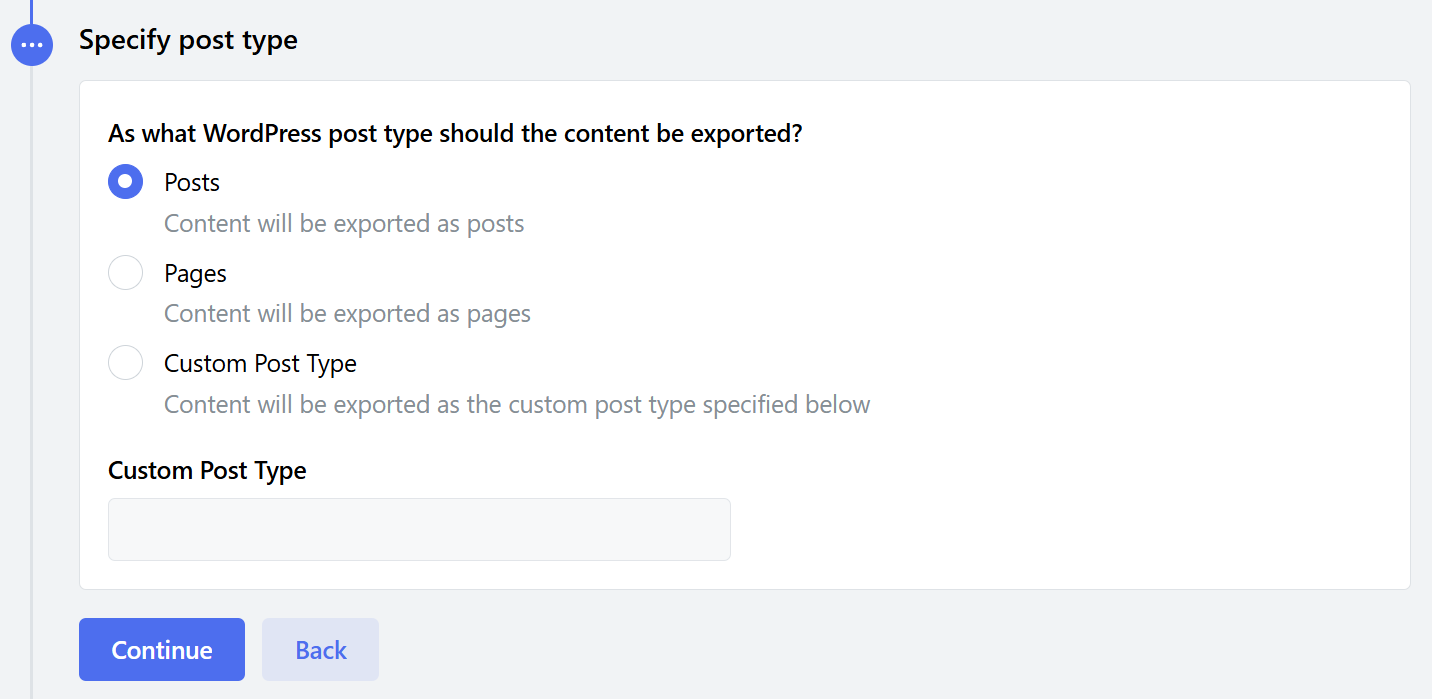 To use a custom post type, select the Custom Post Type radio button, then type or select the custom post type.
 The final step is to confirm all the settings and give the new connection a name. Click the Create Connection button to proceed.

For a specific WordPress connection, Cloudpress can export content only for
one type of content - i.e. as posts, pages, or the specified custom post type.
If you want to manage multiple content types, you will have to create separate
connections in Cloudpress for each type of content.
Manage your WordPress Connection
You can manage a WordPress connection by navigating to the Connections page in the Cloudpress application and selecting the Connection you want to manage.Change Connection name
You can change the name of the Connection from the General tab. Give the Connection a new name, then click the Save Changes button.
Export settings
The Export Settings allow you to control various aspects of how content is exported to this WordPress Connection.-
Kind of Content allows you to specify whether content is exported as posts or pages. This setting cannot be changed once you have exported content to the Connection.

-
WordPress content format allows you to specify whether content must be exported as Gutenberg blocks, or using the Classic editor.

-
Content publication status allows you to control whether exported content is published or saved as drafts. For new content you can specify whether the content must be published or saved as drafts.
For existing content, you can also indicate whether the content must preserve the current status. In this case, when updating existing content, Cloudpress will leave the content in it’s eisting status.

-
Image settings allows you to to specify how exported images must be aligned. The settings correspond with the image alignment settings inside the WordPress editor.

Reconnect account
At some point, it may happen that Cloudpress loses the permission to your account. For example, the user may be deleted or application password may be revoked. In such cases, you need to reconnect your WordPress account. Go to the Connection tab of your WordPress Connection, update the settings, and click the Update Connection Settings button.
Delete Connection
To delete your WordPress Connection, go to the General tab. Under the Danger Zone section, click the Delete button. Confirm the deletion of the Connection by clicking the Delete Connection button.
