Connect your Webflow account
Create a CMS Collection
Cloudpress will export content to a CMS collection which you will specify later in this document. If you don’t have a collection defined yet, you will need to create one. If you are unfamiliar with this process, refer to the Webflow documentation on CMS Collections.
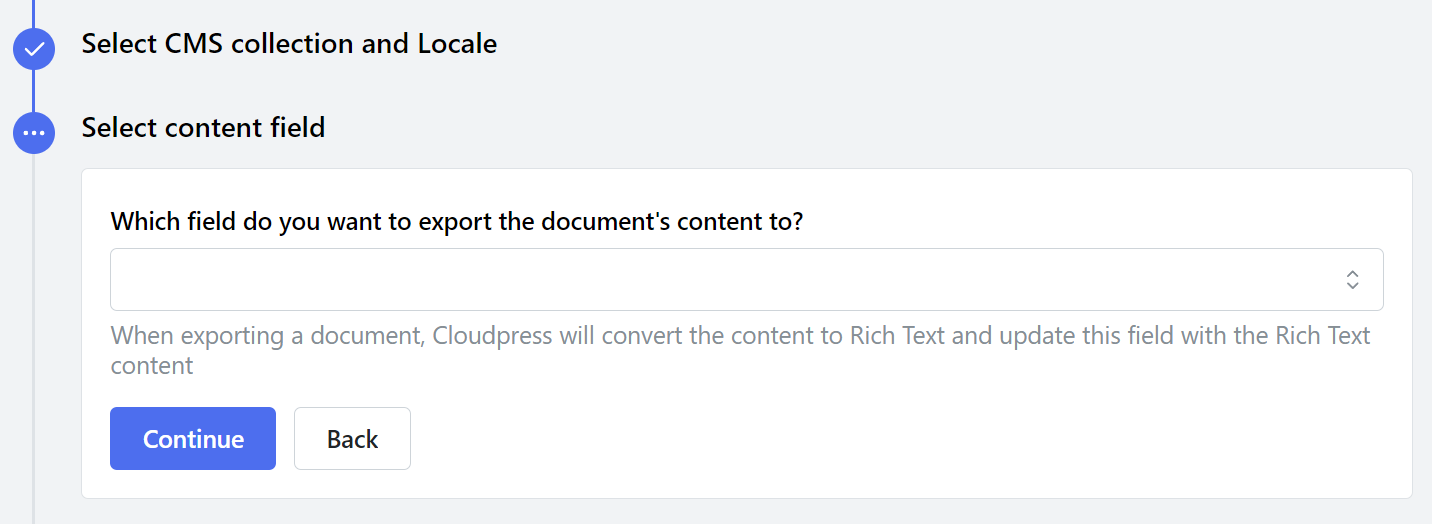
There is one important requirement, and that is that your CMS collection has at least one rich text field defined. Cloudpress will export the content of the document to this rich text field. In the screenshot below, you will notice that we have a rich text field name Content which will contain the content of the exported document.
 Cloudpress will also export the document’s title to Webflow, using the predefined Name field in the Webflow CMS collection.
Create Webflow Connection
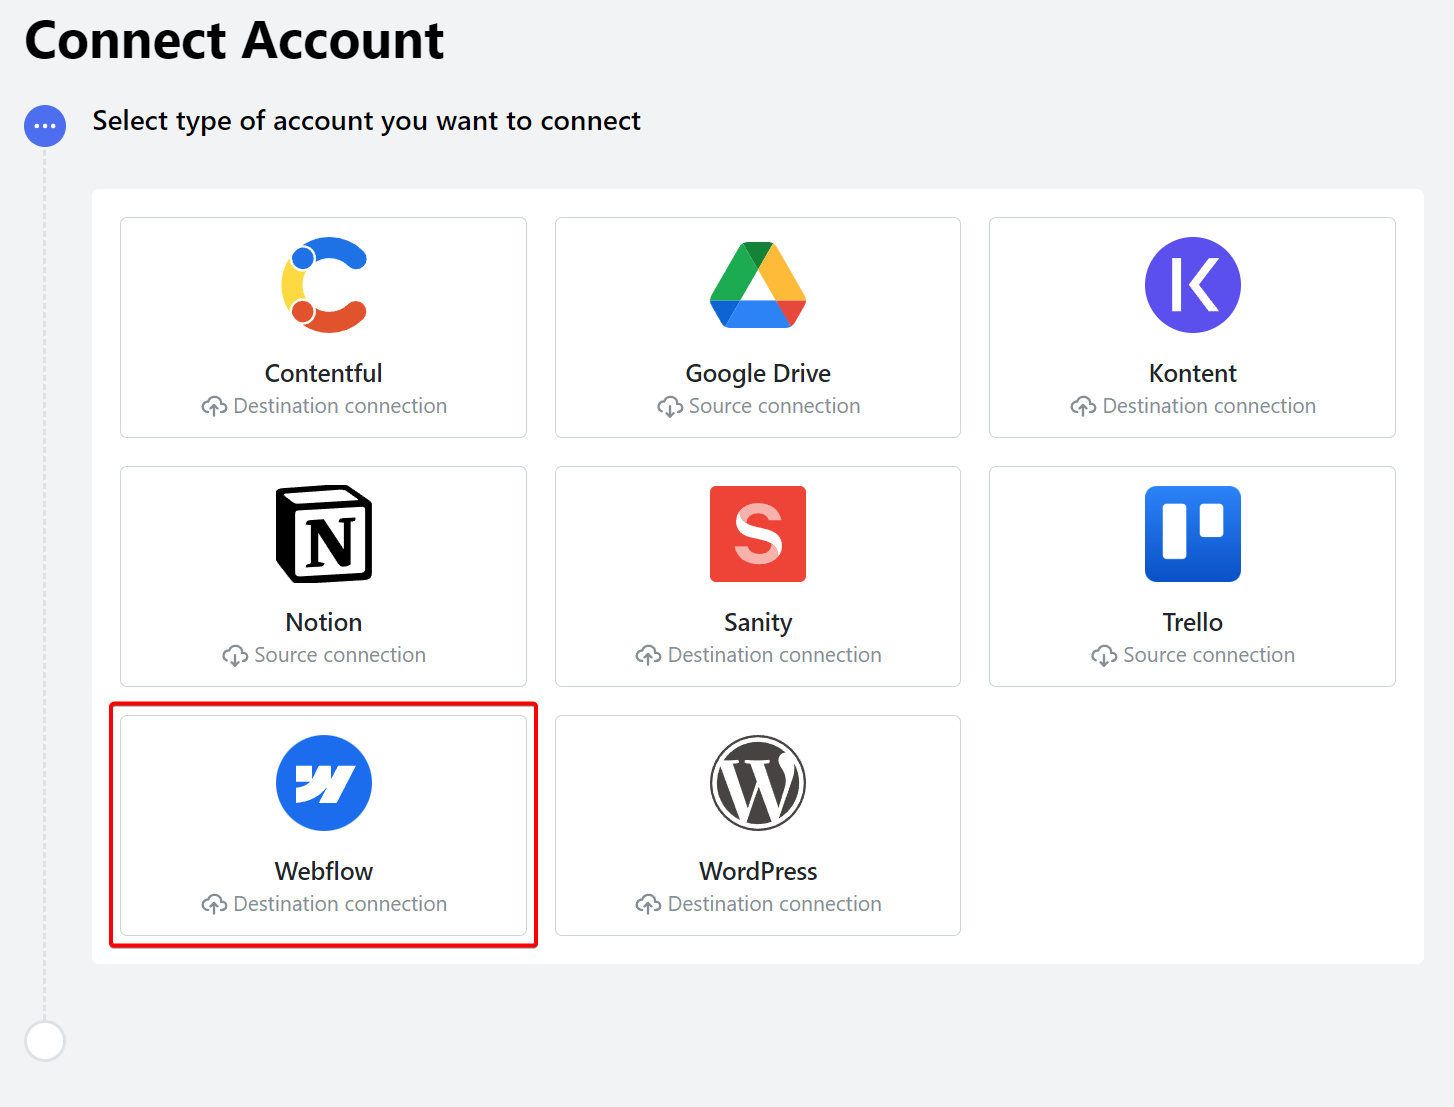
Go to the Connections page in Cloudpress, click the Add Connection button and then select Webflow from the list.
 You must give Cloudpress access to your Webflow account for Cloudpress to export content to that account.
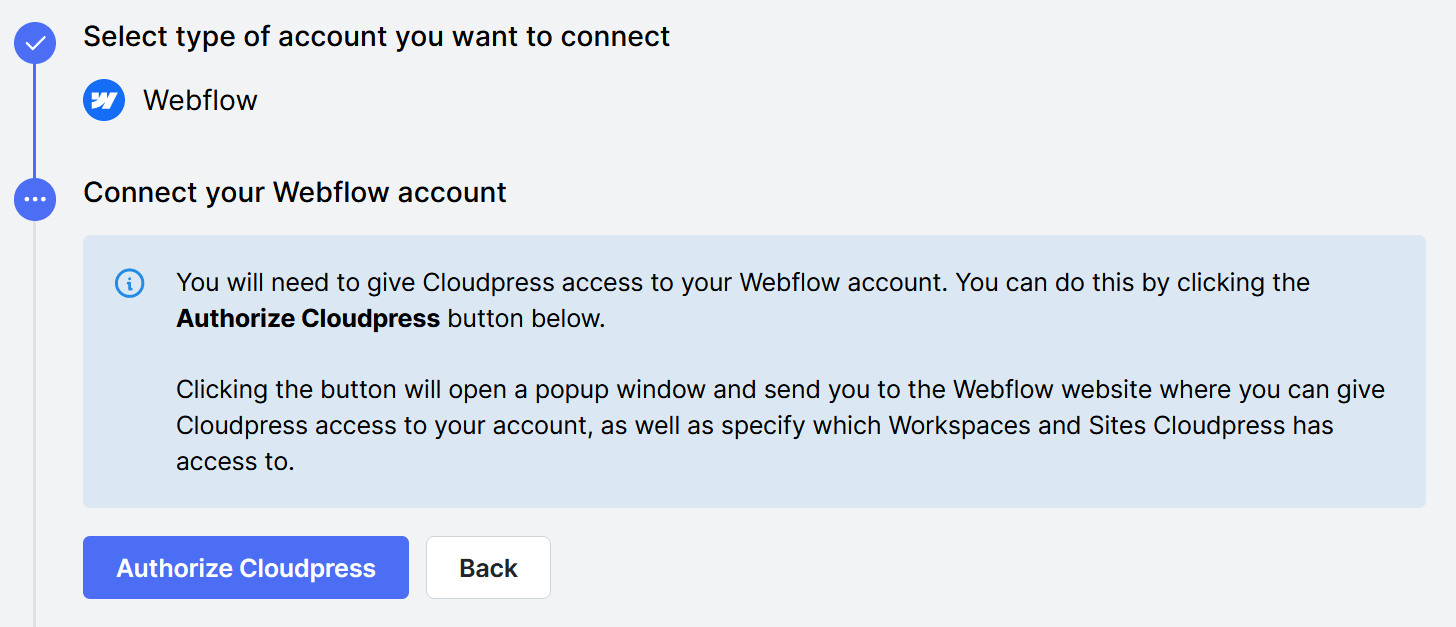 Click the Authorize Cloudpress button. This will open a popup window that will send you to the Webflow website. If you are not logged in to Webflow, you will need to log in.
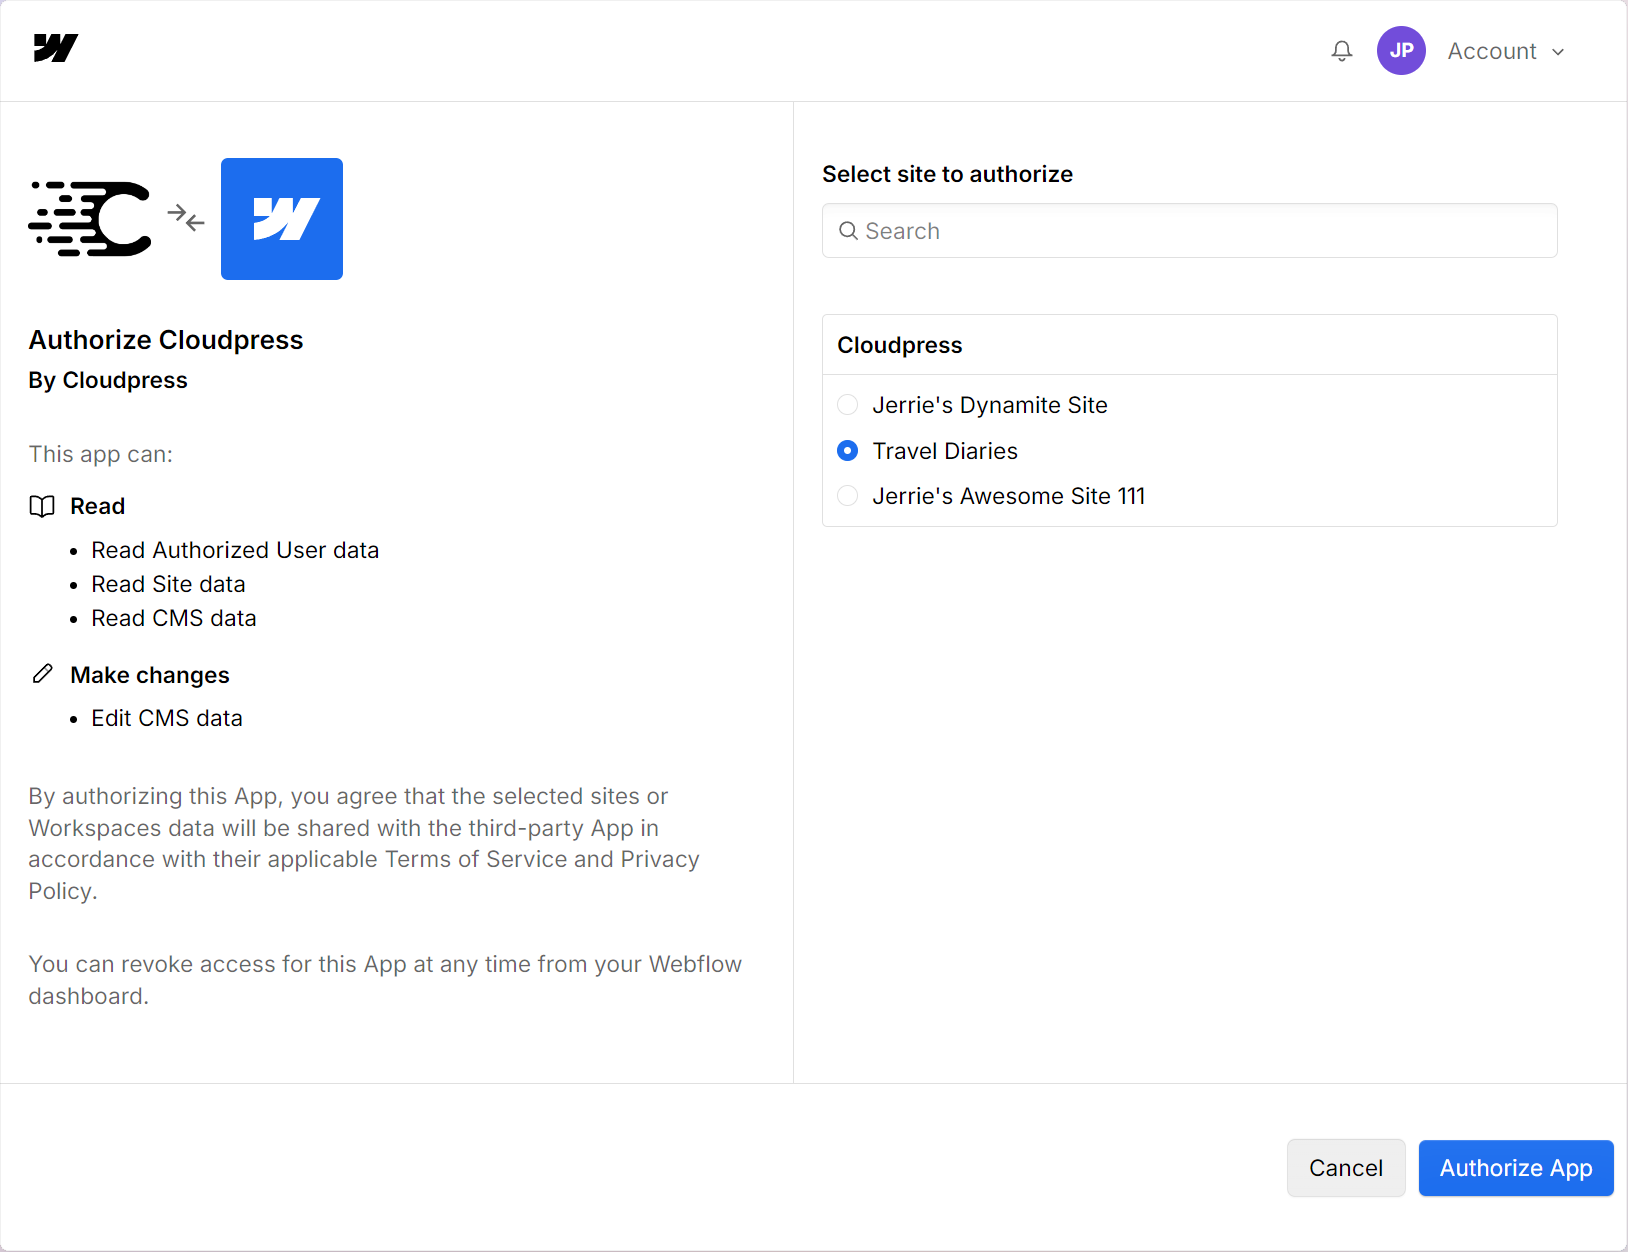
Webflow will then prompt you to authorize Cloudpress to access your sites. Select the site you want to manage with Cloudpress, then click the Authorize App button.
Click the Authorize Cloudpress button. This will open a popup window that will send you to the Webflow website. If you are not logged in to Webflow, you will need to log in.
Webflow will then prompt you to authorize Cloudpress to access your sites. Select the site you want to manage with Cloudpress, then click the Authorize App button.
 The next step is to select the CMS Collection and locale you want to use for the content:
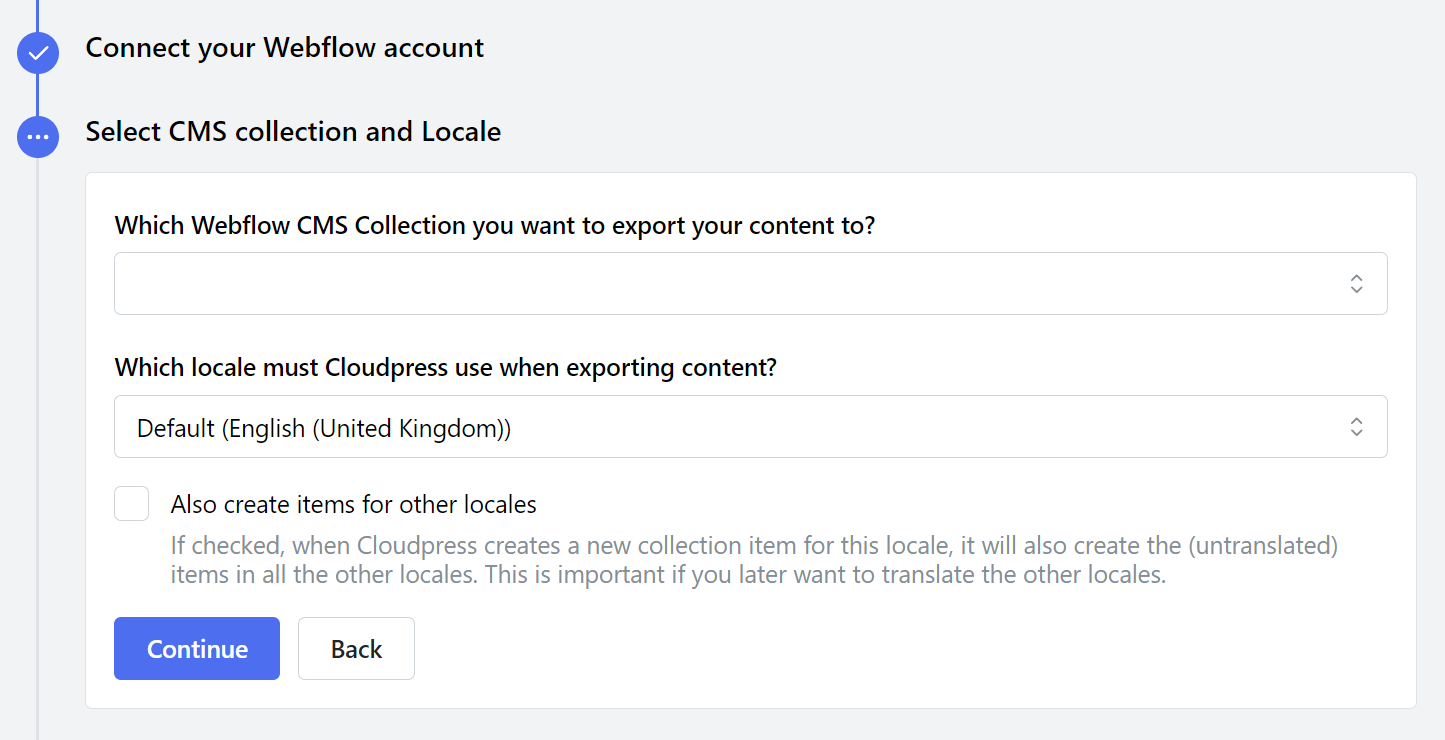
If you use multiple locales in WordPress, it is suggested you enable the “Also
create items for other locales” option. This will ensure that, when Cloudpress
exports content, it also creates the items for the other locales. If you do
not do this, you will not be able to add translations for the other locales
after the fact.
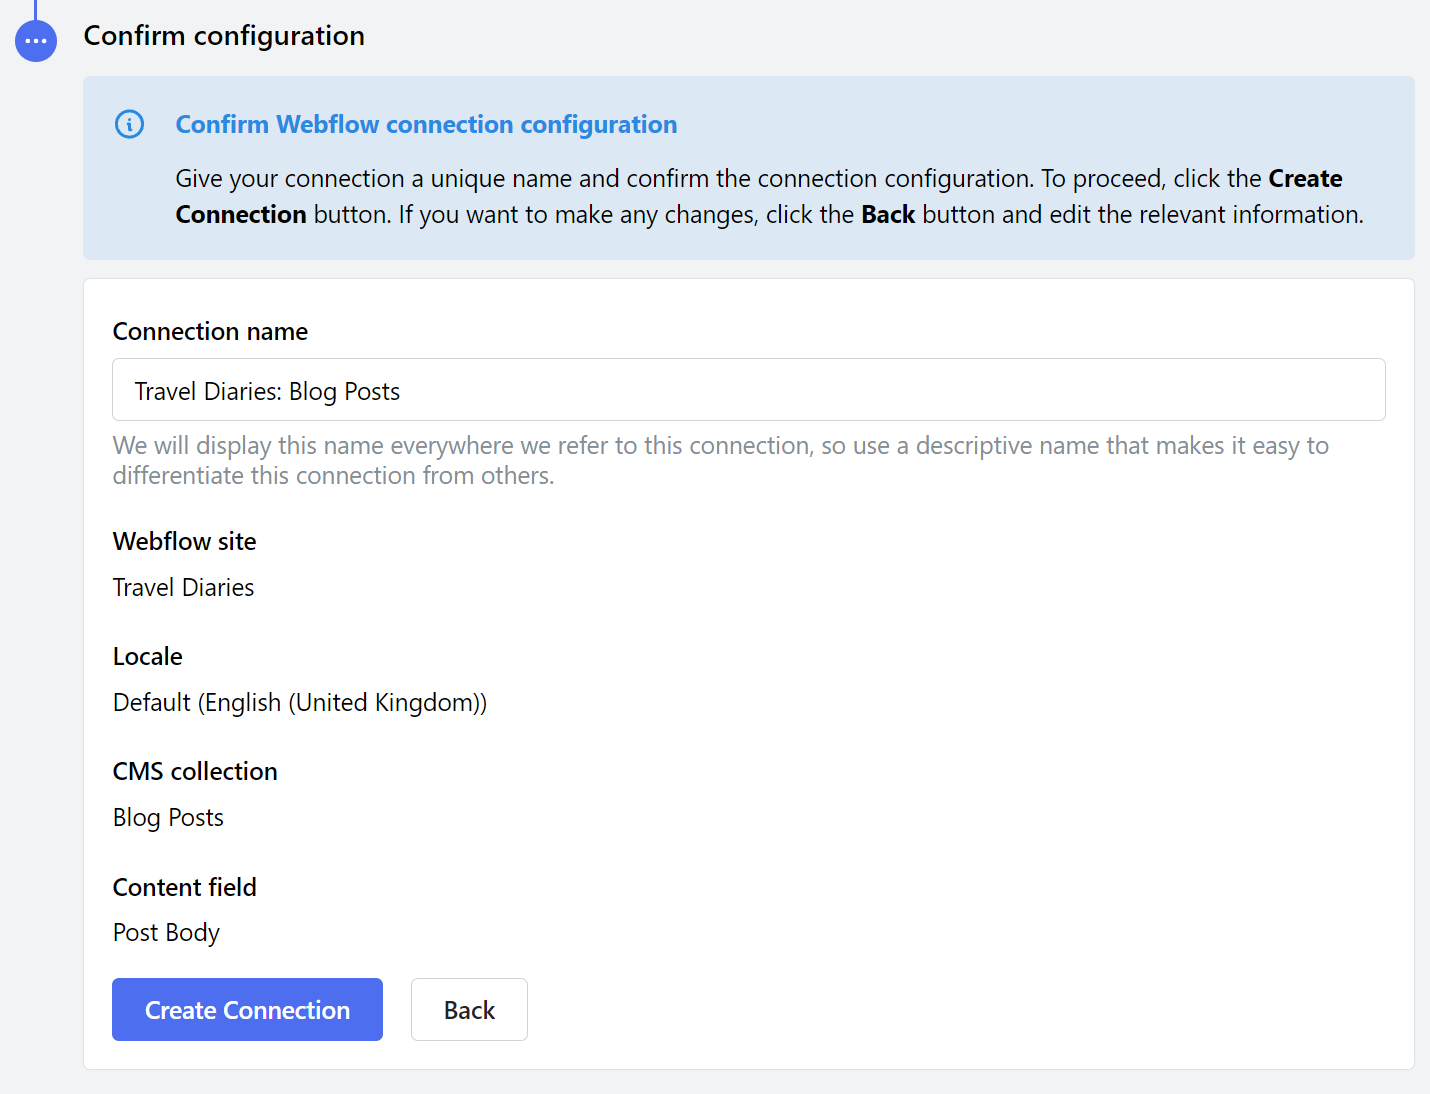
 The final step is to review all your settings and give the connection a name. If you’re happy with all the information, click the Create connection button.
Manage Connection
You can manage a Webflow connection by navigating to the Connections page in the Cloudpress application and selecting the Connection you want to manage.
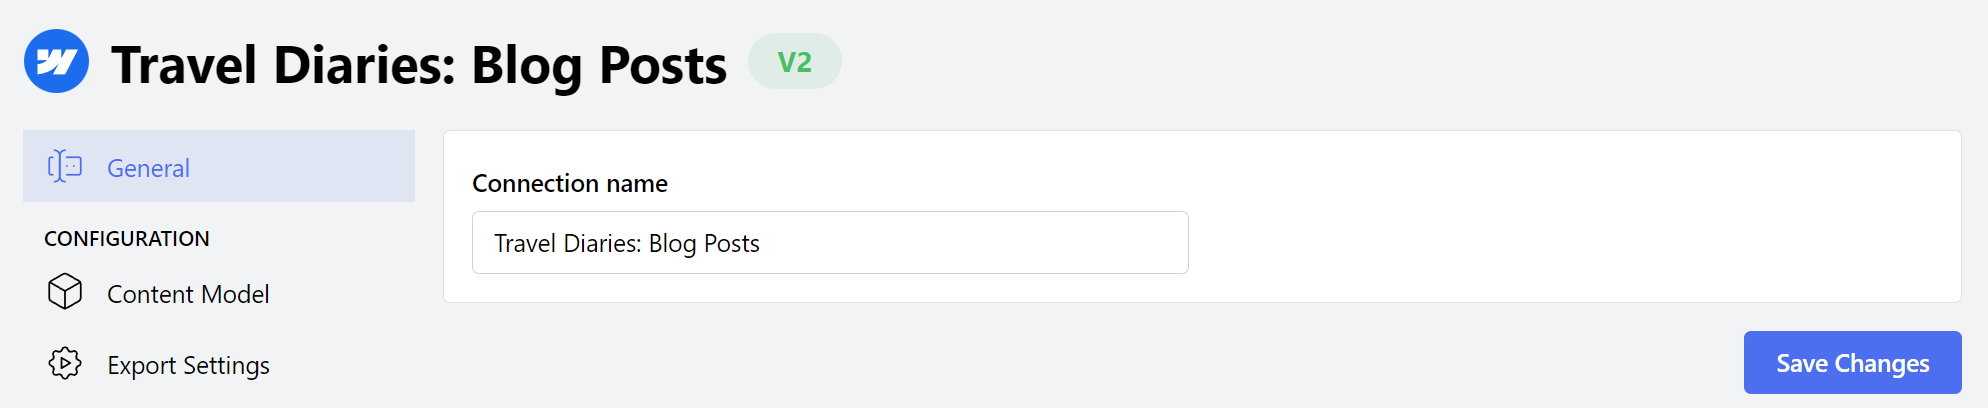
Change Connection name
You can change the name of the Connection from the General tab. Give the Connection a new name, then click the Save Changes button.
Export Settings
The Export Settings allow you to control various aspects of how content is exported to this Webflow Connection.
-
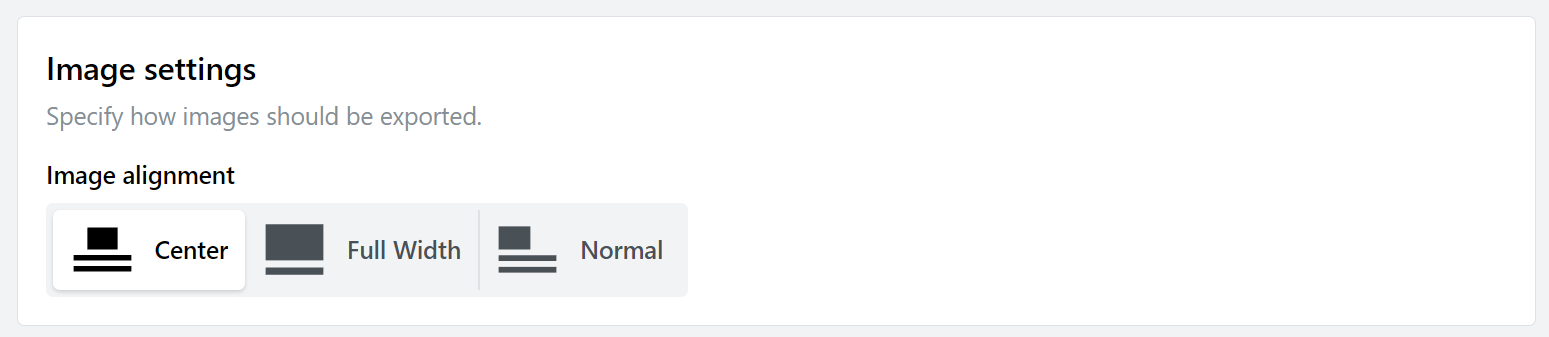
Image settings allows you to specify how exported images must be aligned. These correspond to the image alignment settings inside the Webflow Rich Text editor.
-
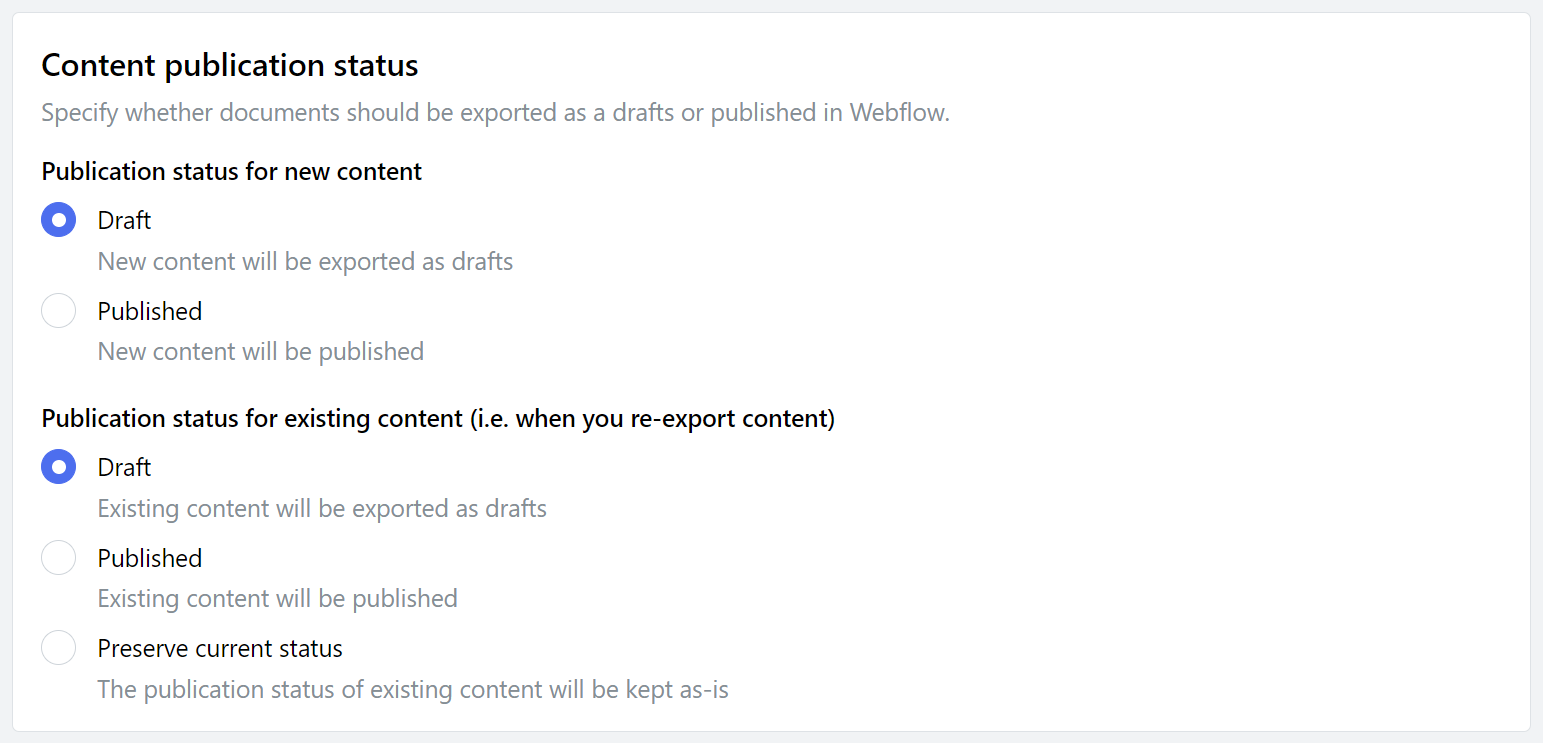
Content publication status allows you to specify whether exported items should be published or exported as drafts.
For existing content (i.e. content that Cloudpress previously exported), you can also specify whether the current status must be preserved. In this case, when updating the content, Cloudpress will leave the item in it’s current publication state.
Reconnect account
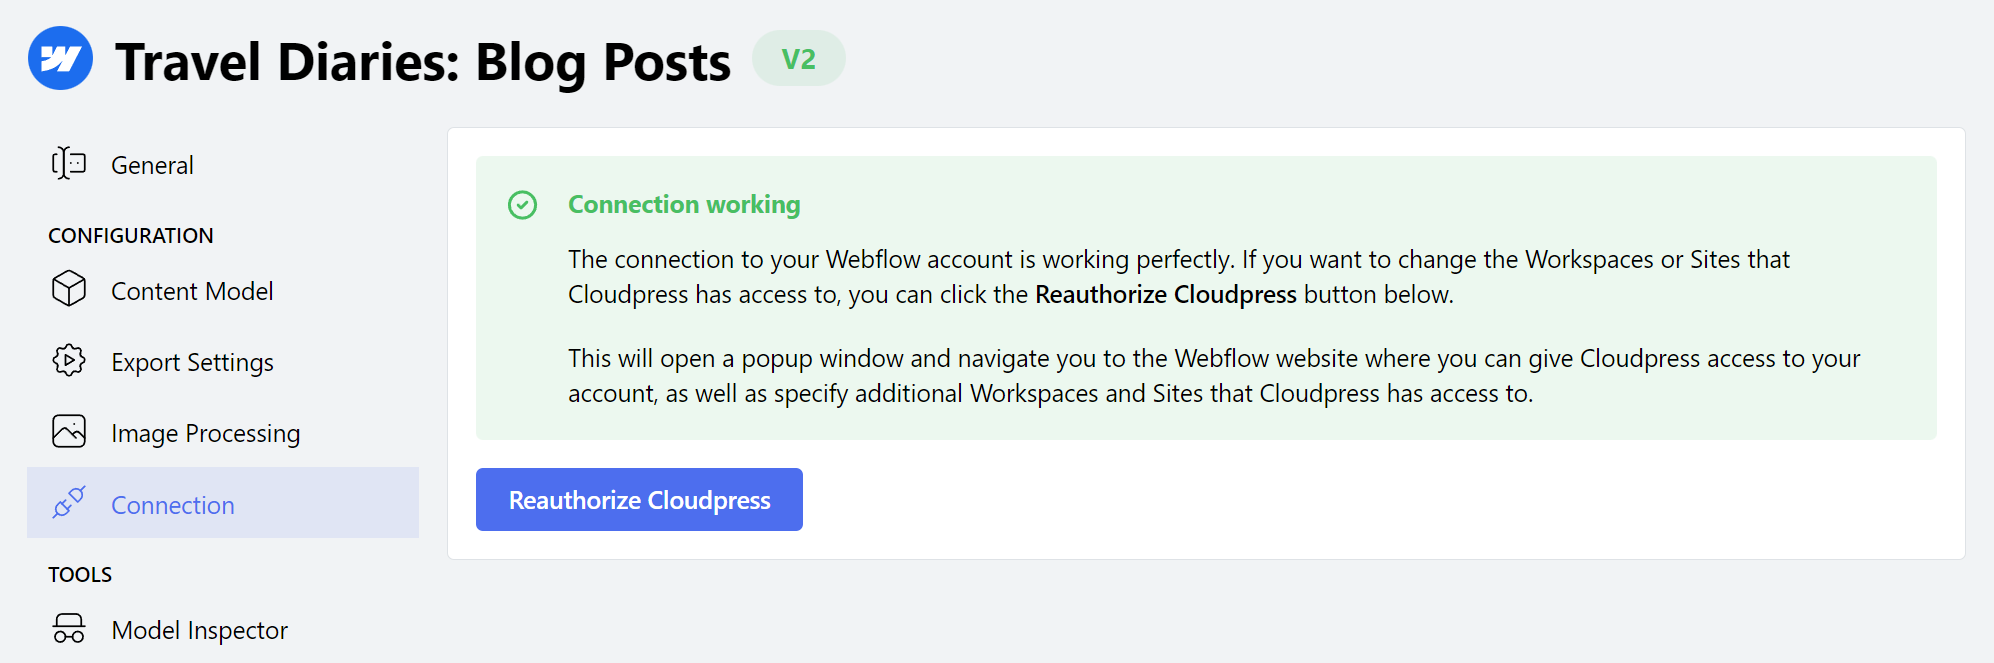
At some point, it may happen that Cloudpress loses the permission to your account. For example, the Cloudpress permissions may be revoked inside the Webflow admin. In such cases, you need to reconnect your Webflow account.
Go to the Connection tab of your Webflow Connection, update the settings, and click the Reauthorize Cloudpress button.
Delete Connection
To delete your Webflow Connection, go to the General tab. Under the Danger Zone section, click the Delete button.
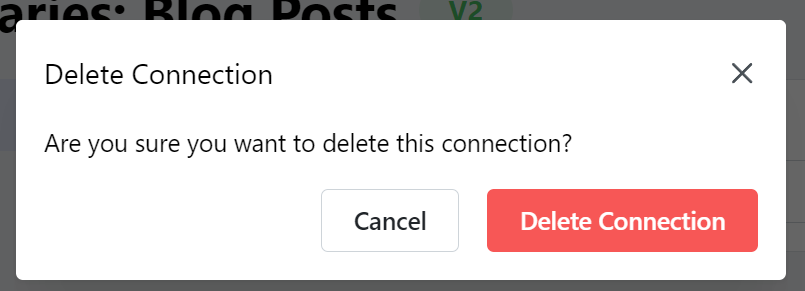
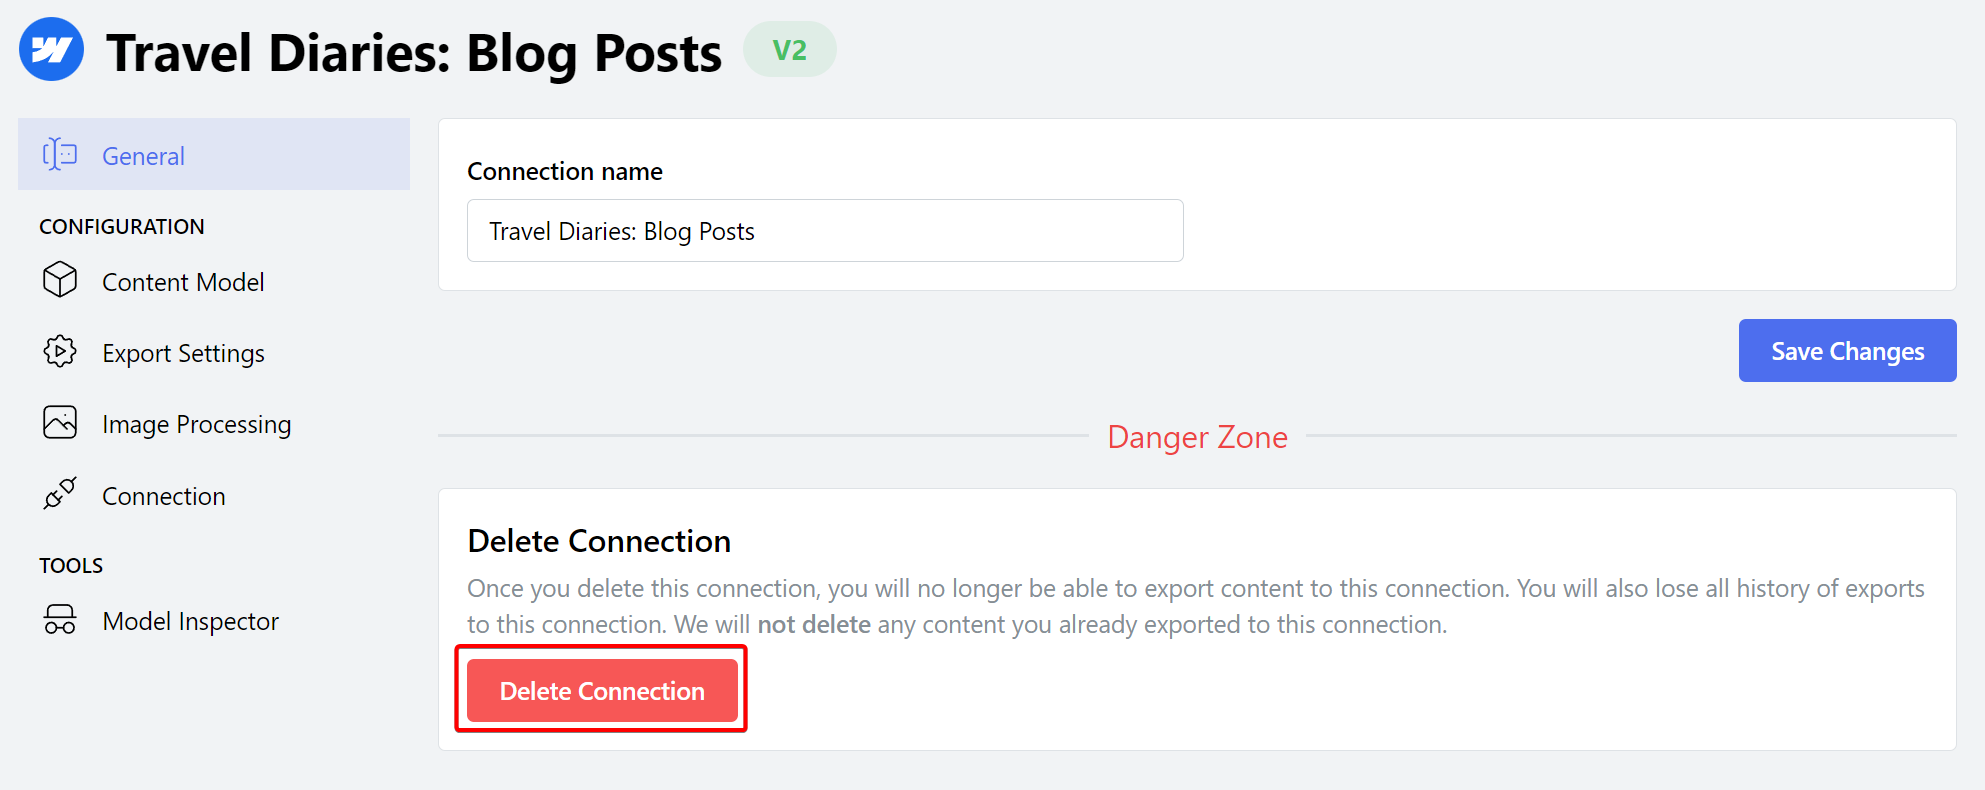 Confirm the deletion of the Connection by clicking the Delete Connection button.